Post-Processing 3D Prints
Published How we research

Turn a ridged FDM print smooth with a patient sequence: sand from a coarse 120 to 200 grit up through 400, 800, and finer (wet sanding cuts dust), fill the deep layer valleys with two or three cycles of sandable filler primer, then paint in several thin light coats. Each step builds on the last, so rushing the sanding shows through at the end. ABS can be acetone-vapour smoothed instead, but PLA cannot. Post-processing turns a functional but ridged FDM print into a smooth finished object, and the work rewards patience more than skill. The visible layer lines that define a raw print can be sanded, filled, primed, and painted away, but each step builds on the last, so rushing early stages shows through at the end. A methodical workflow produces consistently good results.
Products from this article
The highest-scoring picks from the buying guides this article links to. Scores are our editorial assessment, not customer ratings.
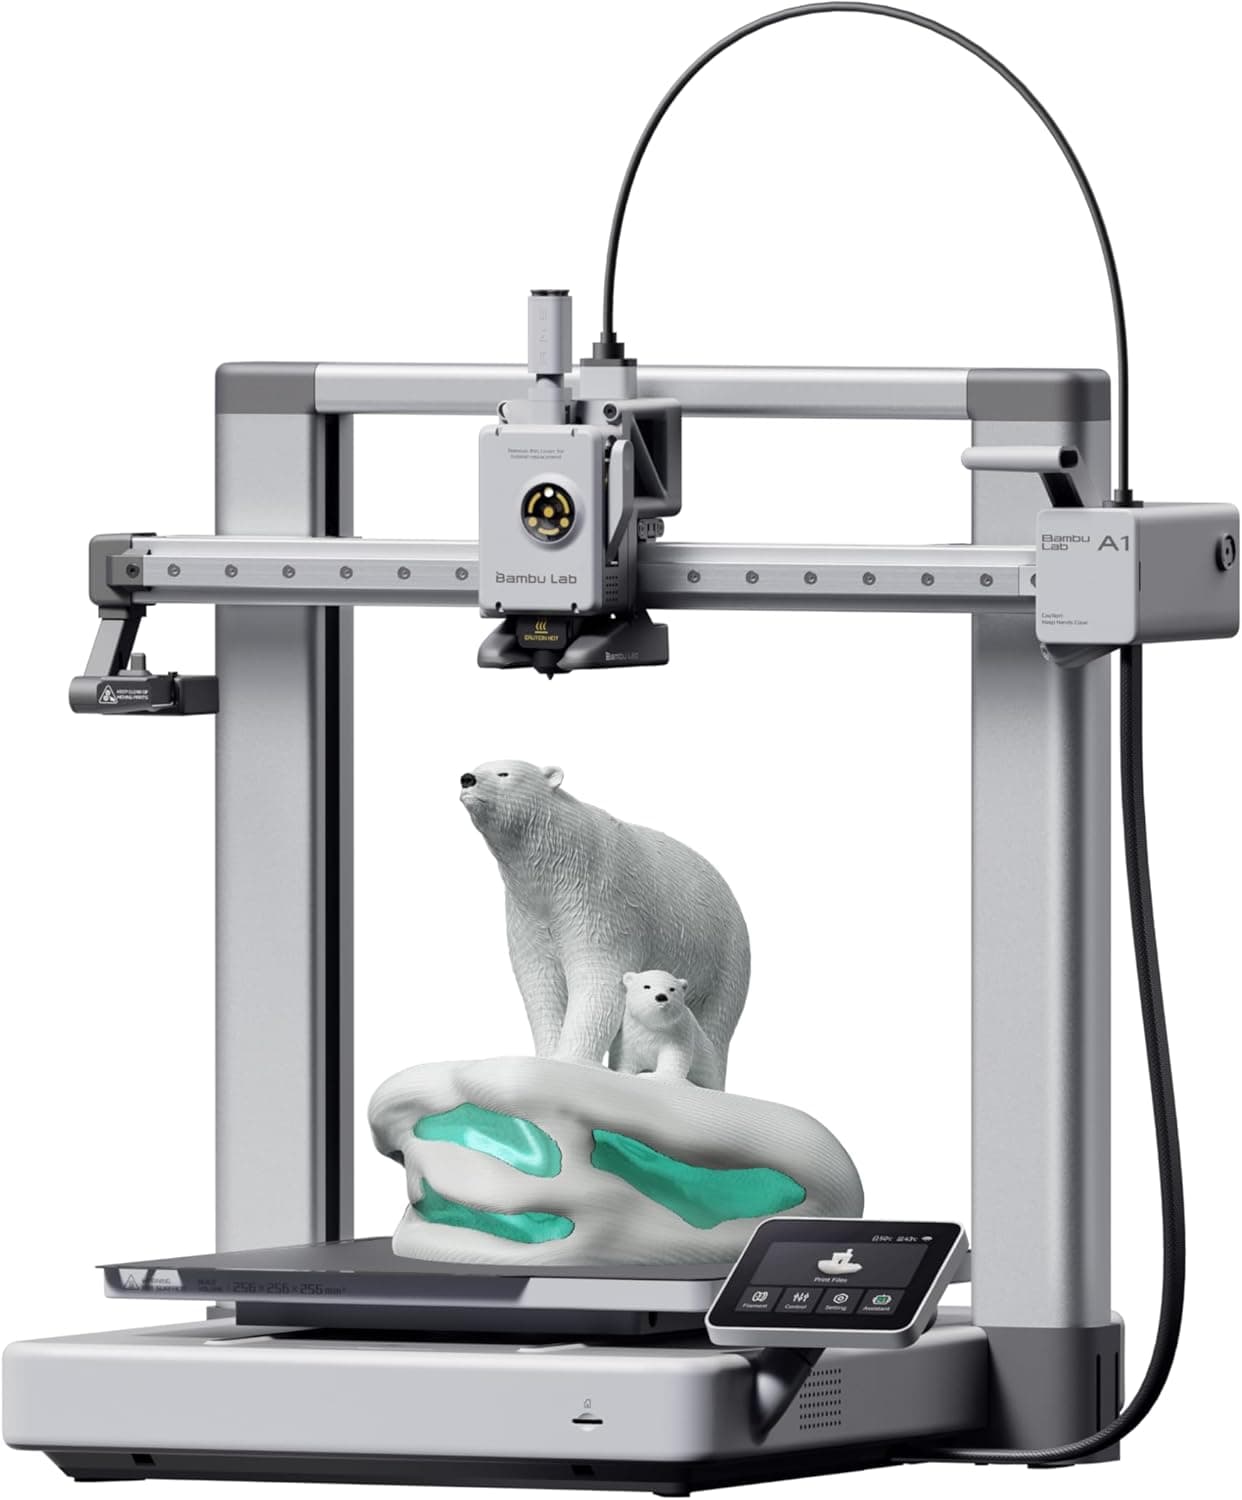
+ Full-auto calibration handles leveling, flow and vibration tuning
From our guide: Best FDM 3D Printers for Reliable Everyday Prints (2026)
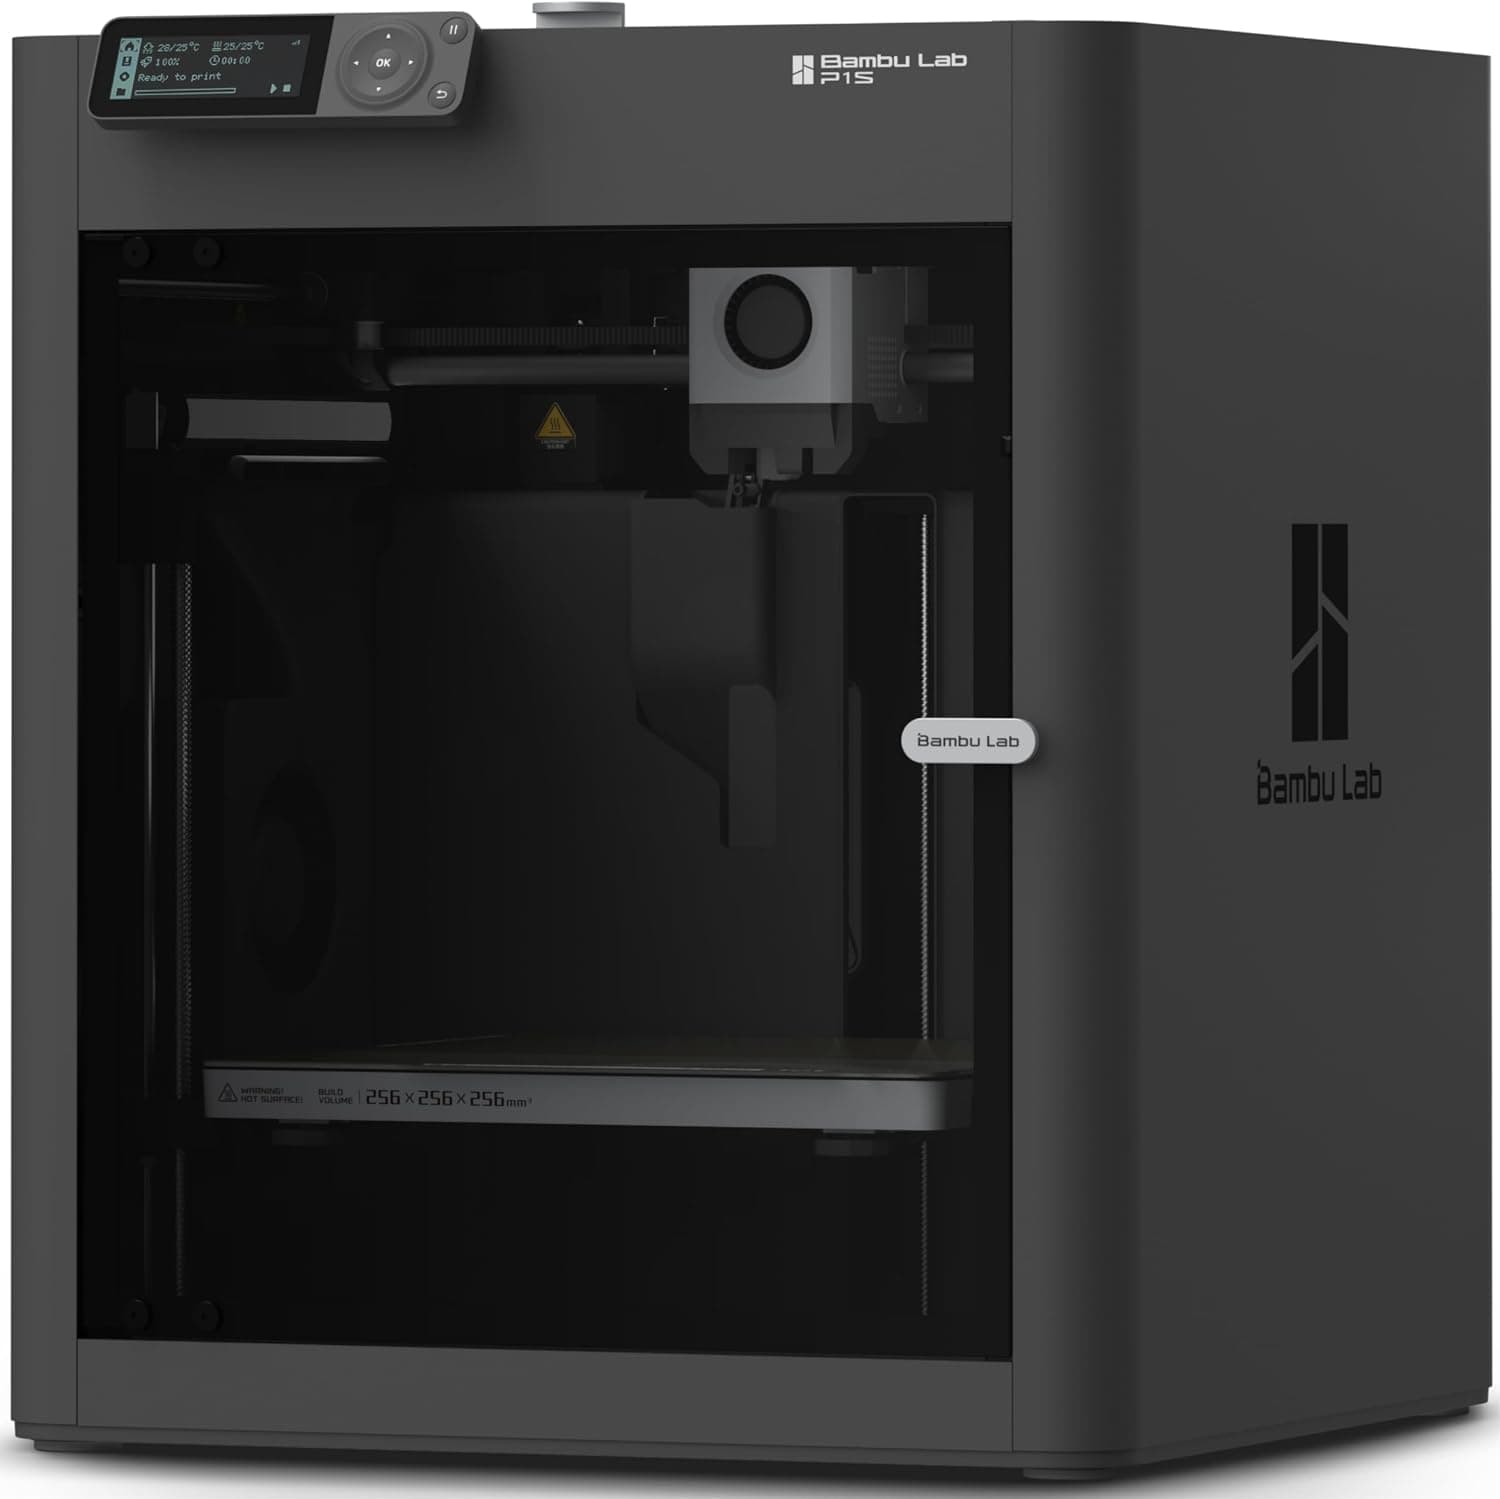
+ Enclosure holds heat, which helps ABS and ASA resist warping
From our guide: Best FDM 3D Printers for Reliable Everyday Prints (2026)
+ 300x300x330mm build volume prints large items in one piece or more small parts per batch
From our guide: Best FDM 3D Printers for Reliable Everyday Prints (2026)
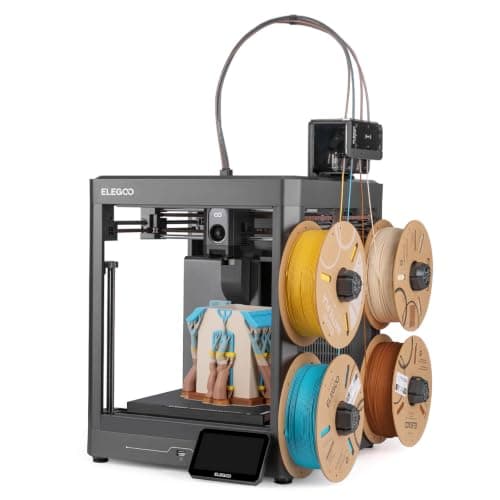
+ CANVAS system prints in 4 colors with RFID filament recognition and auto refill
From our guide: Best FDM 3D Printers for Reliable Everyday Prints (2026)

Sanding is the foundation
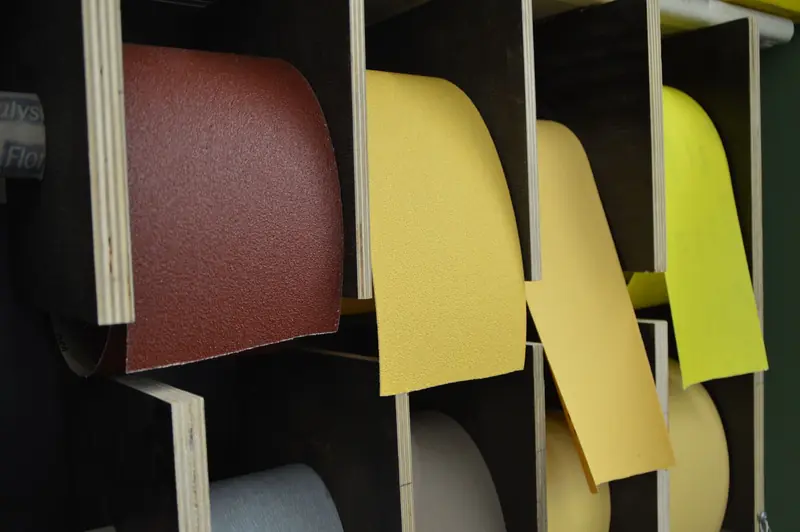
Sanding is the foundation. Start with a coarse grit around 120 to 200 to knock down the layer lines, then work up through progressively finer grits, 400, then 800, and higher for a glossy finish. Wet sanding with a little water reduces dust, keeps the paper from clogging, and gives a smoother result. Sand evenly and avoid pressing hard on thin features, which can snap or overheat and smear.
Filler primer bridges what sanding cannot
Filler primer bridges the gap that sanding alone cannot close. Deep valleys between layers are hard to sand out completely, so a coat of sandable filler primer fills them, and sanding the primer back reveals the low spots as they fill. Two or three cycles of prime and sand progressively erase the layer texture. For stubborn gaps, a spot of body filler or spot putty speeds the process on larger models.
Priming does more than fill
Priming does more than fill. A uniform primer coat gives paint a consistent surface to grip, hides the base plastic color, and reveals flaws you could not see on the busy printed surface. Apply primer in light coats rather than one heavy layer, which runs and hides detail. Let each coat cure fully, then inspect under good light and sand any remaining imperfections before painting.
Painting in thin, patient layers
Painting works best in thin, patient layers. Whether using spray cans or an airbrush, several light coats build even color without runs or drips, and each coat should dry before the next. Acrylics are forgiving and clean up with water. For durable or handled parts, a clear coat protects the paint, and a matte, satin, or gloss topcoat sets the final look.
Chemical smoothing for some materials
Chemical smoothing is a shortcut for some materials. ABS can be smoothed with acetone vapor, which slightly melts the surface to a glossy finish and hides layer lines without sanding, though it softens fine detail and must be done with great care for ventilation and fire safety. PLA does not respond to acetone. For most prints, though, the sand, fill, prime, paint sequence remains the reliable path to a professional finish.
Design with finishing in mind
Design with finishing in mind and the whole process gets easier. Orienting a model so its most visible surfaces print without supports, avoiding fine raised detail that sanding would destroy, and leaving flat areas where they will show all reduce the work later. A print planned for post-processing from the start reaches a smooth painted finish in far fewer cycles than one that fights you at every stage.
Frequently asked questions
How do I get rid of layer lines on a 3D print? Sand from a coarse 120 to 200 grit up through progressively finer grits, then fill the remaining deep valleys with two or three cycles of sandable filler primer, sanding it back each time.
What grit sandpaper for 3D prints? Start around 120 to 200 to knock down layer lines, then 400, then 800 and higher for a glossy finish. Wet sanding with a little water reduces dust and clogging.
Can I smooth PLA with acetone? No, PLA does not respond to acetone. ABS can be smoothed with acetone vapour, done carefully for ventilation and fire safety, though it softens fine detail.
How should I paint a 3D print? In several thin light coats, spray or airbrush, each dried before the next, over a uniform primer coat. A clear topcoat protects handled parts and sets a matte, satin, or gloss look.
Popular right now
- 3D Printing Supports GuideArticle
- Best Resin 3D Printers for Sharp, Detailed Models (2026)Buying guide
- Best PTFE Tubing for Smooth Filament Feeding (2026)Buying guide
- Best Beginner 3D Printers for a Smooth First Print (2026)Buying guide
- 3D Printer Filament Temperature ChartArticle
- Best Budget 3D Printers for Value Under Pressure (2026)Buying guide
Based on the last 28 days of search and visitor data.