How to Level a 3D Printer Bed for a Perfect First Layer
Published How we research
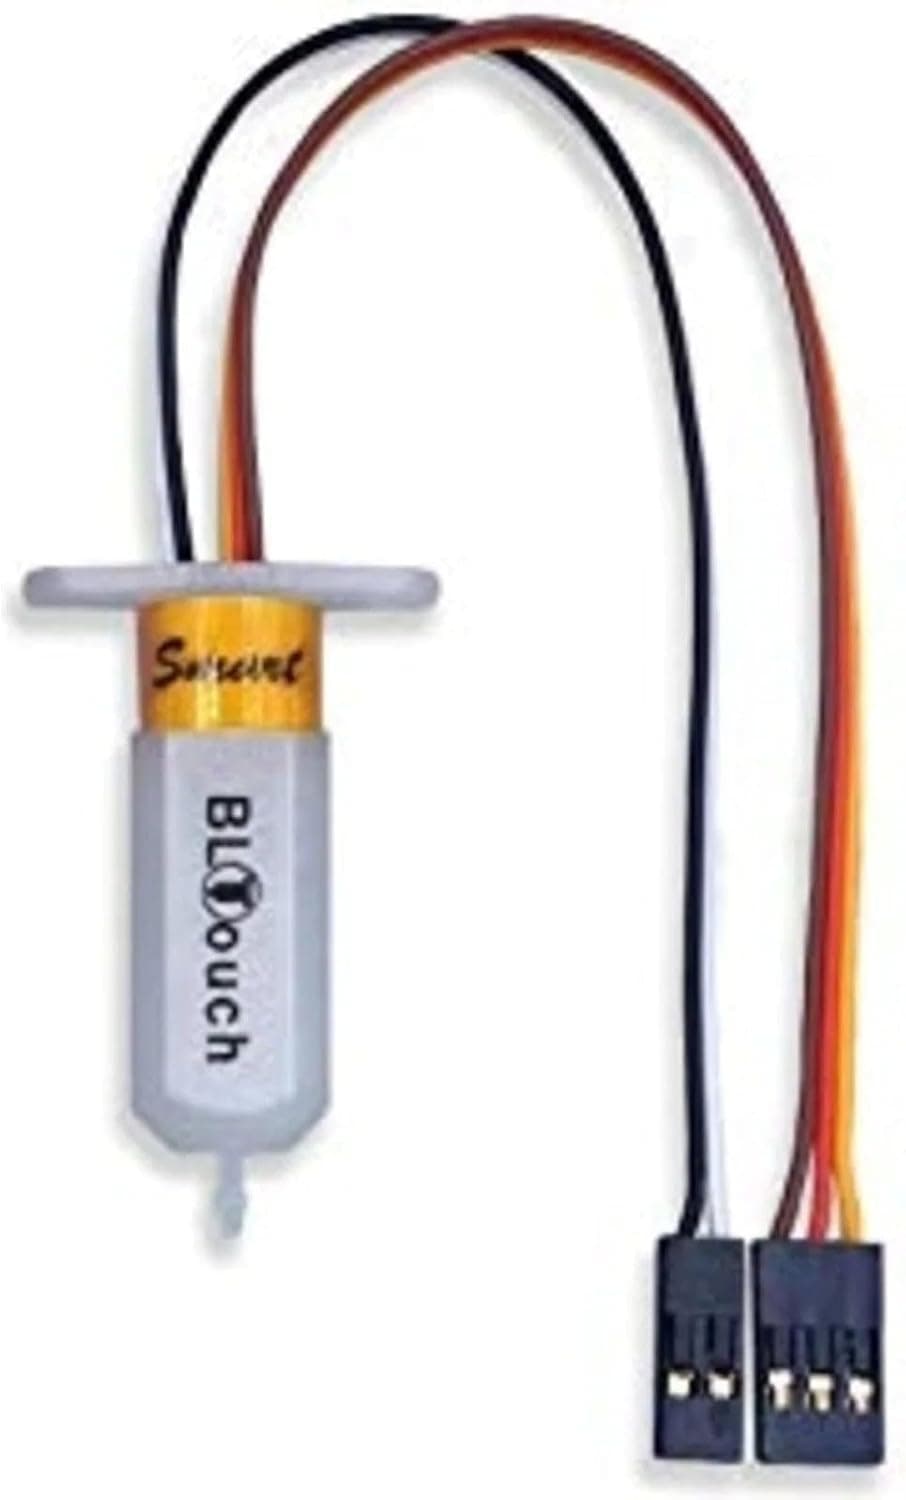
Bed leveling is really about setting a consistent gap between the nozzle and the plate across the whole surface. The goal is not a perfectly horizontal bed but a nozzle that sits the same tiny distance above the plate everywhere it travels. When that gap is even, the first layer squishes uniformly and the rest of the print follows.
Products from this article
The highest-scoring picks from the buying guides this article links to. Scores are our editorial assessment, not customer ratings.
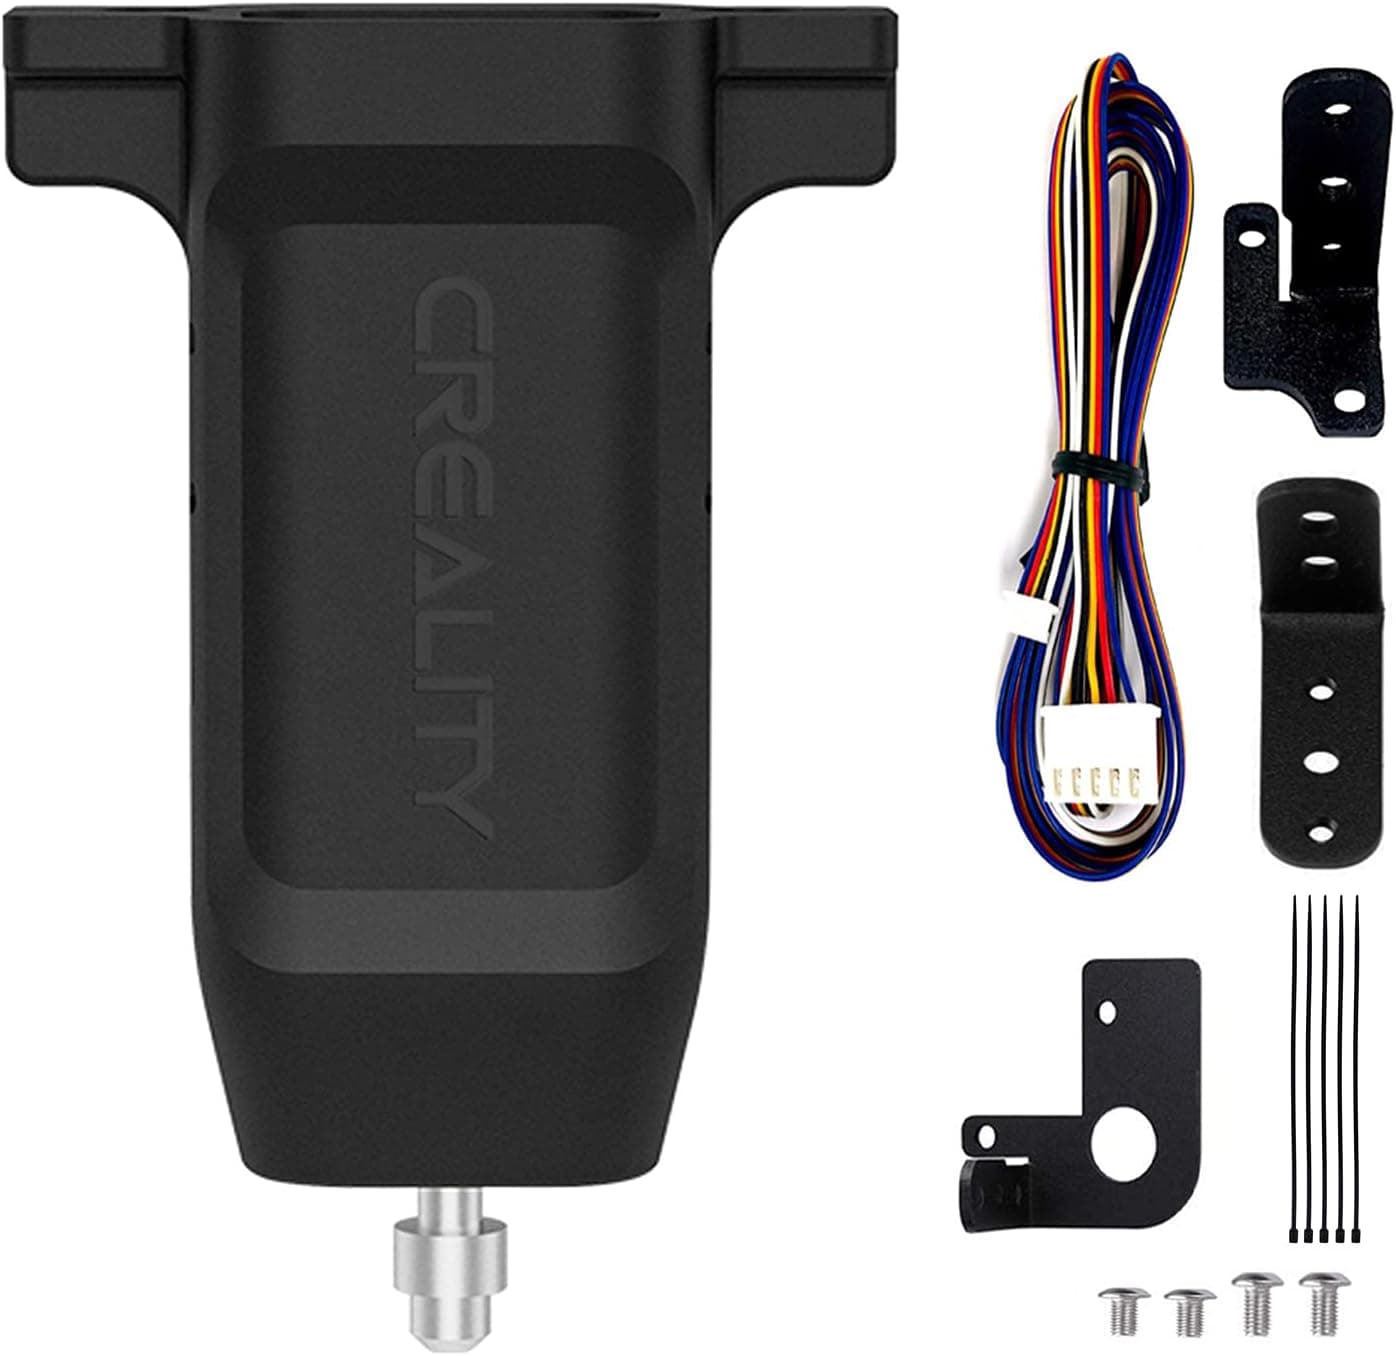
+ Official kit targets Ender 3, V2, Max and Ender 5 printers
From our guide: Best Bed Leveling Sensors for Perfect First Layers (2026)
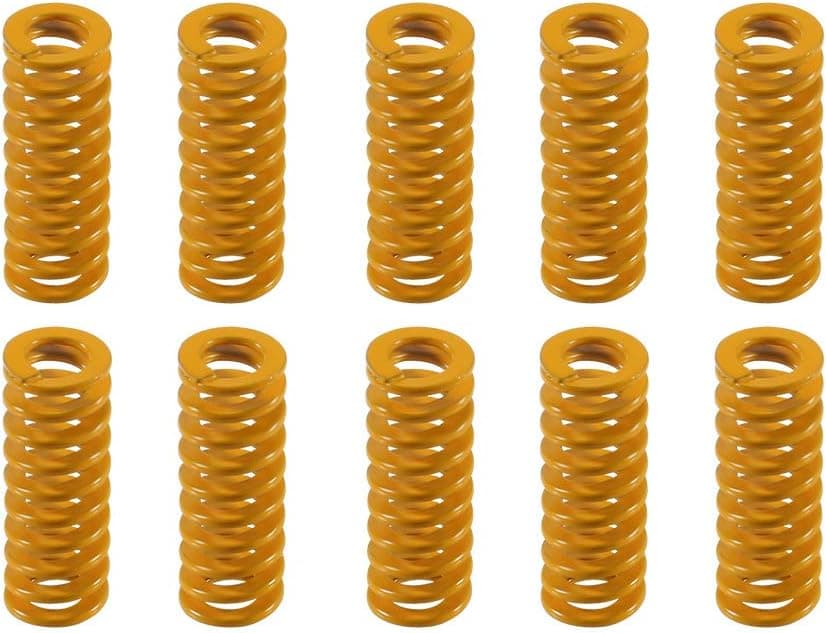
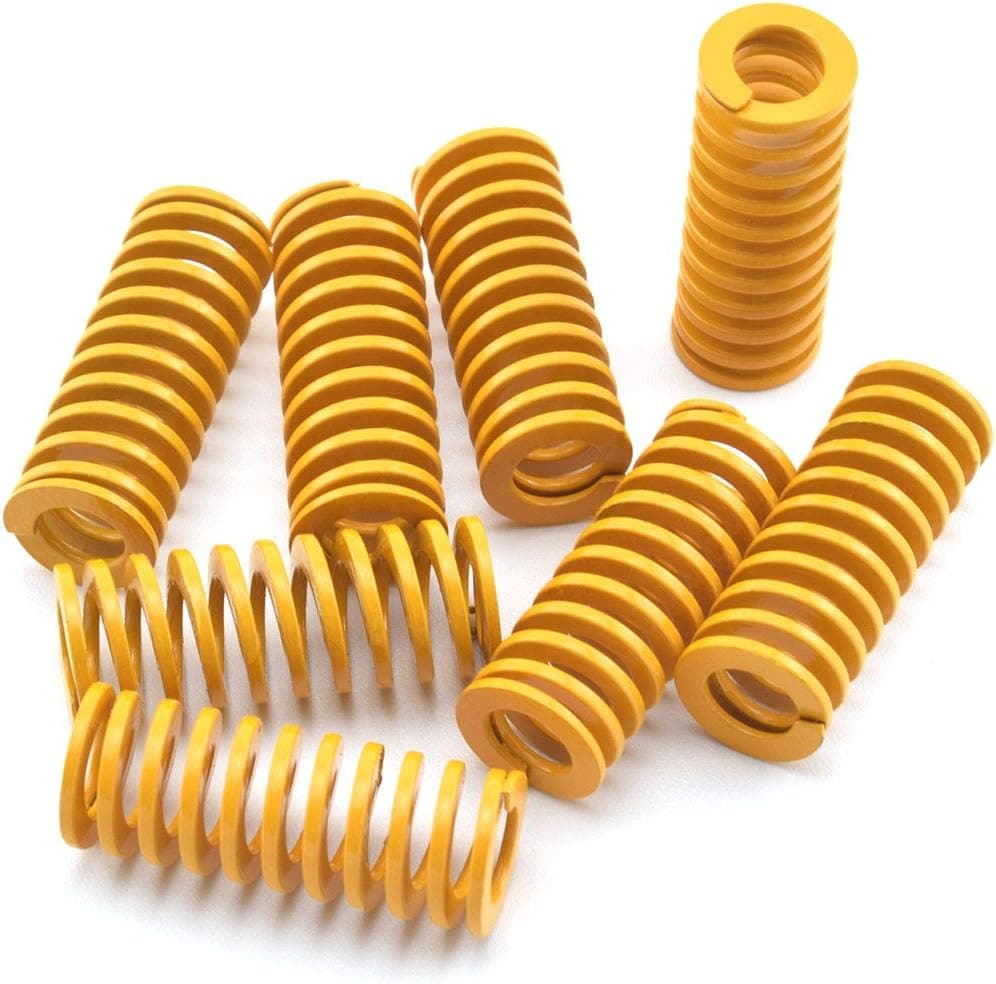
+ Fresh, even tension across all four corners fixes drift from worn stock springs
From our guide: Best Bed Leveling Springs for Stable Beds (2026)
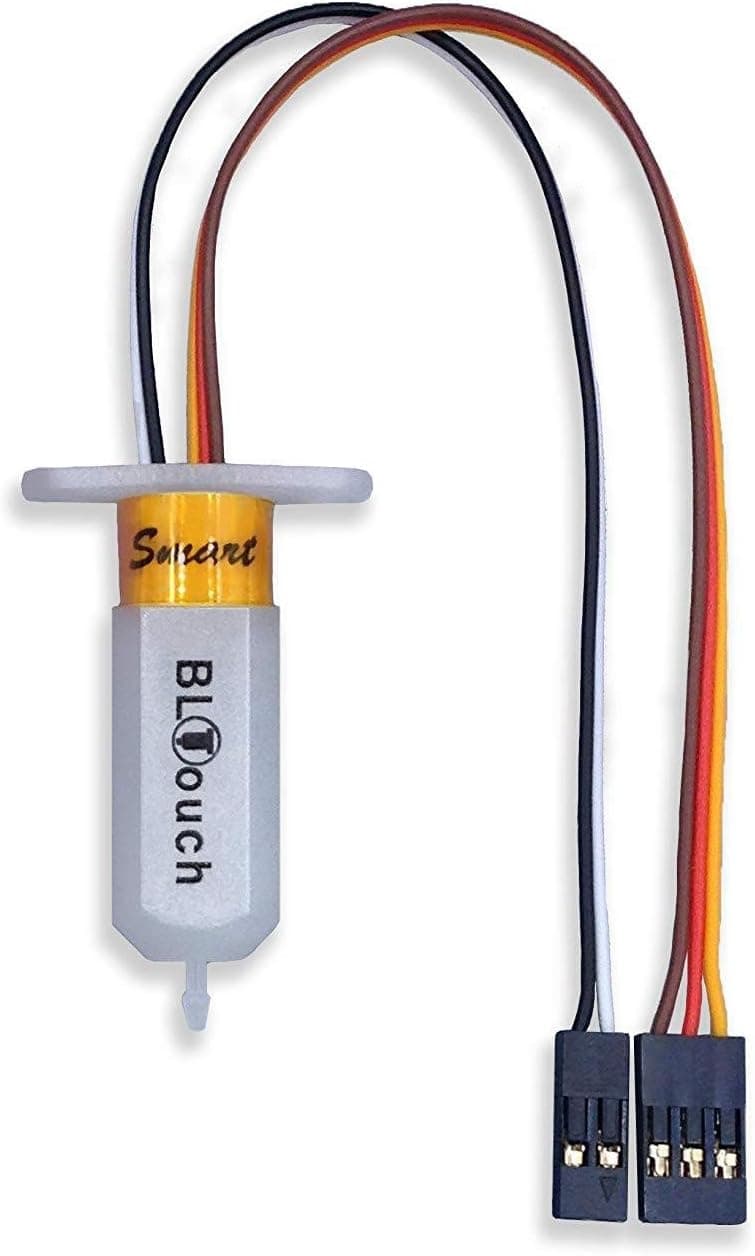
+ Genuine ANTCLABS BLTouch is the reference design many clones copy
From our guide: Best Bed Leveling Sensors for Perfect First Layers (2026)
+ 10x25mm die springs suit the larger CR-10 bed mounts
From our guide: Best Bed Leveling Springs for Stable Beds (2026)
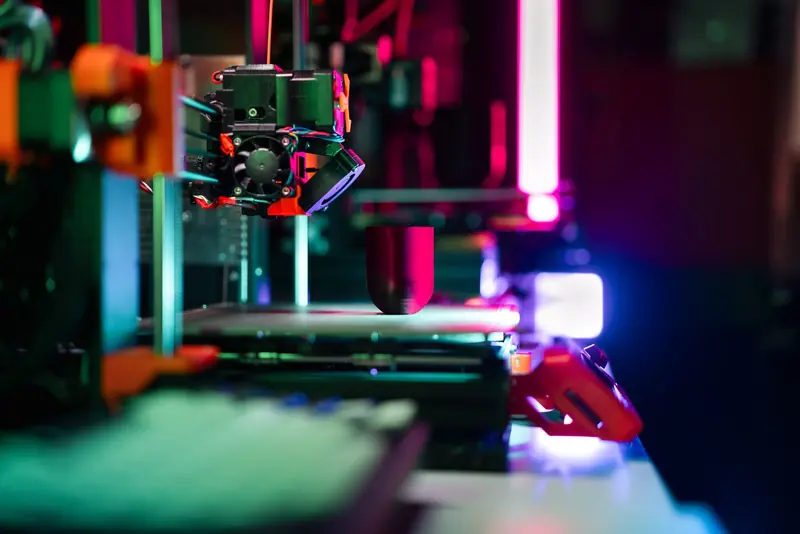
Start by heating the bed and nozzle to your printing temperatures, because metal expands as it warms and a bed leveled cold will drift once hot. Wipe the plate clean of grease and old adhesive. Home the printer, then disable the steppers so you can move the head by hand, or use the built-in leveling menu that parks the nozzle over each corner in turn.
For manual leveling, slide a sheet of standard printer paper under the nozzle at each corner and the center. Adjust the bed knob until you feel light drag on the paper, the sense that it moves but catches slightly. Work around all corners twice, because tightening one knob subtly changes the others. Consistent drag at every point means the plate is trammed.
The nozzle height itself is set by the Z offset. If the first layer looks squished, translucent, or grooved, the nozzle is too low. If the lines are round, barely touching, and easy to peel, it is too high. Adjust the Z offset in small steps, around 0.02 to 0.05 mm at a time, printing a first-layer test between changes rather than guessing.
Automatic bed leveling does not replace a level bed, it compensates for the small waviness that remains. A probe measures a grid of points and the firmware adjusts Z on the fly to follow the surface. You still want the bed mechanically trammed first, and you still set a Z offset, because the probe knows the shape of the bed but not exactly where the nozzle tip sits relative to it.
Watch for mechanical causes before blaming leveling. A warped plate, a loose bed spring, debris under the glass, or a nozzle with a blob of stuck plastic will all defeat careful leveling. Springs sag over time, so recheck after moving the printer or after a few dozen prints. Some users swap soft bed springs for stiffer silicone spacers to hold the setting longer.
Once dialed in, run a single-layer first-layer test print that covers most of the bed. A good result shows lines that are slightly flattened, fused to their neighbors with no gaps, and forming a smooth solid sheet. Save that Z offset, and you should only need occasional touch-ups rather than releveling before every print.
If you find yourself releveling constantly, treat that as a symptom rather than a chore. Persistent drift usually traces to sagging bed springs, loose eccentric nuts, a bent plate, or a Z axis that binds. Fixing the underlying mechanical cause, or switching to stiffer springs or silicone spacers, turns leveling from a pre-print ritual into an occasional touch-up and makes every print that follows more consistent.
Popular right now
- 3D Printing Supports GuideArticle
- Best Resin 3D Printers for Sharp, Detailed Models (2026)Buying guide
- Best PTFE Tubing for Smooth Filament Feeding (2026)Buying guide
- Best Beginner 3D Printers for a Smooth First Print (2026)Buying guide
- 3D Printer Filament Temperature ChartArticle
- Best Budget 3D Printers for Value Under Pressure (2026)Buying guide
Based on the last 28 days of search and visitor data.