How to 3D Print Holiday Ornaments and Gifts
Published How we research
3D printers are ideal for personalised holiday gifts, ornaments and decorations, but printing many items right before the holidays often leads to rushed failures. Starting in autumn gives time to test models, choose materials and finish parts properly. A plan also prevents a busy printer queue from turning into a stressful deadline.
Start planning early
Make a list of gifts and decorations, estimate print times in your slicer and add extra time for failures and finishing. Large batches of ornaments can take days of printer time.
Print one test piece of each design before committing to a full batch. This reveals problems with supports, tolerances or fit before using lots of filament.
Choose suitable models
Look for models designed for 3D printing, with good reviews and printed examples, and check licensing if you plan to sell prints. Personalised name tags, cookie cutters, ornaments and organisers are popular choices.
Ornaments that print flat or in parts that snap together are faster and more reliable than complex shapes with lots of supports.
Select materials
PLA is easy to print and comes in festive colours, including silk and glitter finishes. PETG is tougher and handles warmth better for items used near windows or cars.
For items that contact food, such as cookie cutters, use designs and materials suited to the purpose and note that printed parts have small gaps that can trap bacteria. Many people use printed cutters only for short contact and wash them carefully.
Finish for a gift-ready look
Remove supports carefully with flush cutters and deburring tools. Light sanding, primer and acrylic paint turn basic prints into polished gifts.
Multicolour prints can be achieved with filament changes at specific layers, even on single-extruder printers. Add hanging loops or ribbon holes in the design before printing.
Print safely with a busy queue
Long print queues mean printers run for many hours. Keep the printer in a safe location, check it periodically and avoid leaving it running unattended for long periods without safety features.
Use filament runout sensors and fresh, dry filament to avoid failures. Store completed gifts carefully so thin parts do not break before wrapping.
Package and label your prints
Small prints look more like finished gifts when packed in simple boxes or bags with tissue paper, and fragile ornaments travel better when each one is wrapped separately. Keep a few spares of popular designs in case one breaks.
Include a small card with care instructions, such as keeping PLA items away from hot cars, radiators and dishwashers. Recipients often do not know that PLA can soften with heat, and a short note helps the gift last for many holidays.
Products from this article
The highest-scoring picks from the buying guides mentioned above. Scores are our editorial assessment, not customer ratings.
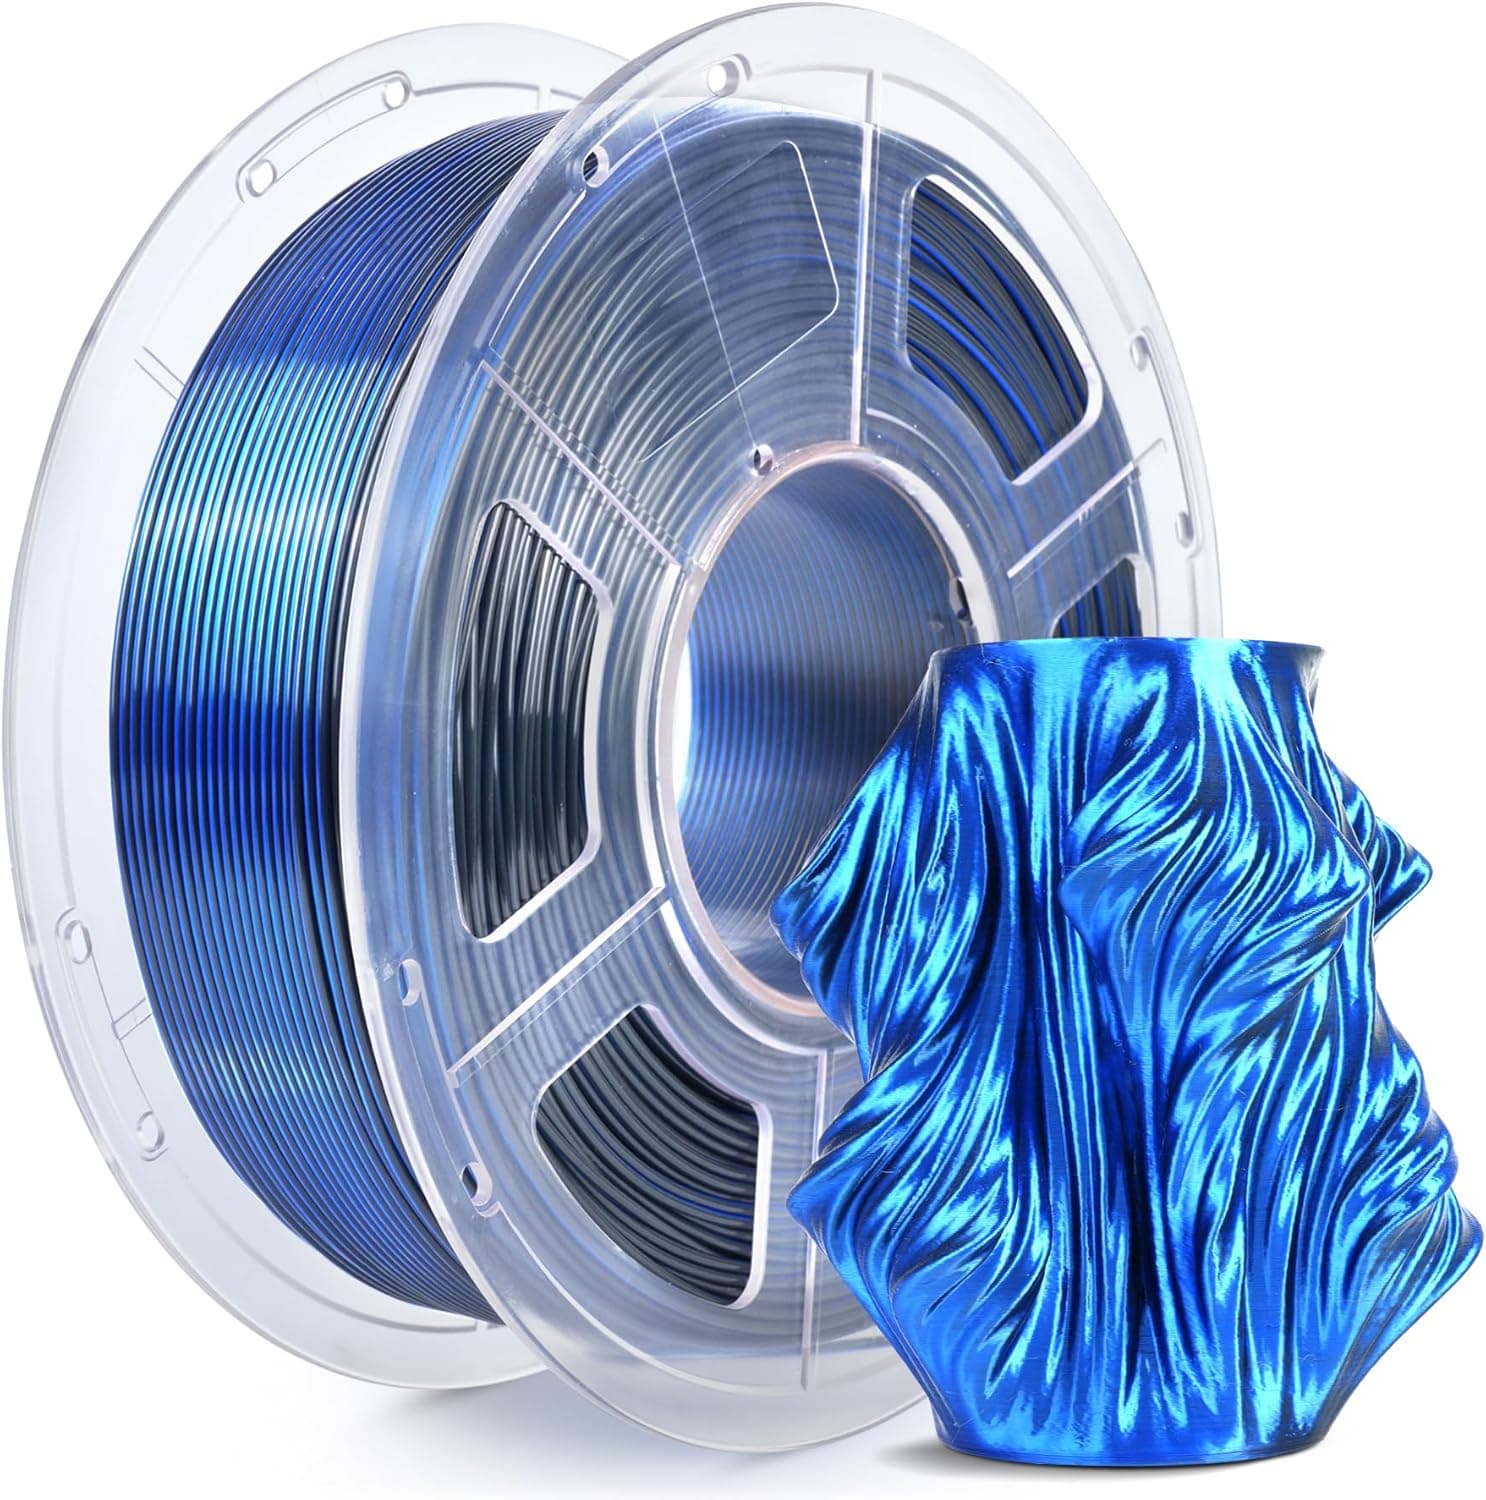
+ Dual color black and blue shifts tone as models rotate in light
From our guide: Best Silk Filament for Glossy, Eye-Catching Prints (2026)
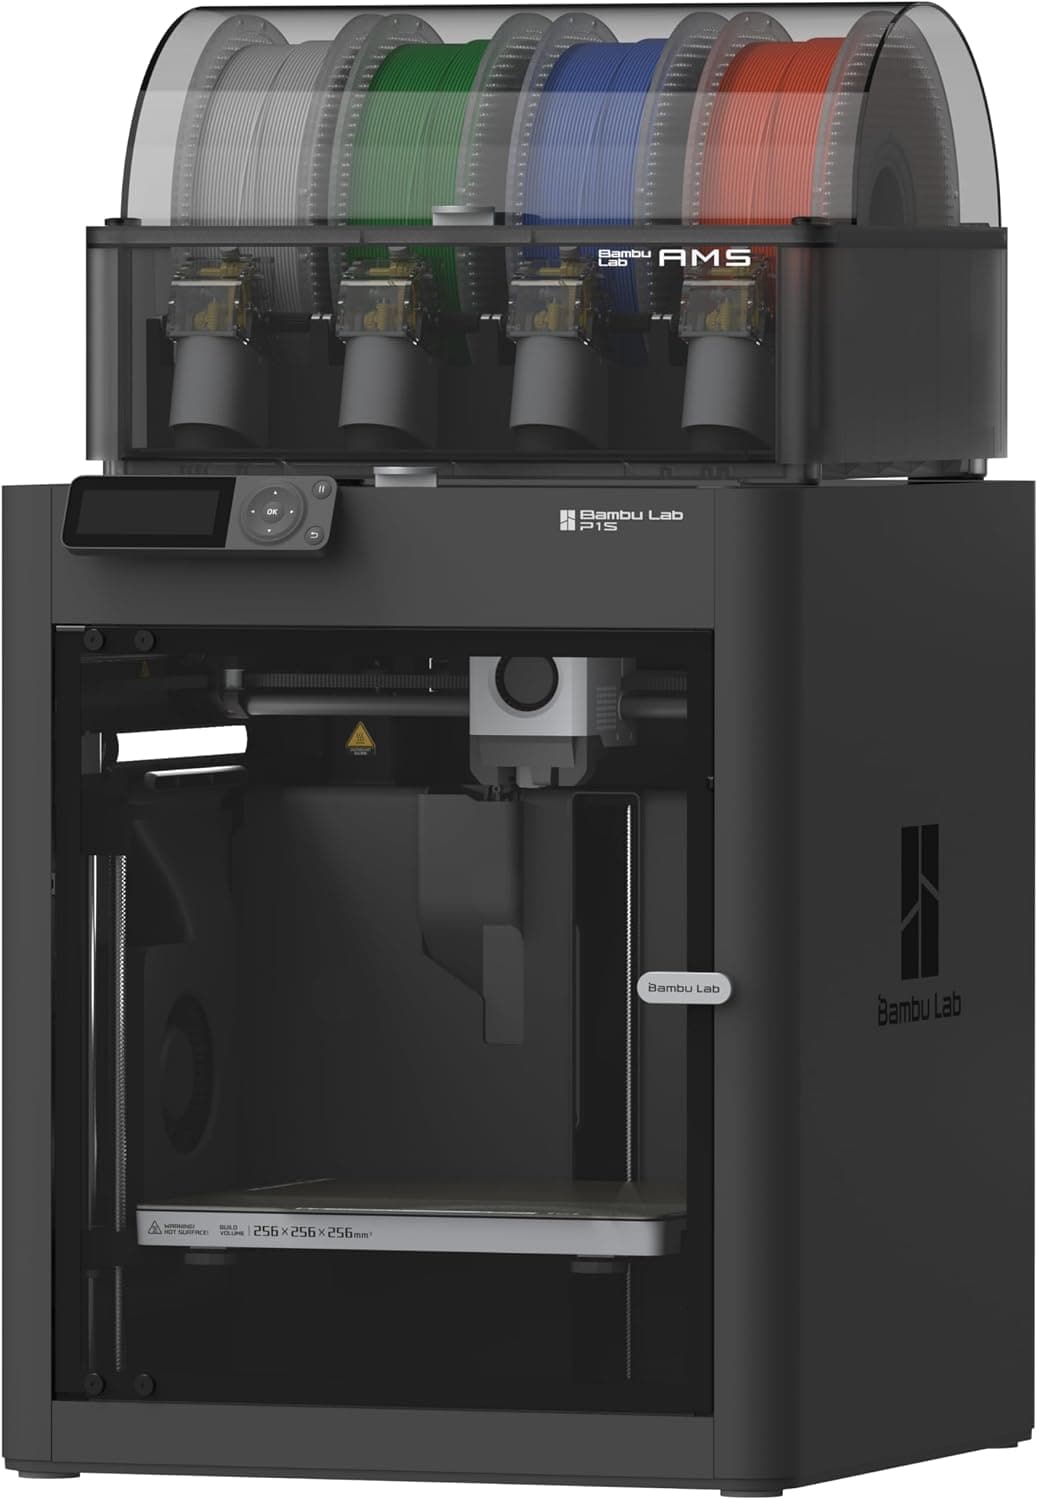
+ Enclosed P1S with AMS prints multi-color parts in ABS or PETG
From our guide: Best Multicolor 3D Printers for Vibrant Prints (2026)
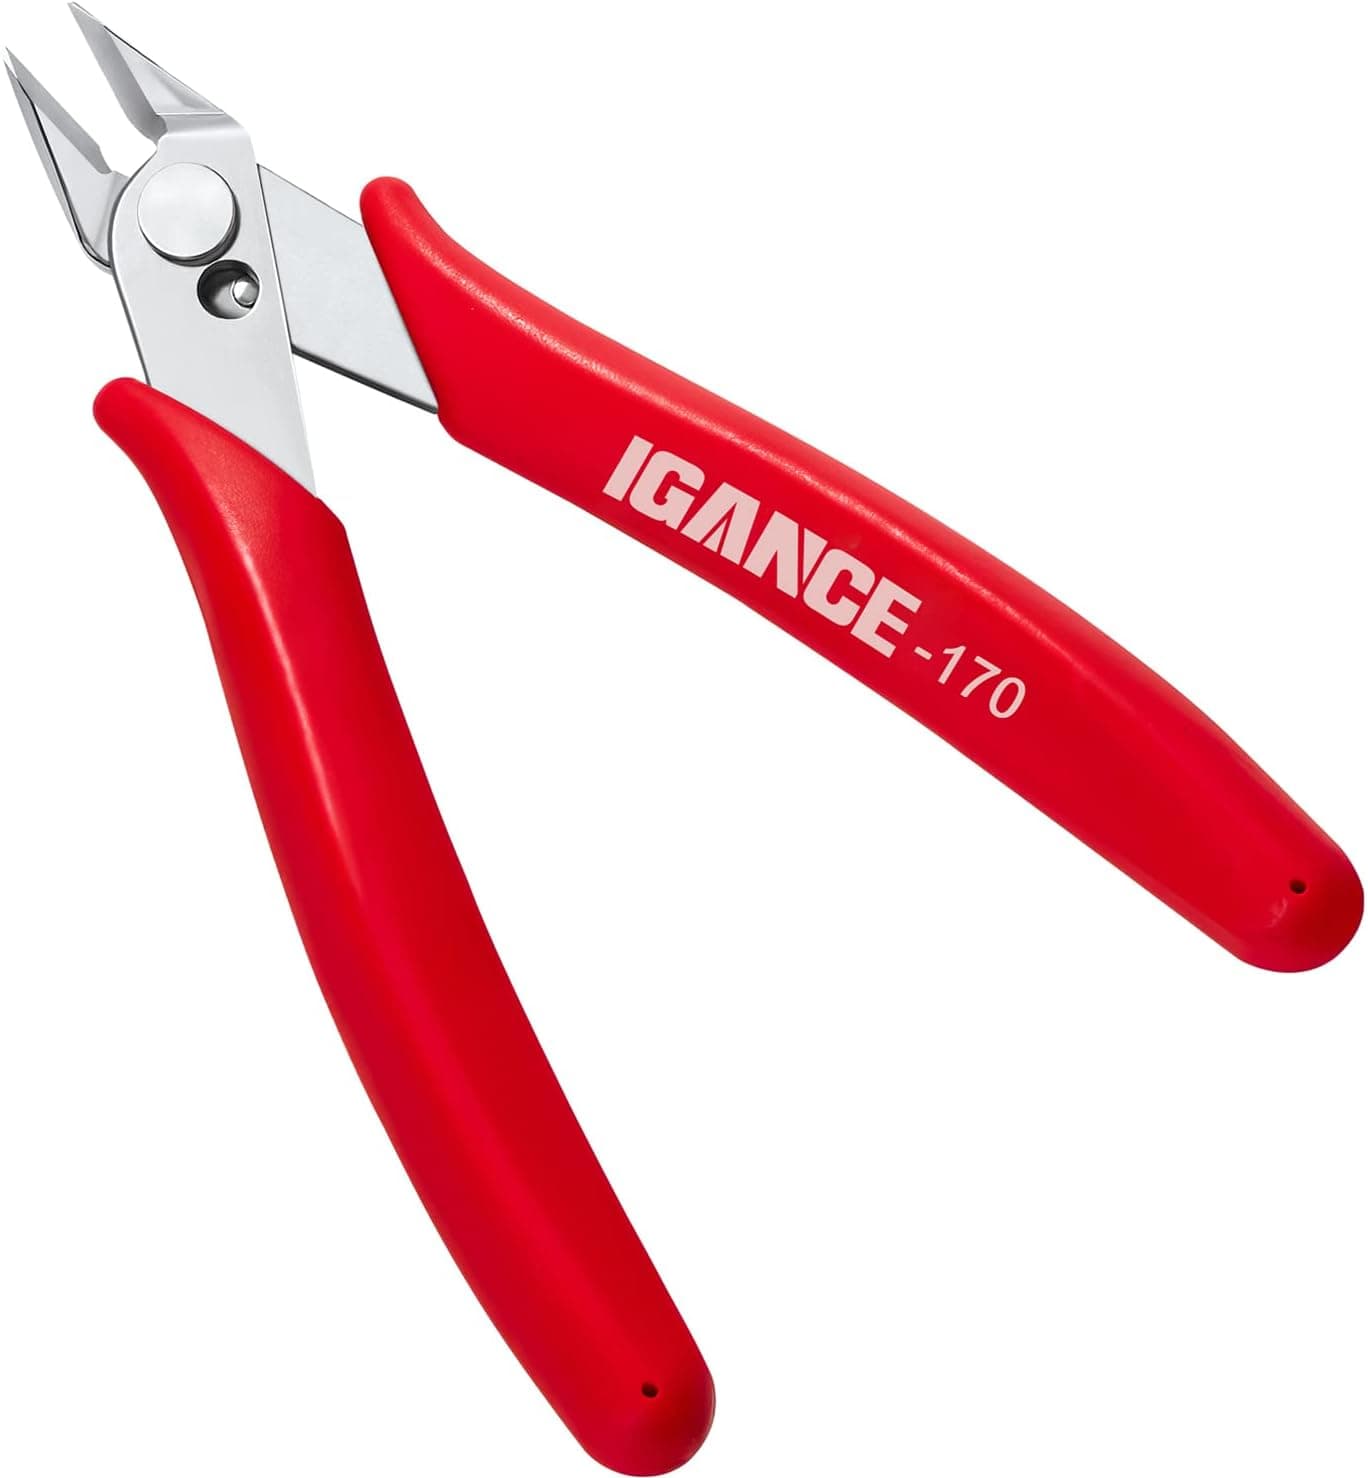
+ Flush cut edge trims supports close to the printed surface
From our guide: Best Flush Cutters for Clean Support Removal (2026)
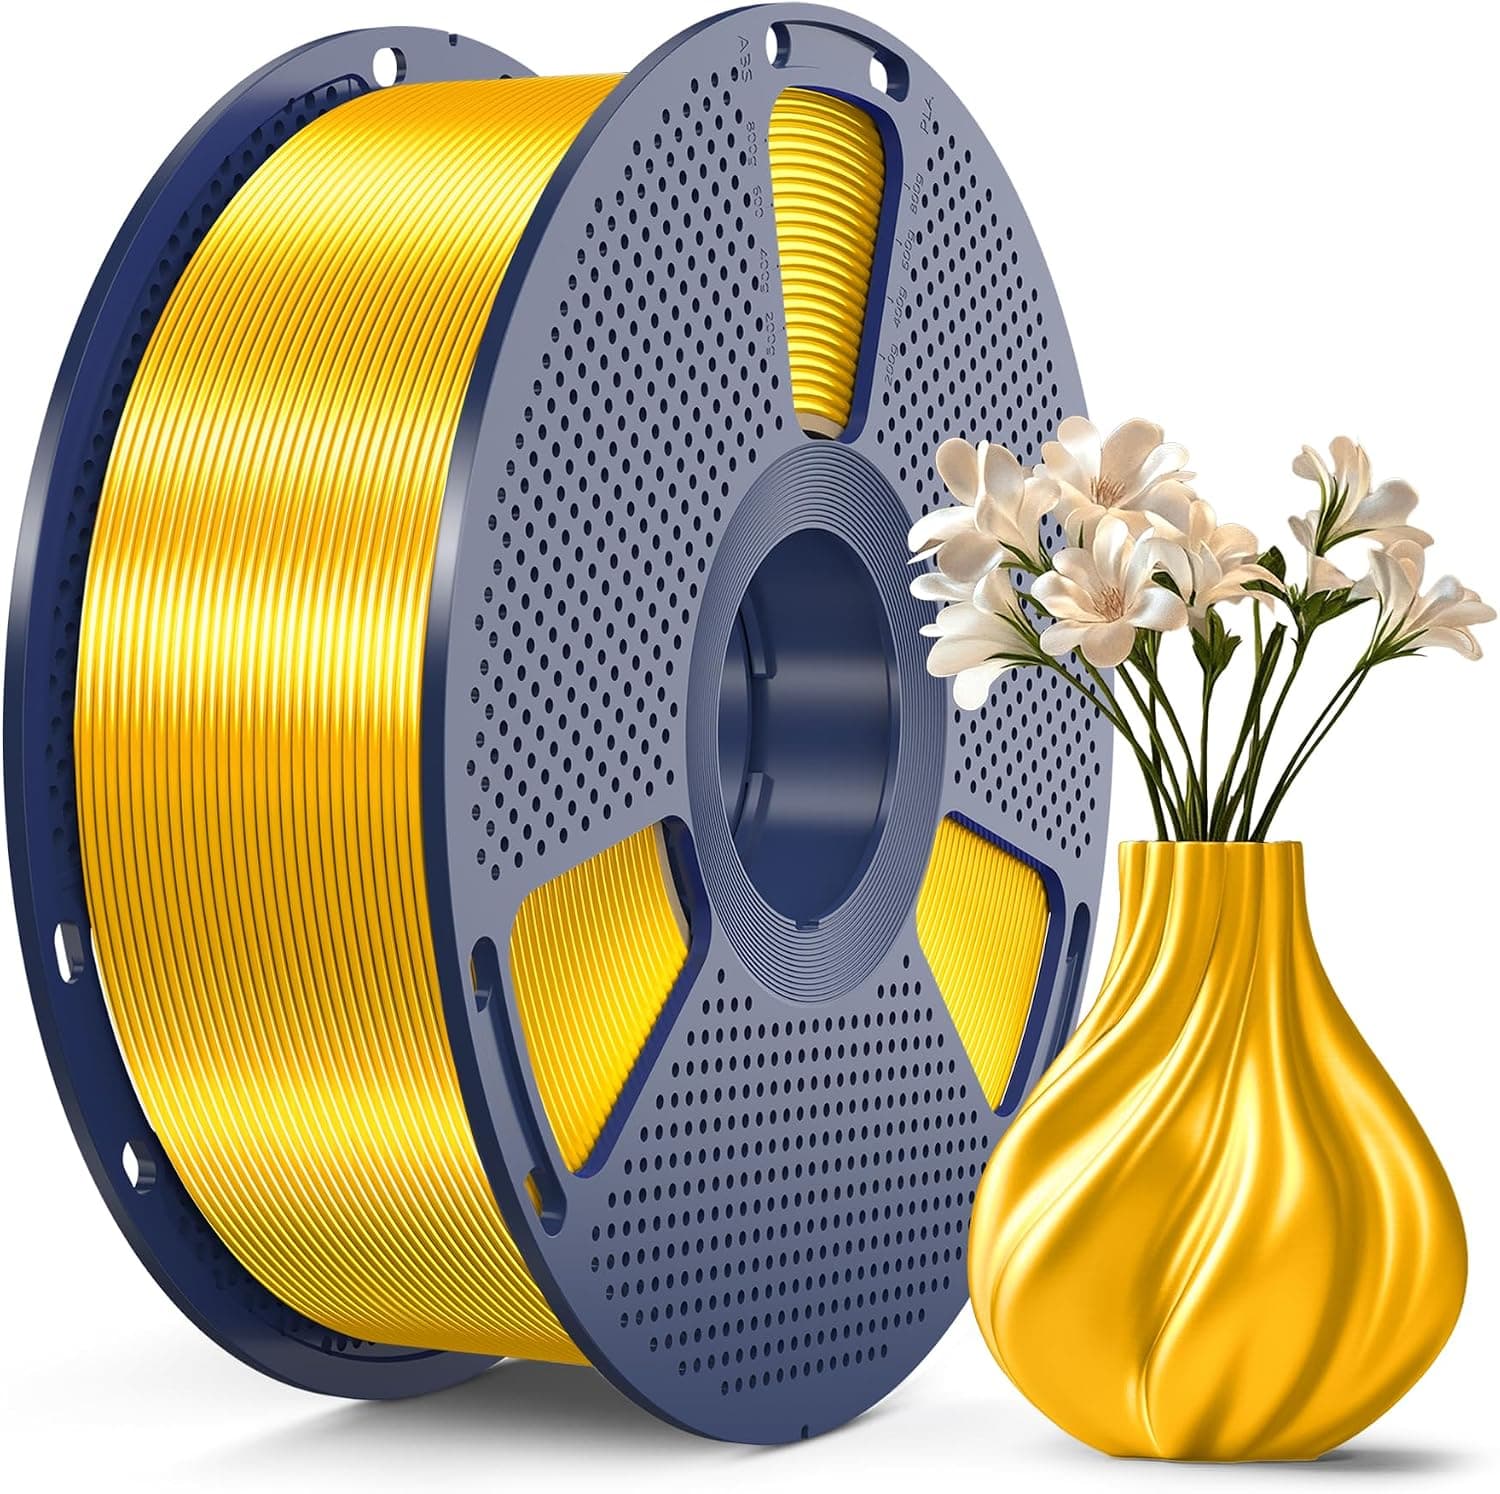
+ Silk light gold finish looks metallic on trophies and ornaments
From our guide: Best Silk Filament for Glossy, Eye-Catching Prints (2026)
Popular right now
- Best Budget 3D Printers for Value Under Pressure (2026)Buying guide
- Best FDM 3D Printers for Reliable Everyday Prints (2026)Buying guide
- Best Resin 3D Printers for Sharp, Detailed Models (2026)Buying guide
- Troubleshooting a Failed 3D PrintArticle
- Best Beginner 3D Printers for a Smooth First Print (2026)Buying guide
- Temperature Tower GuideArticle
Based on the last 28 days of search and visitor data.