Resin 3D Printing Basics
Published How we research
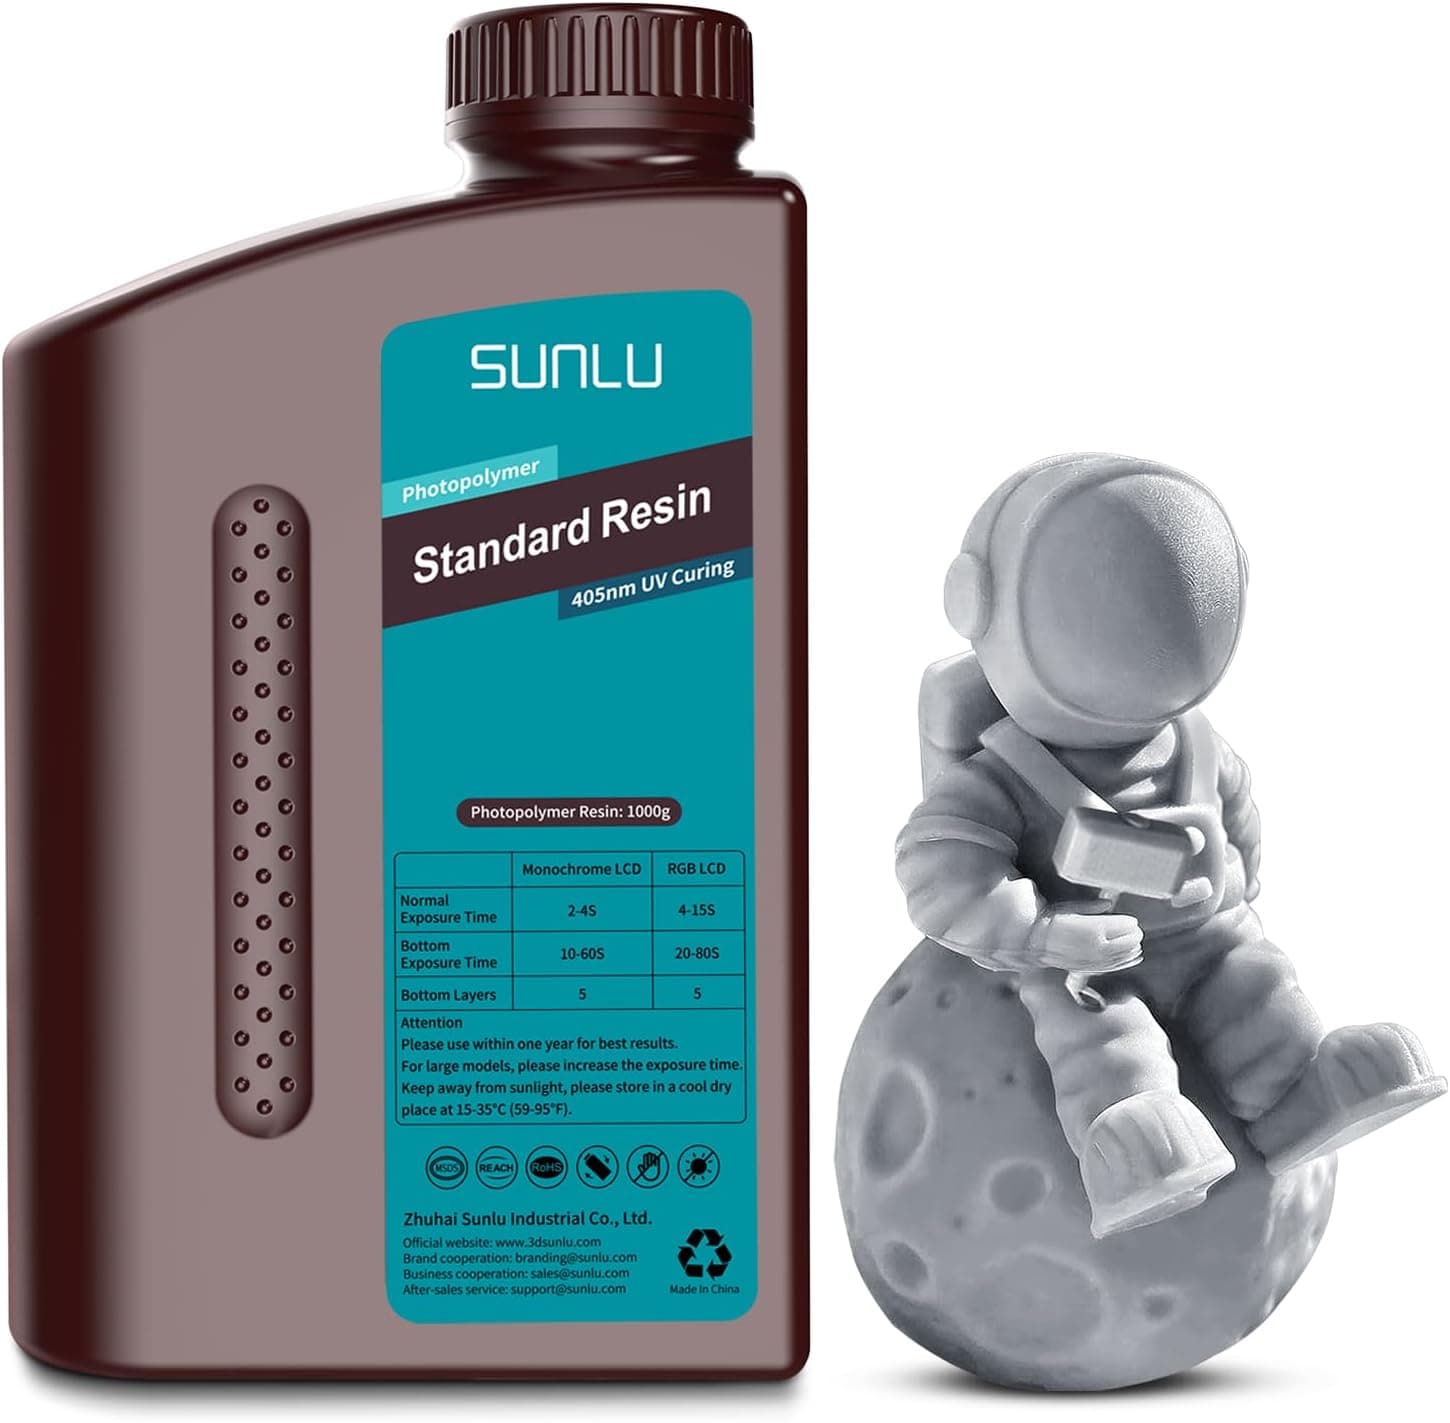
Resin printing, specifically the MSLA method common in hobby machines, builds parts by curing liquid photopolymer with UV light shining through an LCD screen. The build plate lifts out of a vat of resin one layer at a time, and each layer is flashed and hardened against the screen. The result is far finer detail than FDM, which makes resin the go-to for miniatures, dental models, and jewelry.
Products from this article
The highest-scoring picks from the buying guides this article links to. Scores are our editorial assessment, not customer ratings.
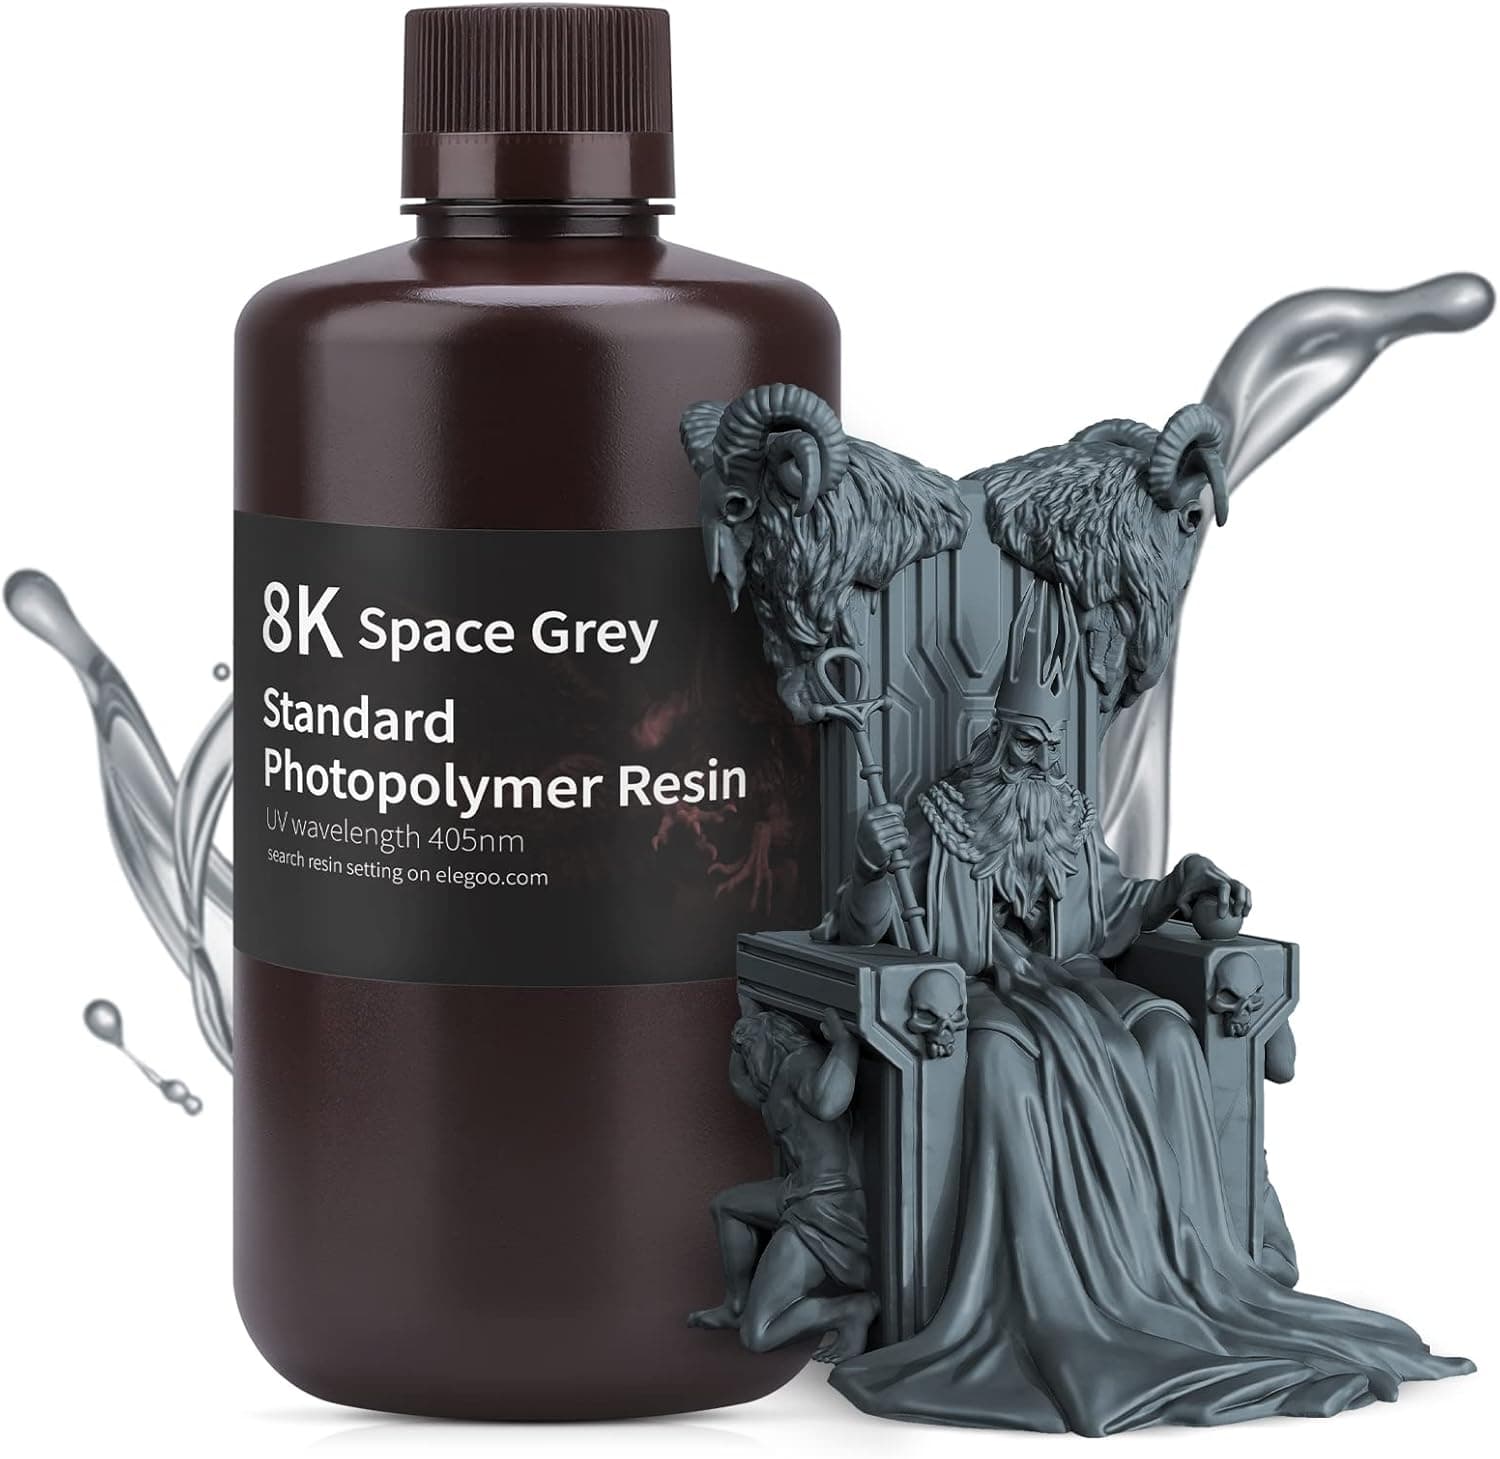
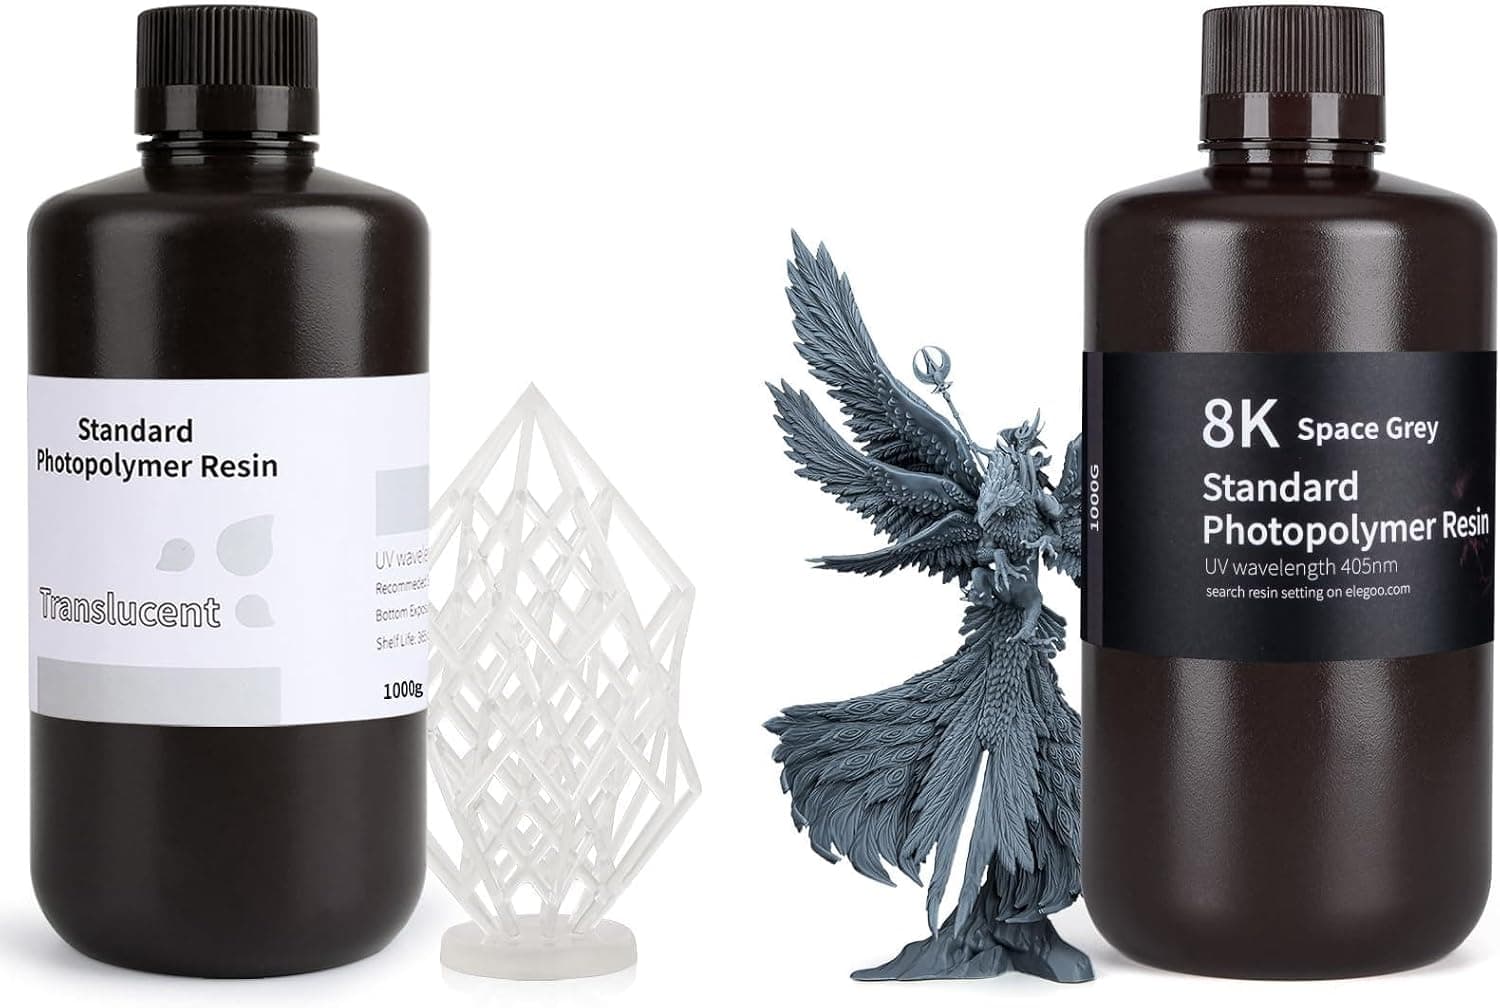
+ 8K formula is designed to hold fine detail on dense-pixel screens
From our guide: Best Standard Resin for Sharp, Affordable Prints (2026)
+ 16K mono screen resolves fine surface detail on miniatures and jewelry masters
From our guide: Best Resin 3D Printers for Sharp, Detailed Models (2026)
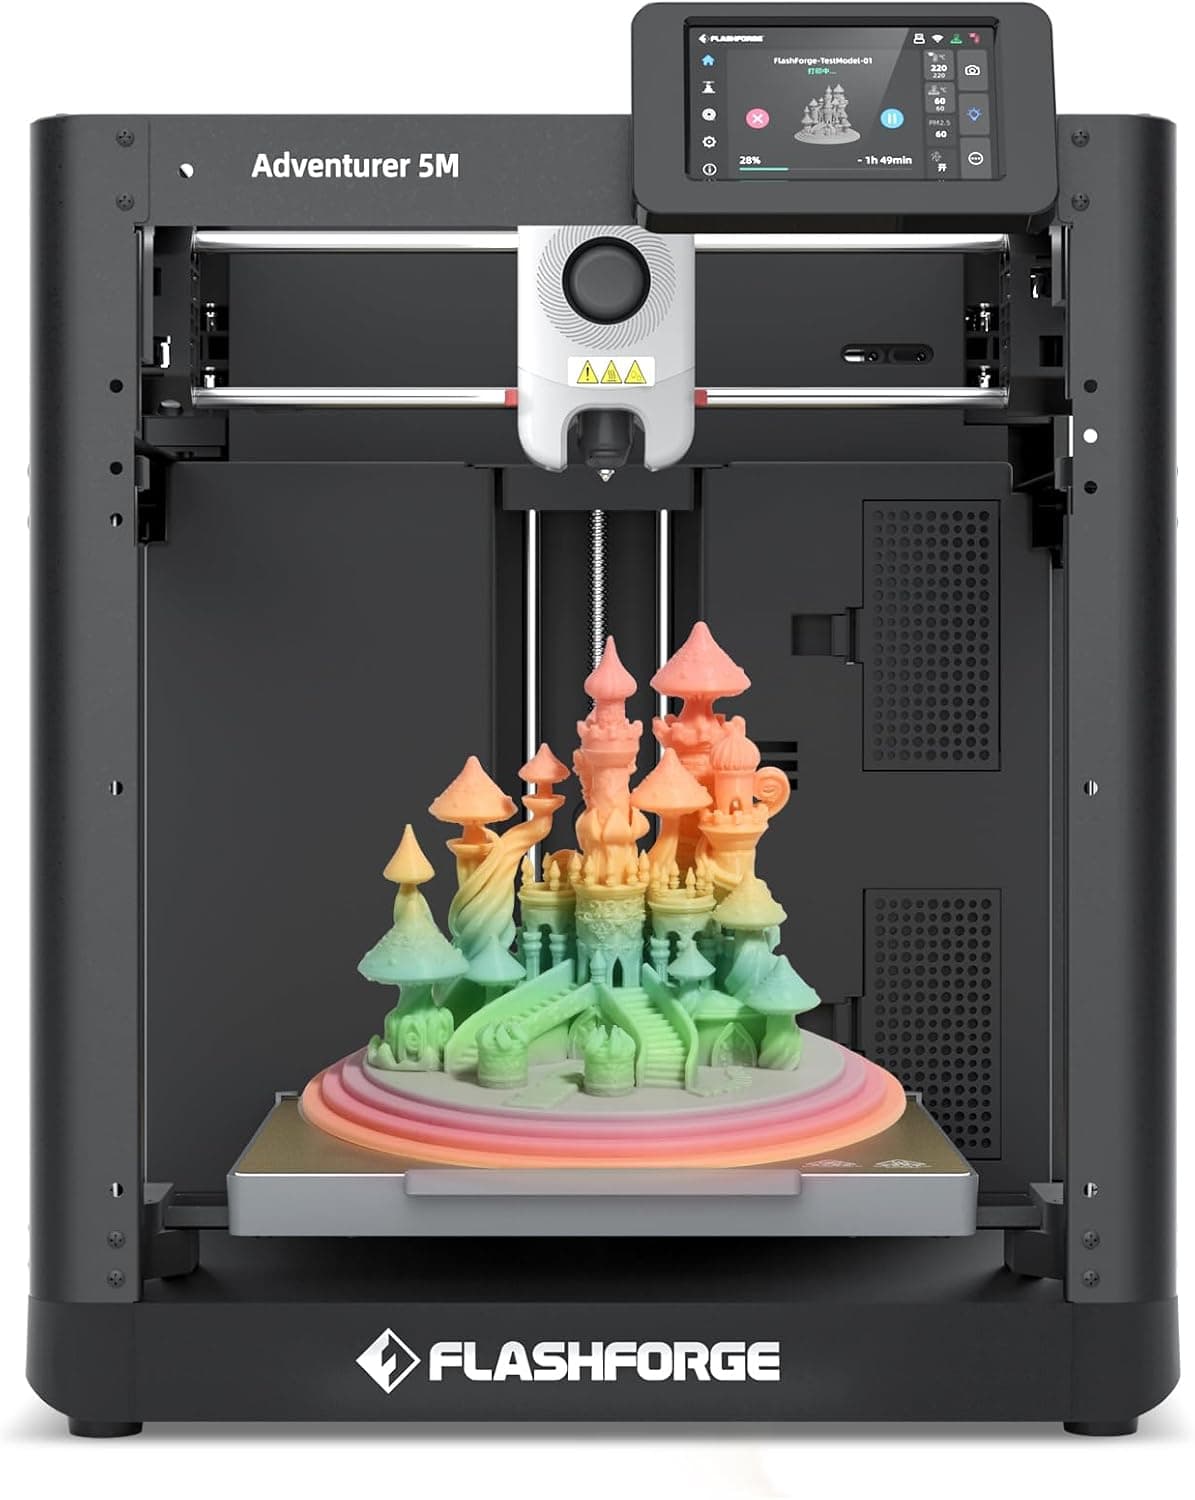
+ 600mm/s rated speed makes it one of the quickest beginner picks
From our guide: Best Beginner 3D Printers for a Smooth First Print (2026)
+ Translucent bottle shows internal detail and suits light-up models
From our guide: Best Standard Resin for Sharp, Affordable Prints (2026)
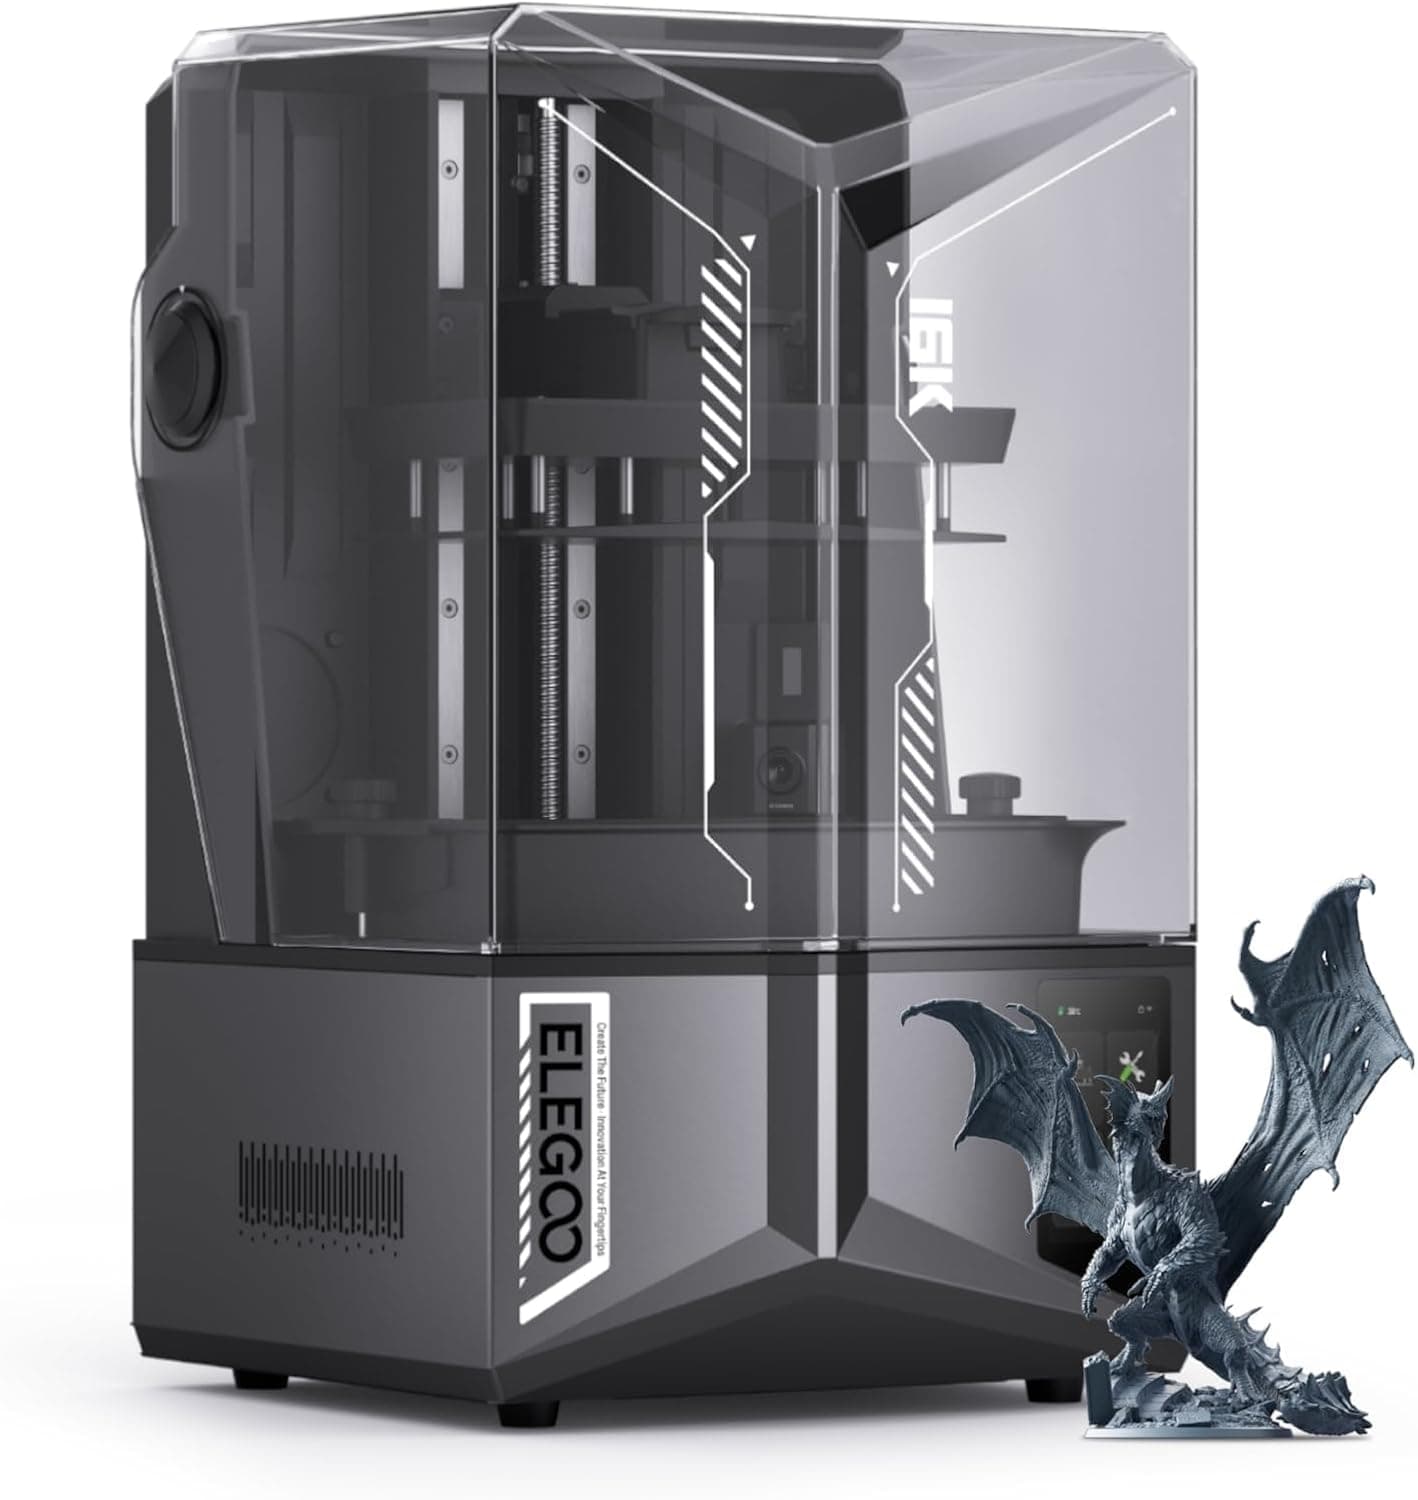
The core hardware is simpler than FDM in some ways and messier in others. A resin printer has a build plate, a resin vat with a transparent FEP or ACF film at the bottom, and a masking LCD. There are no moving extruders or belts to tune. What you gain in mechanical simplicity you pay for in handling, since liquid resin is sticky, smelly, and requires post-processing to finish every print.
Getting good prints starts with a level build plate and correct exposure. Most machines level by loosening the plate, homing it flat against the screen with a sheet of paper, and locking it down. Exposure settings, the time each layer is flashed, are the resin equivalent of temperature towers. Too little exposure and parts fail to form or come out weak, too much and fine detail bloats and small holes close up.
Slicing resin models differs from FDM. You orient the part at an angle to reduce the cross-section cured at once, which lowers peel forces and improves success. Supports are almost always needed and are added as thin pillars with small contact tips that hold the model up off the plate and support overhangs. Hollowing large models and adding drain holes saves resin and reduces suction problems.
Run an exposure test print, often a small model with graded features, when starting a new resin or after a big temperature change. Resin cures differently as it warms and cools, so a printer in a cold room may need longer exposure than the bottle suggests. Dial in the setting that gives crisp detail without loss of small features, and record it per resin.
Set expectations about the workflow before you start. Every print comes off the plate wet with uncured resin that must be washed and then cured, and failed prints can leave cured chunks stuck to the film that must be removed before the next job. Resin printing rewards patience and cleanliness, and once the routine is established the detail it produces is hard to match with any filament machine.
Cleanliness is the quiet skill that separates smooth resin printing from constant frustration. Keep paper towels, gloves, and a spare FEP film on hand, filter resin back into the bottle through a fine strainer after a failed print to catch cured bits, and inspect the vat film for cloudiness or dents. A clean vat and screen prevent a surprising share of failed prints and protect the machine's most fragile parts.
Popular right now
- 3D Printing Supports GuideArticle
- Best Resin 3D Printers for Sharp, Detailed Models (2026)Buying guide
- Best PTFE Tubing for Smooth Filament Feeding (2026)Buying guide
- Best Beginner 3D Printers for a Smooth First Print (2026)Buying guide
- 3D Printer Filament Temperature ChartArticle
- Best Budget 3D Printers for Value Under Pressure (2026)Buying guide
Based on the last 28 days of search and visitor data.