How to Fix Elephant's Foot on 3D Prints
Published How we research
Elephant's foot is the slight bulge around the bottom layers of a 3D print, making the base wider than the rest of the model. It is often subtle, but it can prevent parts from fitting together and ruins dimensional accuracy. Elephant's foot usually comes from squishing the first layer too much or from a hot bed keeping bottom layers soft while the weight of the print presses down.
Why it happens
A good first layer needs to be pressed slightly into the bed for adhesion. If the nozzle is too close, extra plastic spreads outward. As more layers are added, heat from the bed keeps lower layers soft enough to bulge under the weight above.
Prints with large flat bases and materials that stay soft at bed temperature, such as PETG and ABS, are more prone to elephant's foot.
Adjust nozzle height
If the first layer looks very flat and wide, raise the nozzle slightly using the Z offset in small steps. The first layer should be well bonded with lines just touching each other, without being smeared thin.
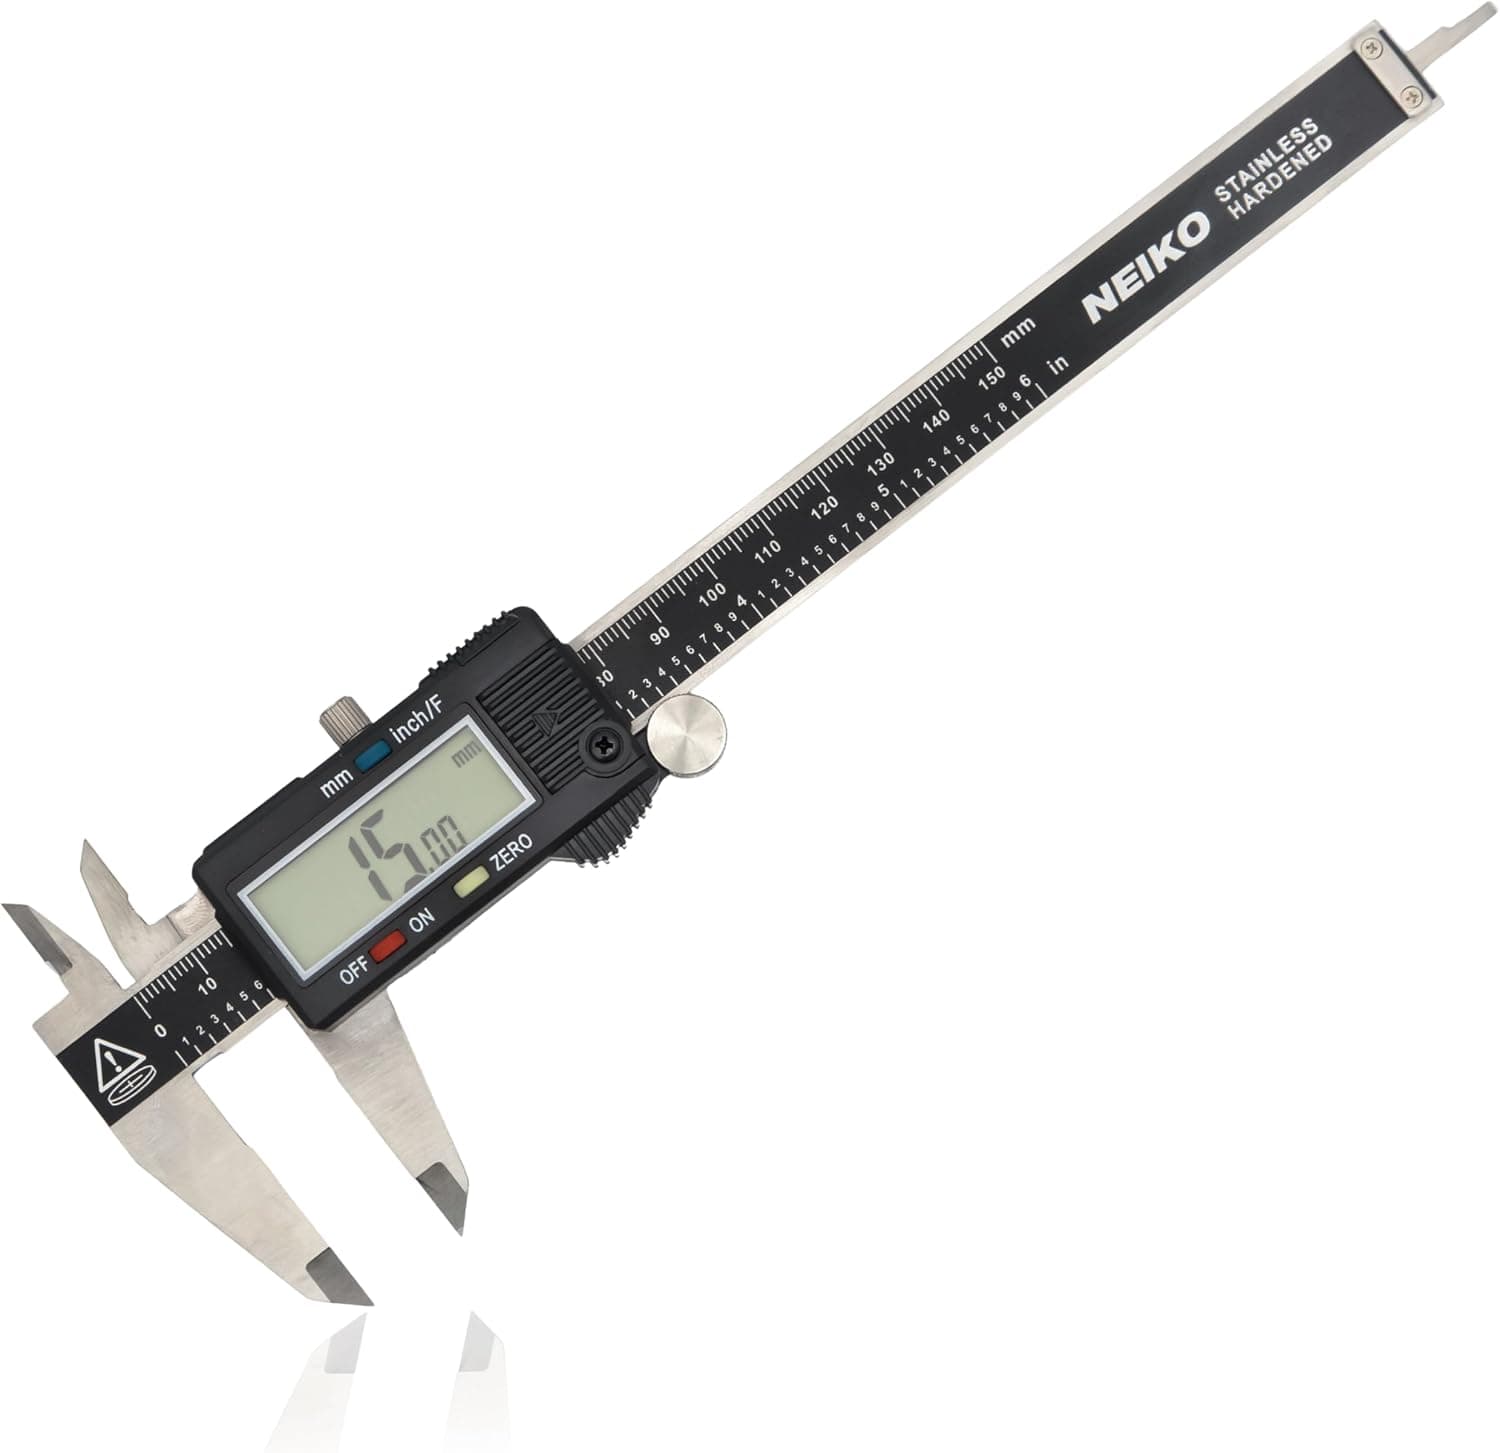
After re-levelling the bed or changing the build plate, check first layer height again. A digital caliper helps measure how much bulge remains.
Lower bed temperature
Reducing bed temperature by 5-10°C can reduce softening in bottom layers while maintaining adhesion. Test in small steps and watch for warping.
Some slicers allow a higher bed temperature for the first layer and a lower temperature afterward. This keeps adhesion strong while reducing heat later in the print.
Use slicer compensation
Many slicers include an elephant's foot compensation setting that shrinks the first layer slightly inward. Start with a small value, such as 0.1-0.2 mm, and measure results.
Adding a small chamfer to the bottom edges in the model design also hides elephant's foot and makes parts easier to assemble.
Balance cooling and first layer flow
Cooling fans are often turned off for the first layers to improve adhesion. Turning them on gradually earlier can help layers solidify faster, particularly with PLA.
Check first layer flow rate and line width. Excessive first layer flow adds material that spreads outward, contributing to bulging edges.
Measure to confirm the fix
Print a simple calibration cube or a short rectangular test part and measure the width at the very bottom and a few millimetres higher with digital calipers. The difference tells you exactly how much elephant's foot remains and whether each change helped.
Change one setting at a time, such as Z offset first, then bed temperature, then slicer compensation, and write down the result of each test. This avoids stacking several corrections that later cause poor adhesion or a gap between the first and second layers.
Products from this article
The highest-scoring picks from the buying guides mentioned above. Scores are our editorial assessment, not customer ratings.
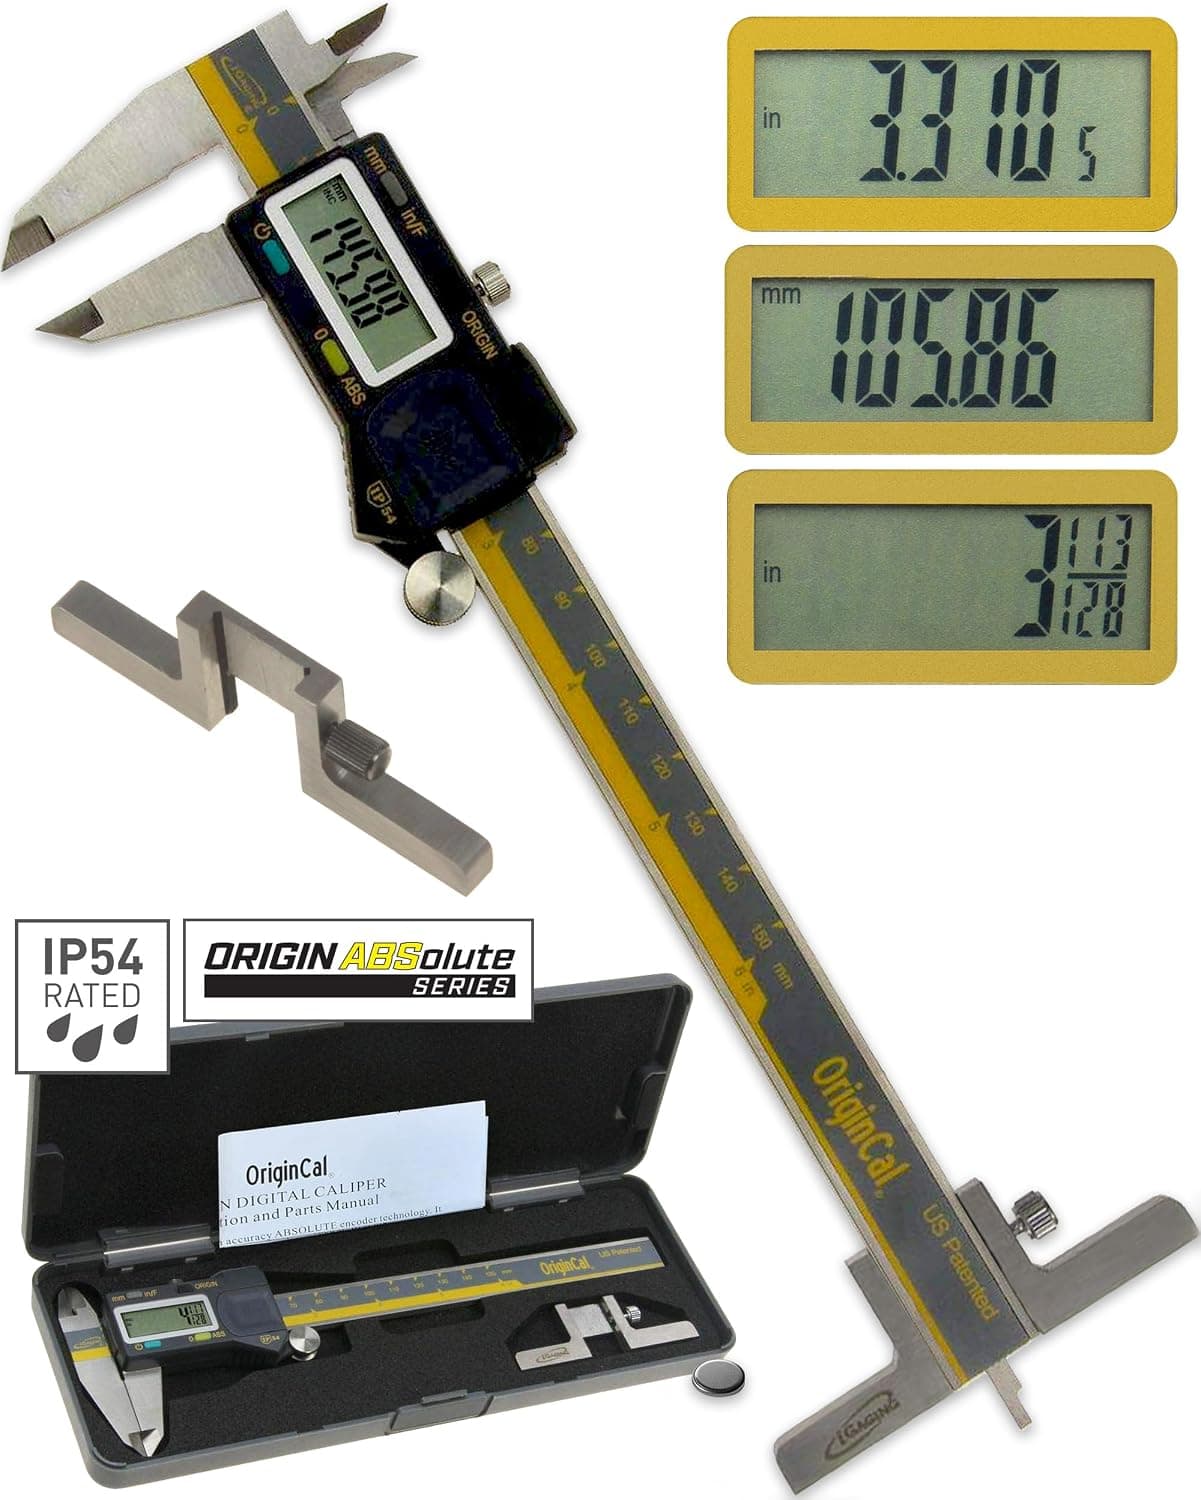
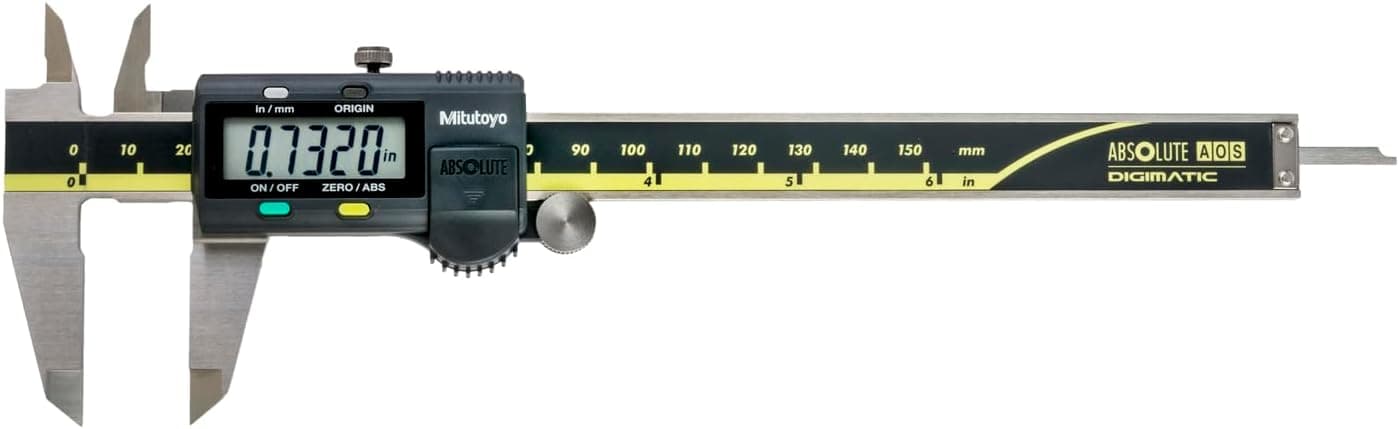
+ Absolute Origin keeps zero reference even after power off
From our guide: Best Digital Calipers for Precise Print Measuring (2026)
+ Textured PEI grips PLA and PETG well and gives a patterned finish
From our guide: Best PEI Build Plates for Strong First Layers (2026)
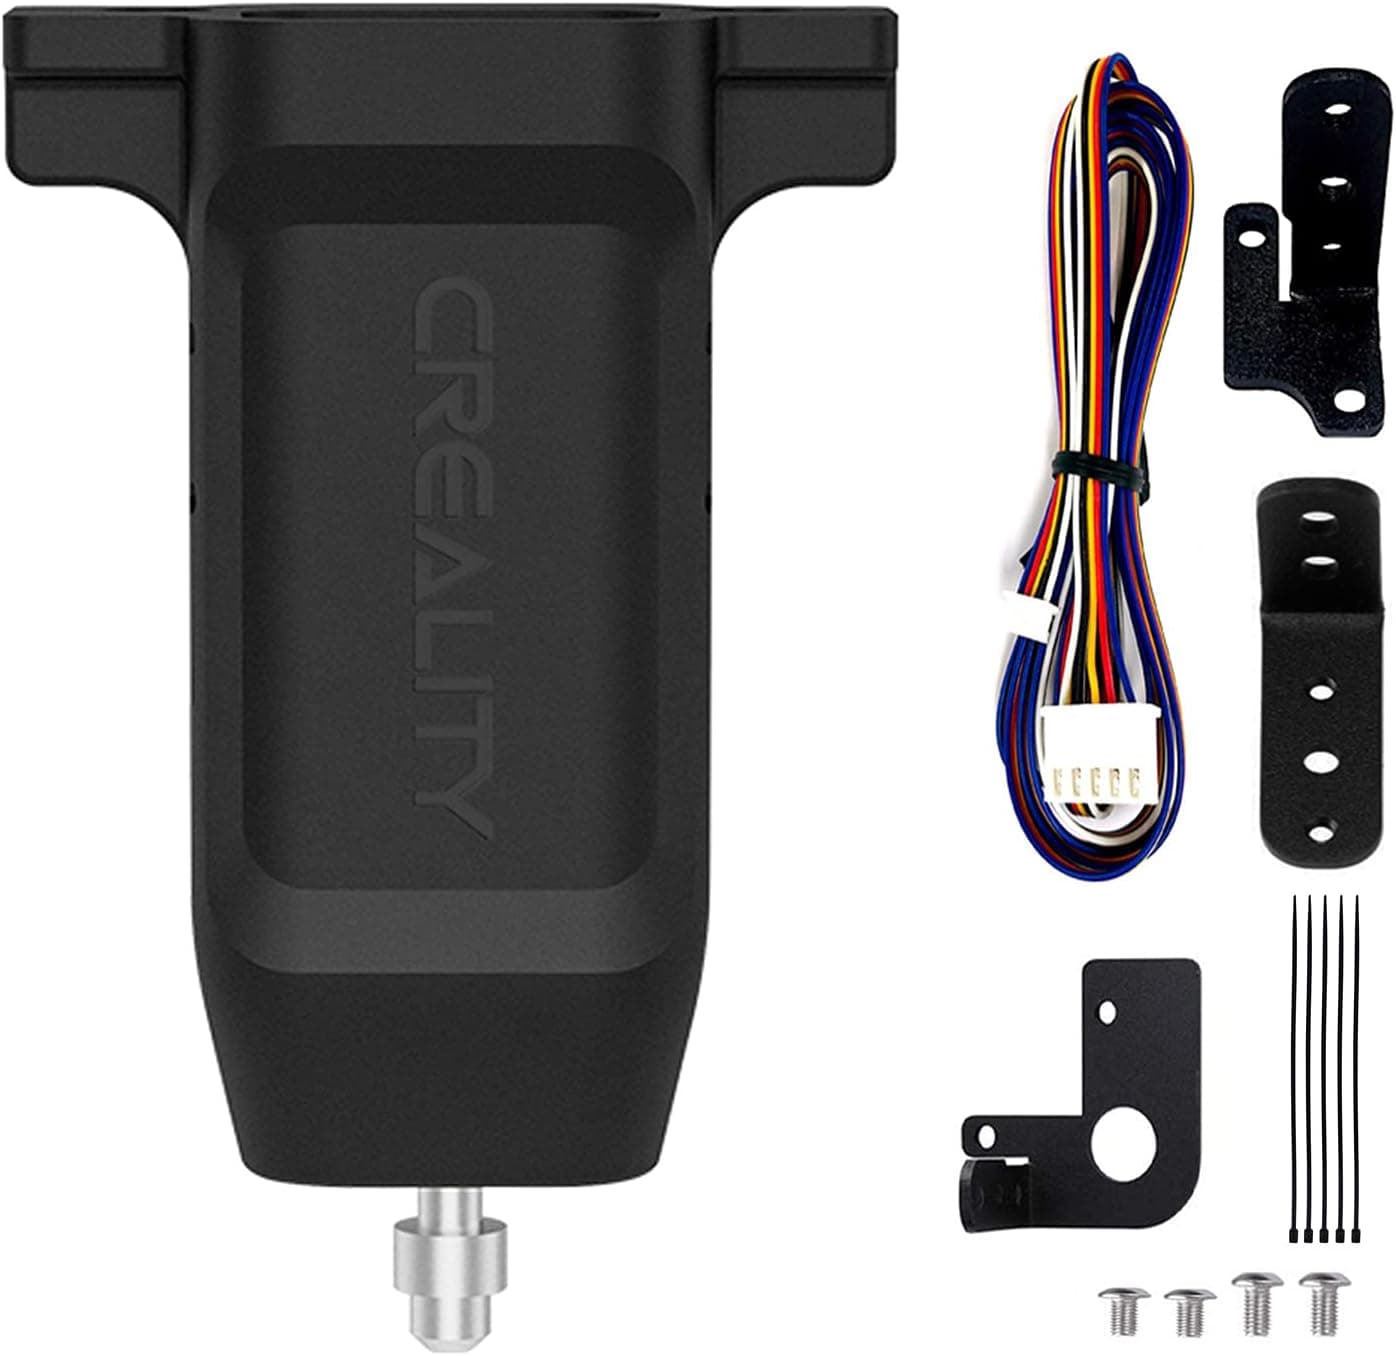
+ Official kit targets Ender 3, V2, Max and Ender 5 printers
From our guide: Best Bed Leveling Sensors for Perfect First Layers (2026)
+ Mitutoyo is a benchmark brand for precision measuring tools
From our guide: Best Digital Calipers for Precise Print Measuring (2026)
Popular right now
- Best Budget 3D Printers for Value Under Pressure (2026)Buying guide
- Best FDM 3D Printers for Reliable Everyday Prints (2026)Buying guide
- Best Resin 3D Printers for Sharp, Detailed Models (2026)Buying guide
- Troubleshooting a Failed 3D PrintArticle
- Best Beginner 3D Printers for a Smooth First Print (2026)Buying guide
- Temperature Tower GuideArticle
Based on the last 28 days of search and visitor data.