3D Print Speed vs Quality
Published How we research
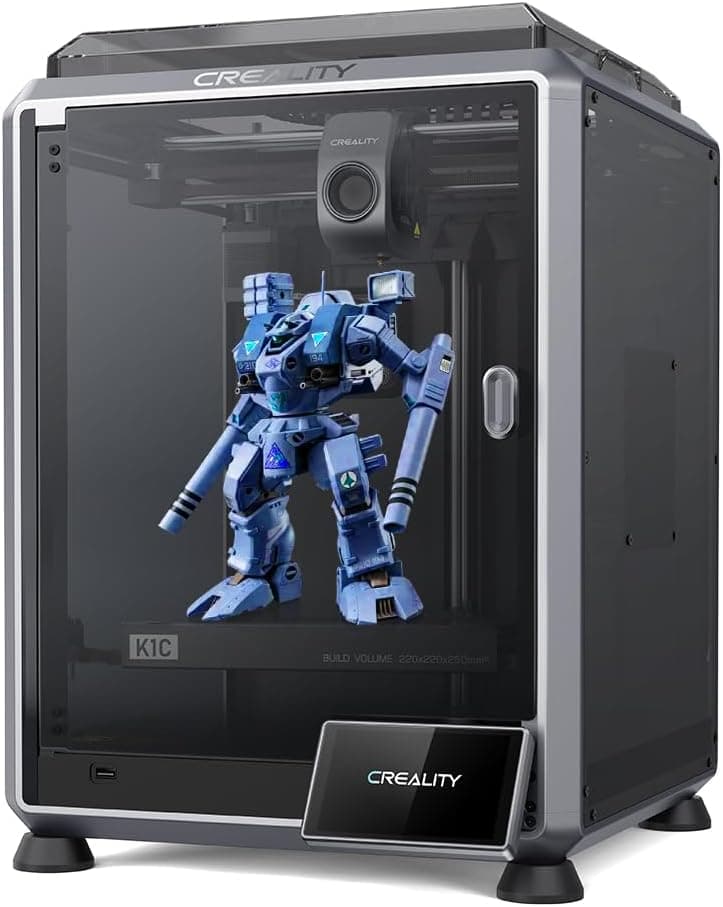
Print speed is a balance, and pushing it blindly trades away quality and reliability. The speed a printer can actually sustain is limited by how fast the hotend can melt plastic, how well the frame handles acceleration without shaking, and how quickly each layer can cool. Understanding these limits lets you speed up where it is safe and hold back where it is not.
Products from this article
The highest-scoring picks from the buying guides this article links to. Scores are our editorial assessment, not customer ratings.
+ Carbon fiber capability suits stiff brackets, drone parts and jigs
From our guide: Best Fast 3D Printers for High-Speed Printing (2026)
+ 0.15-1 MM range covers fine detail and large nozzles alike
From our guide: Best Nozzle Cleaning Kits to Clear Clogs Fast (2026)
+ Automatic bed leveling with no manual adjustment, plus a dual-sided PEI platform for easy removal
From our guide: Best Budget 3D Printers for Value Under Pressure (2026)
+ Anti-vibration tuning reduces ringing when printing at high speed
From our guide: Best Fast 3D Printers for High-Speed Printing (2026)
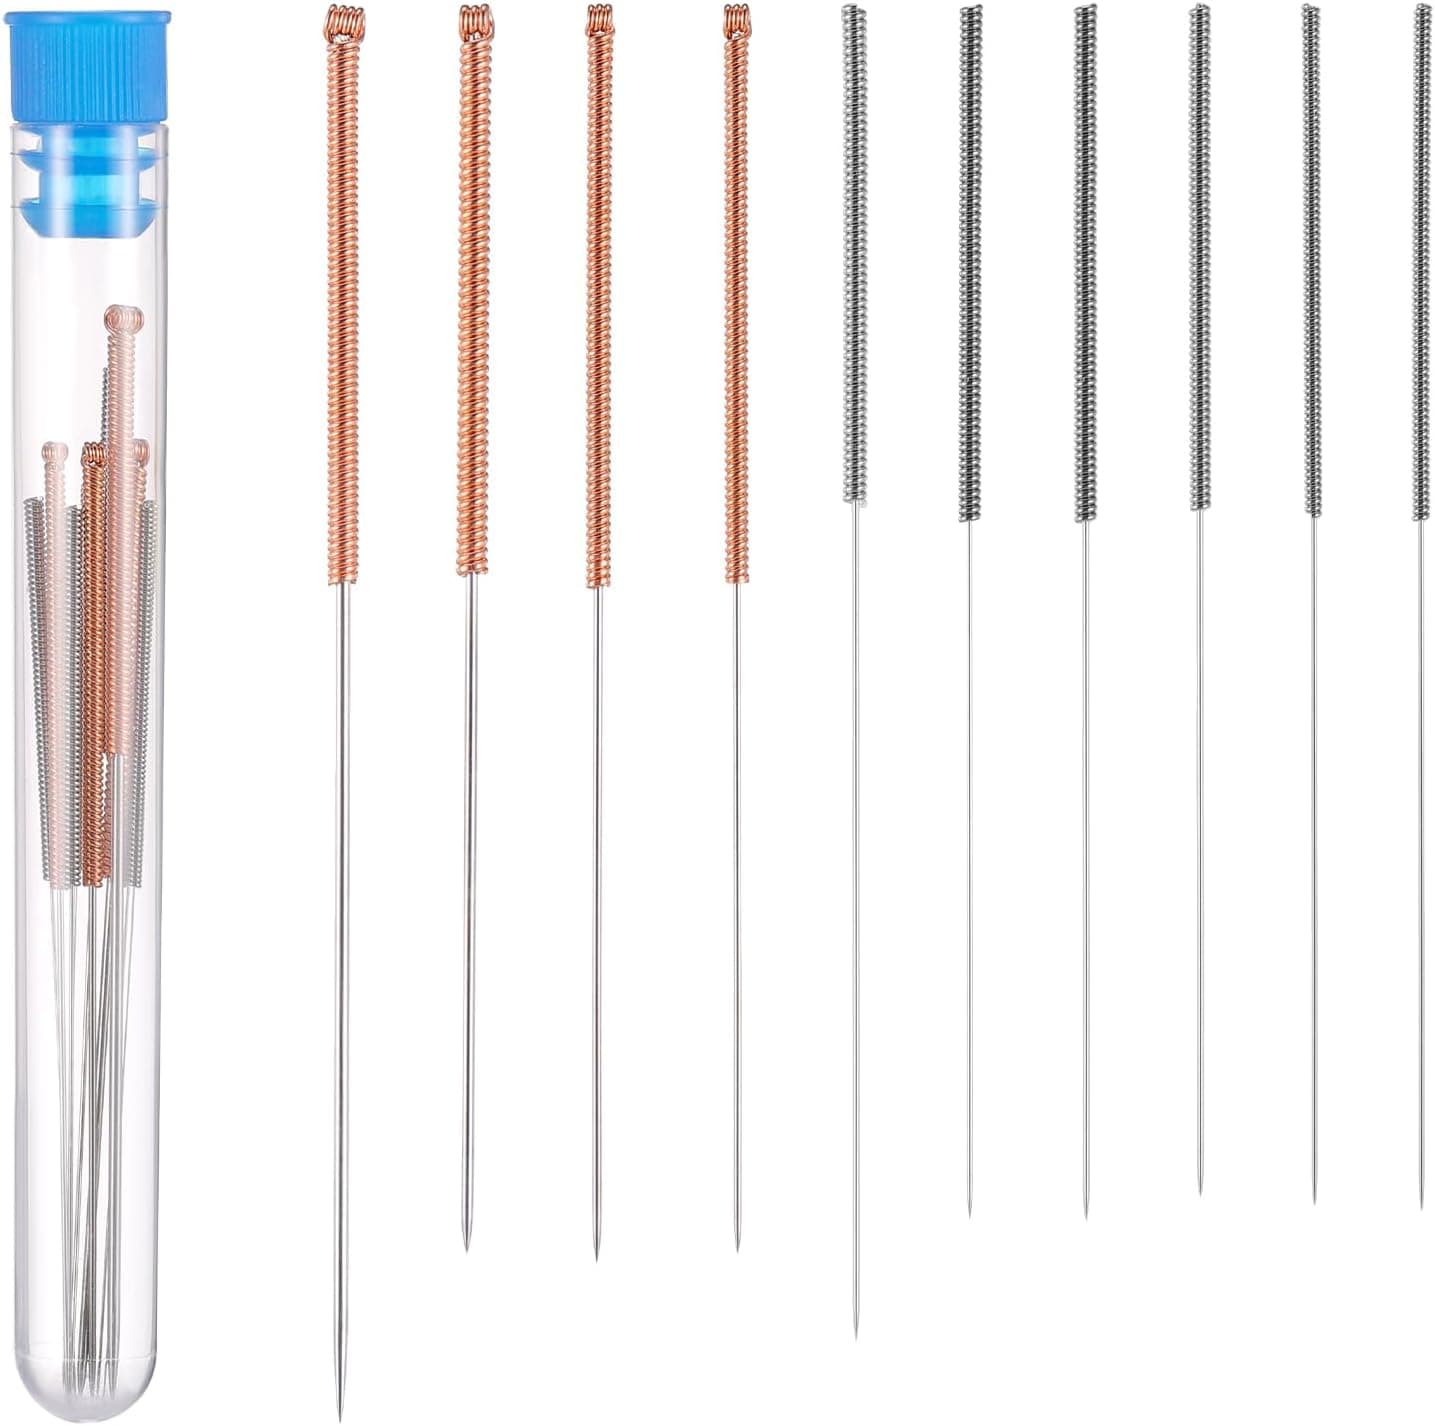
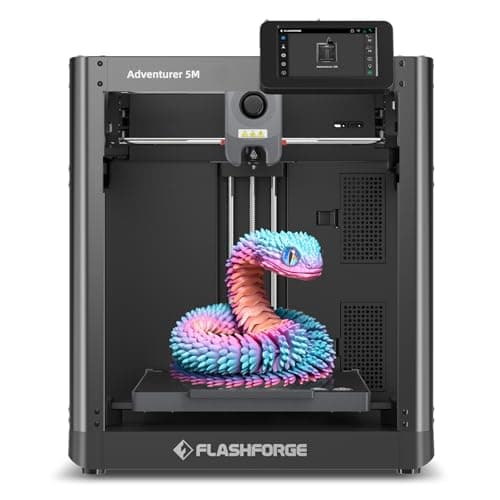
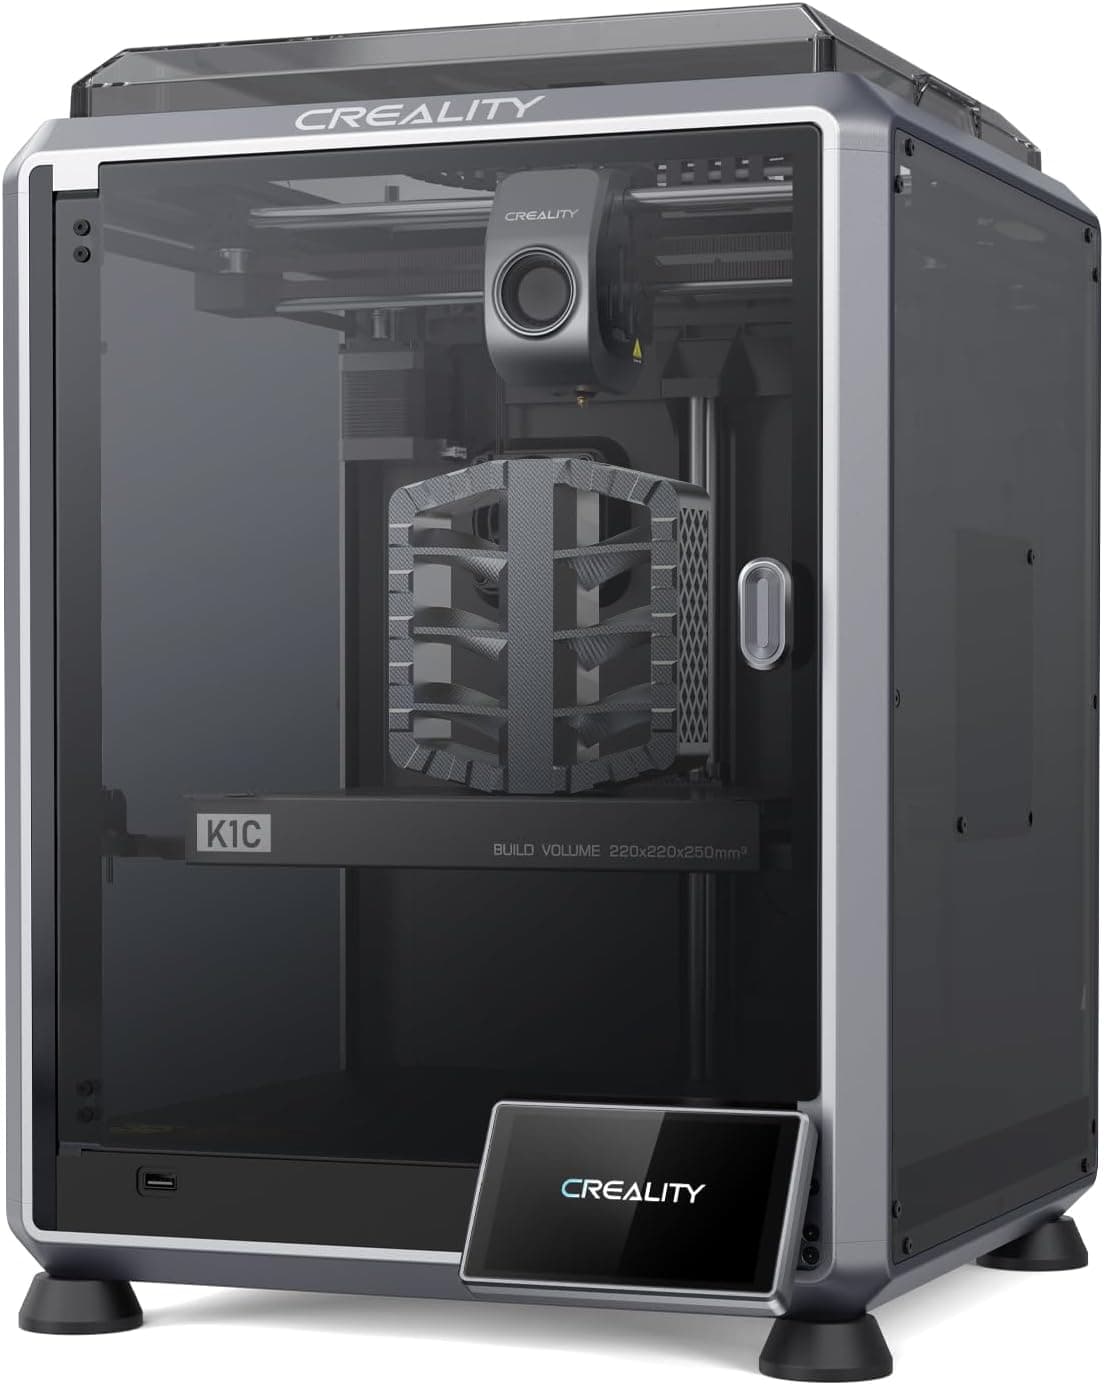
The real bottleneck for many printers is the hotend's melt rate, measured as volumetric flow in cubic millimeters per second. Beyond a certain flow the nozzle cannot melt filament fast enough, and you get under-extrusion no matter how fast the motors move. A higher-flow hotend or a larger nozzle raises this ceiling, which is often why upgraded machines print faster without losing quality.
Not all speed settings are equal, so change them selectively. Outer wall speed most affects surface quality, so keep it moderate for clean visible surfaces even when the rest of the print is fast. Infill and travel moves can be much faster with little visual impact. Slowing the first layer improves adhesion. This targeted approach gets most of the time savings while protecting the parts that show.
Acceleration and jerk, or their modern equivalent input shaping, govern how quickly the head changes direction. Too high, and the printer's frame flexes and vibrates, leaving ringing or ghosting artifacts, faint ripples after sharp edges. Input shaping compensates for these resonances and lets you accelerate harder without ringing, which is a big part of why newer fast printers stay clean at high speed.
Cooling can also cap speed on small layers. If layers are printed faster than they can solidify, features slump and detail is lost. A minimum layer time setting forces the printer to slow down on small cross-sections so they cool, and strong part cooling supports higher speeds elsewhere. Fast printing and good cooling go together.
Be realistic about diminishing returns and reliability. Doubling the speed setting rarely halves the actual print time, because acceleration limits and small features eat into the gains, and it raises the chance of failed prints that waste far more time than they save. For important parts, favor moderate proven settings. Save aggressive speeds for drafts and simple shapes where a failure costs little.
A practical approach is to keep two profiles: a fast draft profile for prototypes and throwaway parts, and a slower quality profile for final or functional pieces. This lets you iterate quickly early on, then switch to proven, conservative settings when a print actually matters. Trying to make one aggressive profile do everything usually means either slow drafts or failed final prints, whereas two purpose-built profiles serve both needs well.
Popular right now
- 3D Printing Supports GuideArticle
- Best Resin 3D Printers for Sharp, Detailed Models (2026)Buying guide
- Best PTFE Tubing for Smooth Filament Feeding (2026)Buying guide
- Best Beginner 3D Printers for a Smooth First Print (2026)Buying guide
- 3D Printer Filament Temperature ChartArticle
- Best Budget 3D Printers for Value Under Pressure (2026)Buying guide
Based on the last 28 days of search and visitor data.