Troubleshooting a Failed 3D Print
Published How we research
Identify at what stage a print failed rather than changing settings at random. First-layer failures (most common) mean leveling, Z offset, or bed temperature. Detachment mid-print means adhesion lost its grip, usually warping. Spaghetti means the part came loose and the nozzle kept extruding into air. Layer shifts are mechanical (a slipped belt or an obstruction). Under-extrusion means a clog, wet filament, or wrong temperature. Change one variable at a time and log what you tried. When a print fails, the fastest route to a fix is to identify at what stage and in what way it went wrong, rather than changing settings at random. Failures cluster into a handful of patterns, and each points to a small set of causes. Watch the print, note where it broke down, and match the symptom to its likely source before touching anything.
Products from this article
The highest-scoring picks from the buying guides this article links to. Scores are our editorial assessment, not customer ratings.
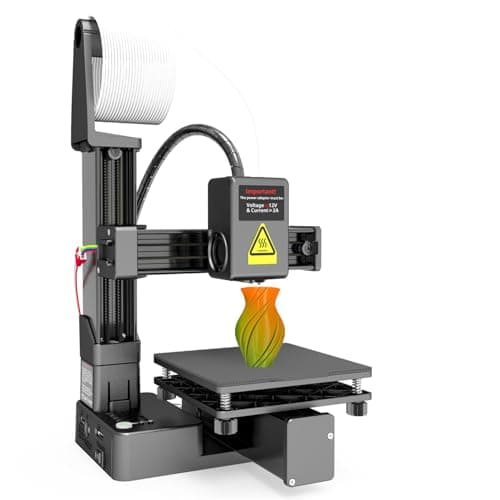
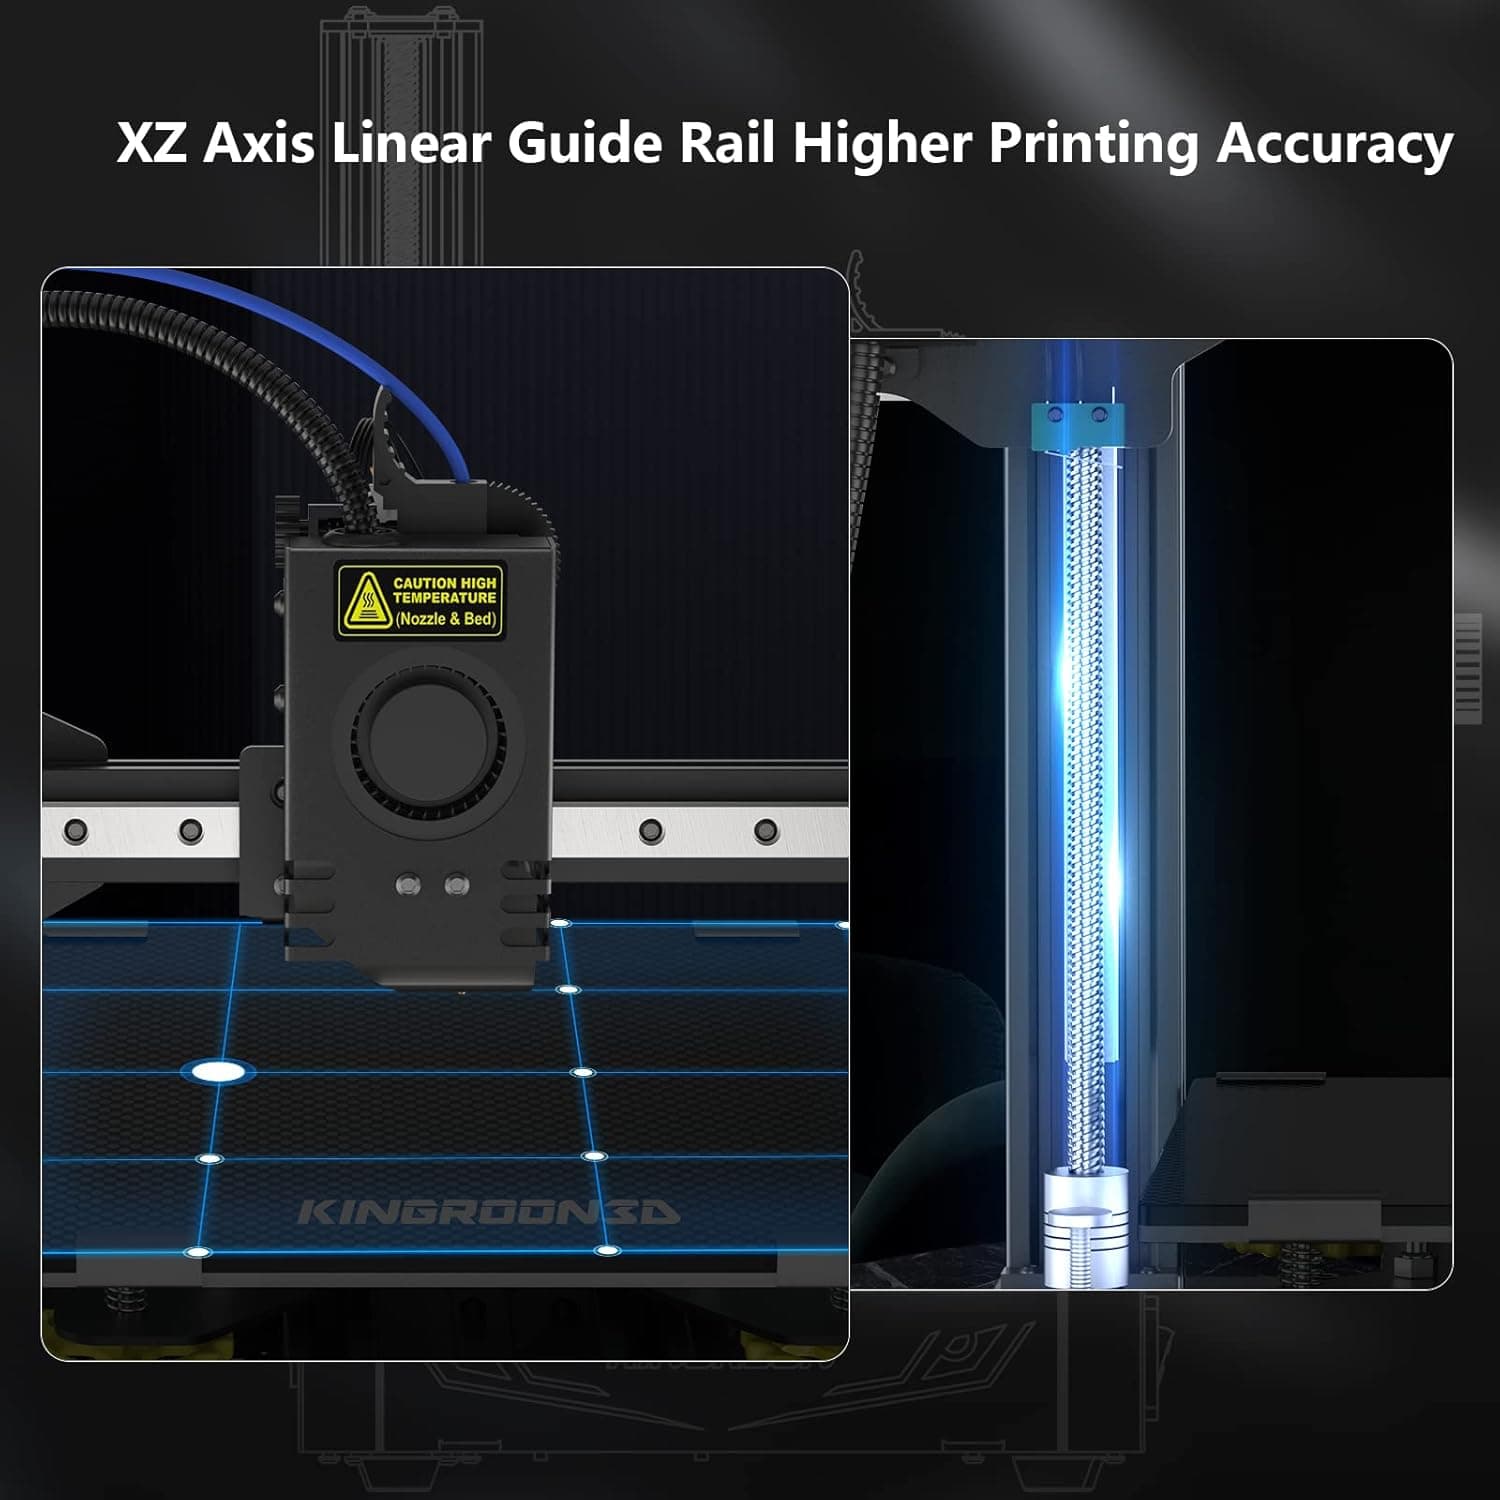
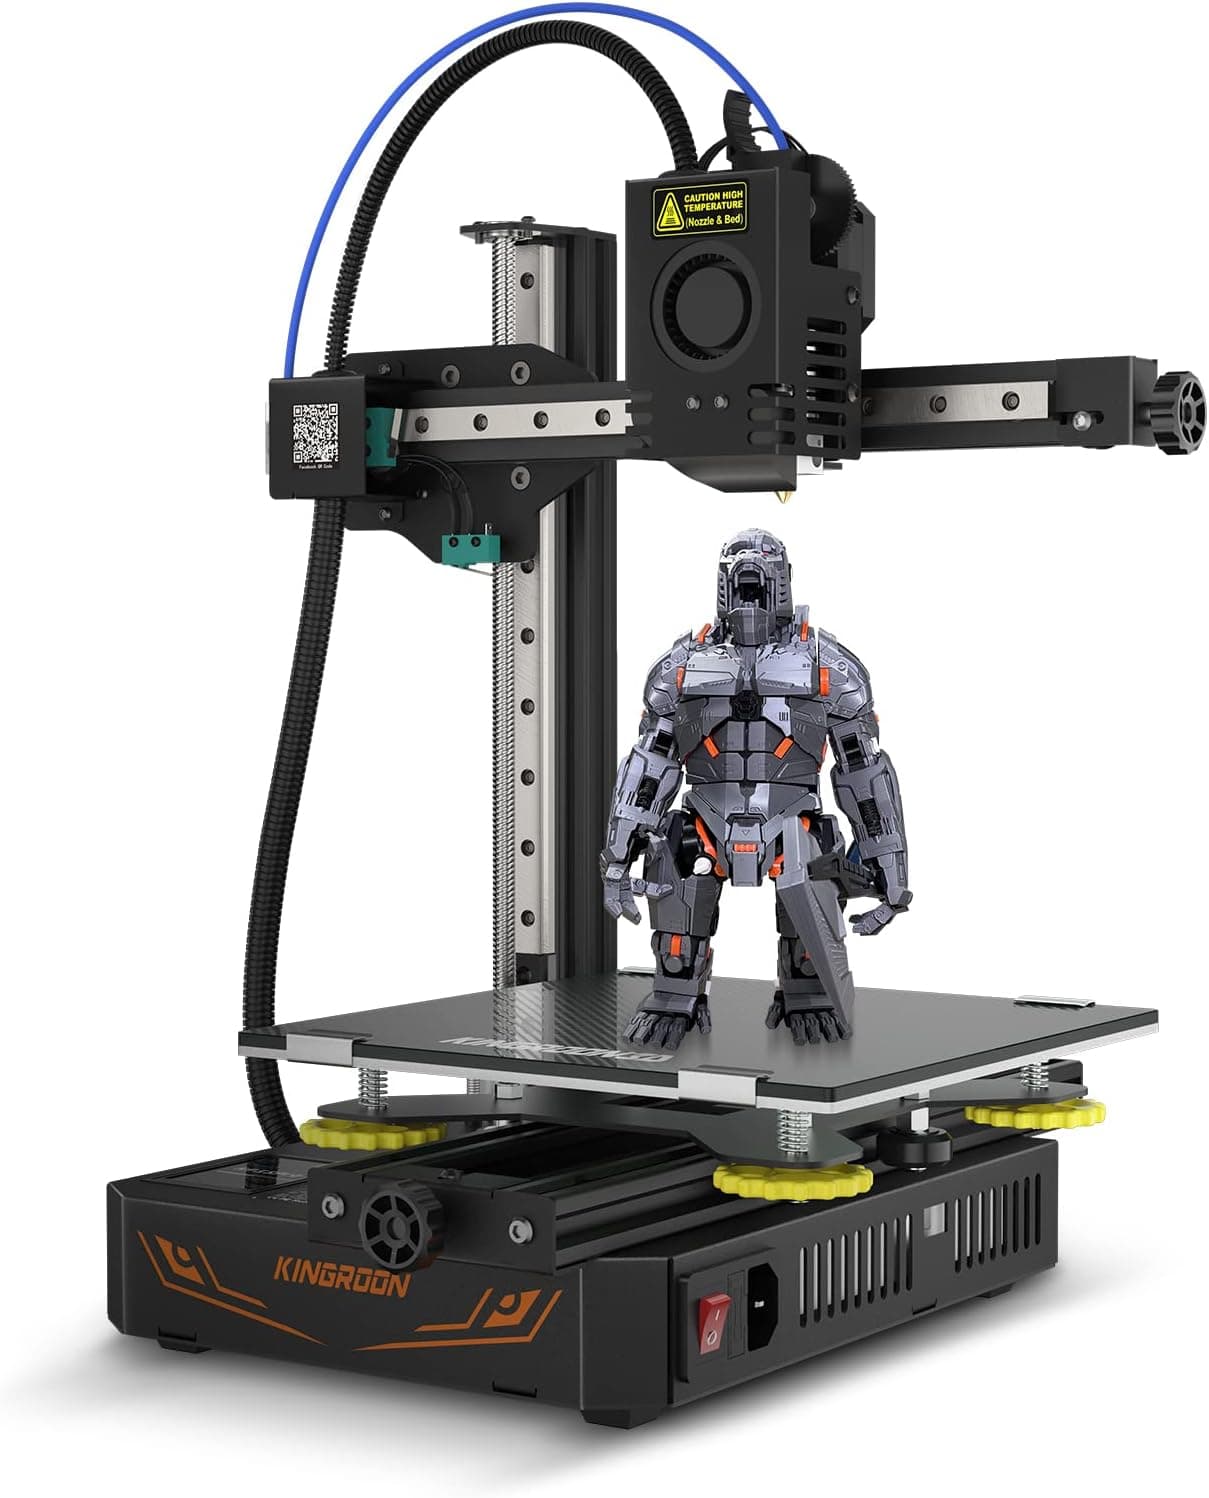
+ Double linear guide rails give smoother, more precise axis movement
From our guide: Best Mini 3D Printers for Small Spaces (2026)
+ XZ linear guide rails keep motion accurate on a compact printer
From our guide: Best Mini 3D Printers for Small Spaces (2026)
+ Print speed up to 300 mm/s with 10000 mm/s2 acceleration is quick for a small entry-level machine.
From our guide: Best Mini 3D Printers for Small Spaces (2026)
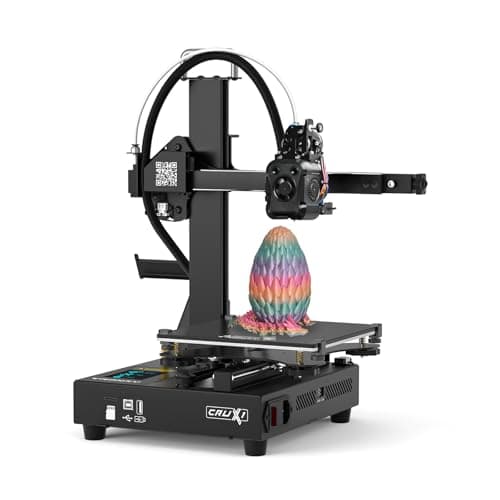
+ Auto leveling means kids and beginners skip fiddly calibration
From our guide: Best Mini 3D Printers for Small Spaces (2026)
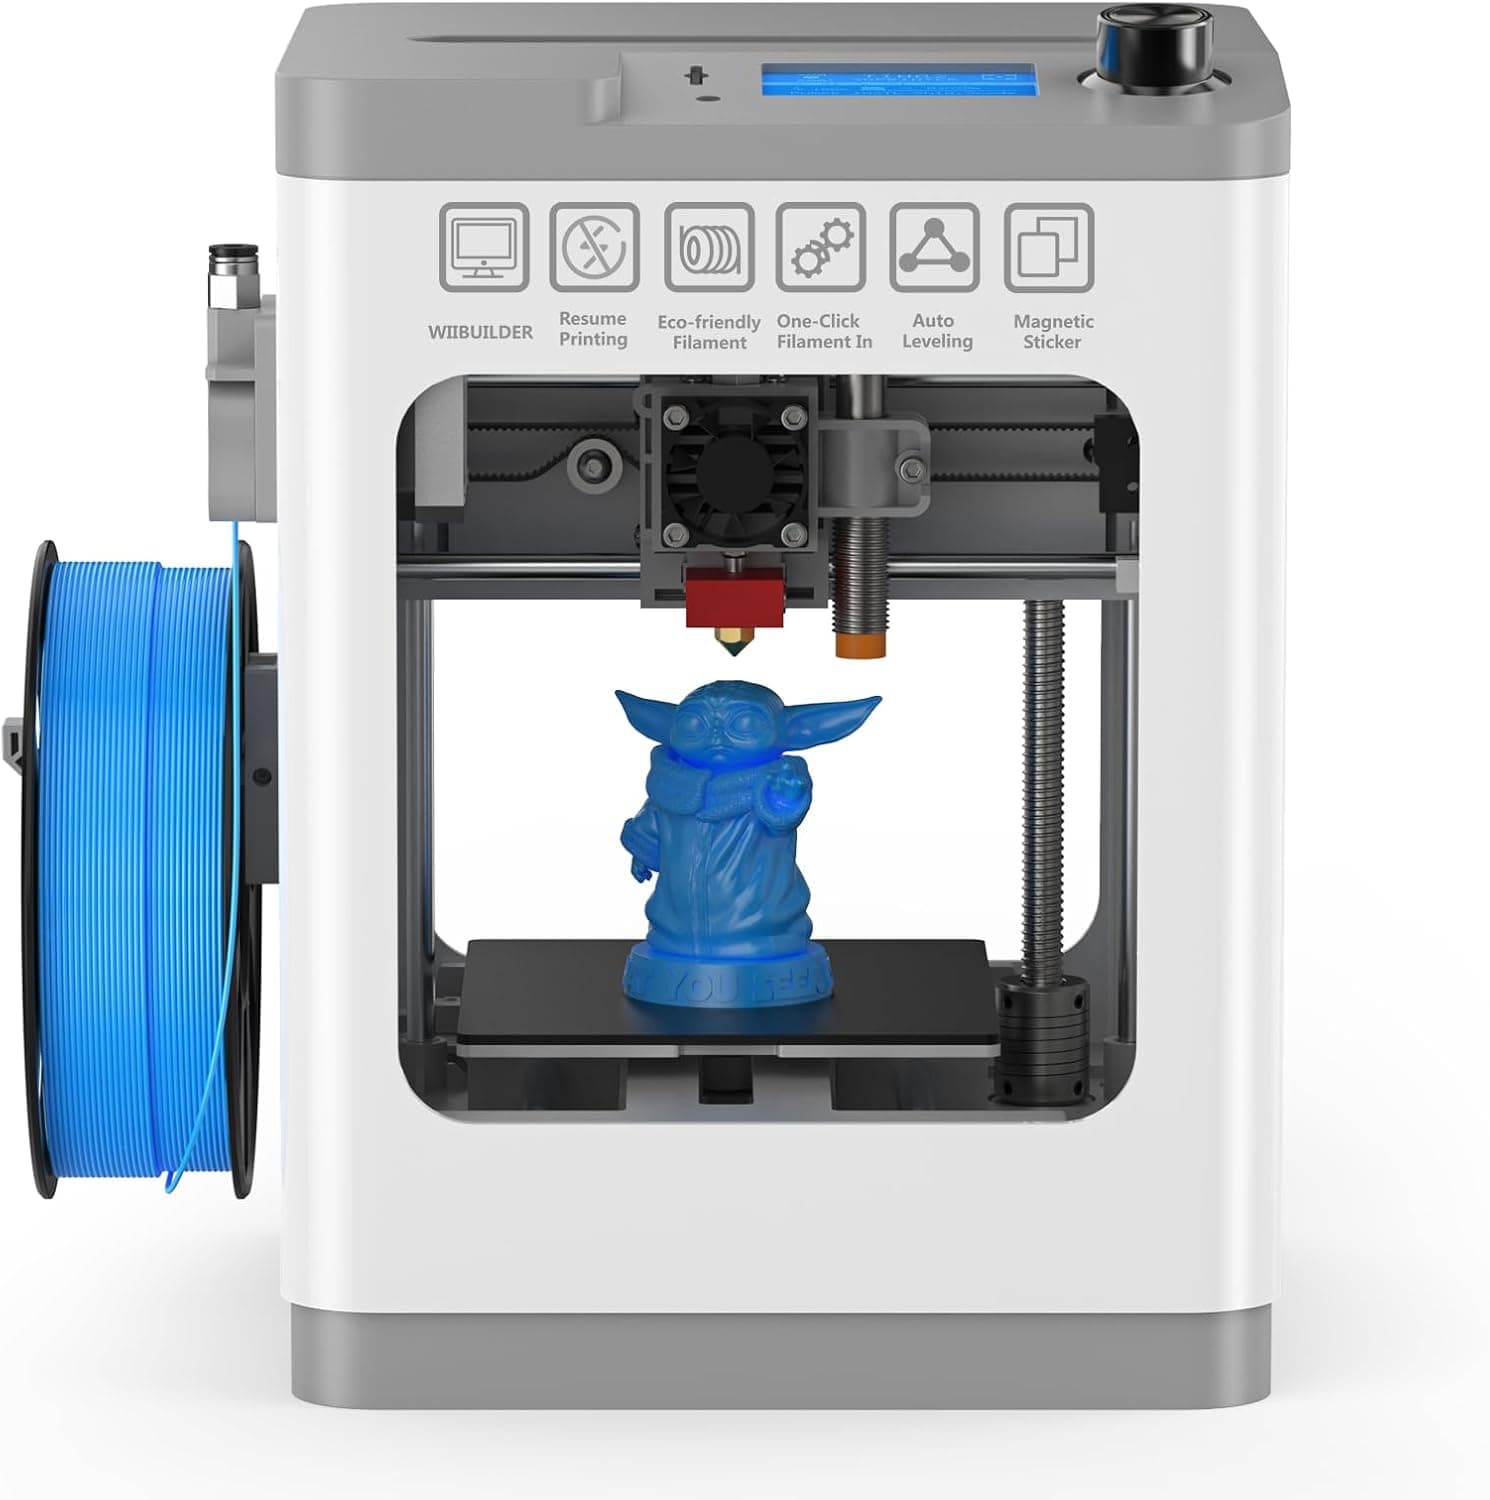
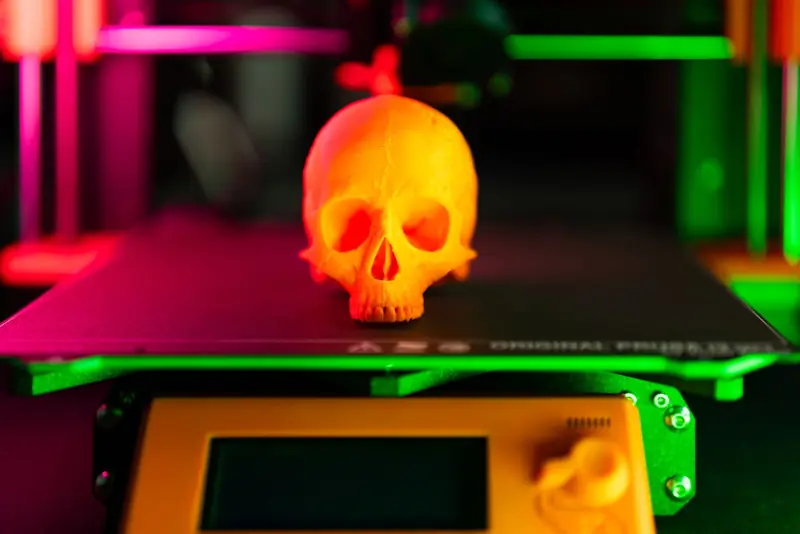
First-layer failures: the most common and preventable
First-layer failures are the most common and the most preventable. If plastic does not stick, comes out as loose squiggles, or the nozzle scrapes the bed, the problem is leveling, Z offset, a dirty plate, or bed temperature. Clean the surface, recheck the nozzle height until the first layer is slightly squished and fused, and confirm the bed is at the right temperature for the material. Most failures never get past this stage.
Prints detaching partway through
Prints detaching partway through point to adhesion losing its grip as the part grows. Warping corners lift and eventually pull the whole print loose, especially with ABS or large flat parts. Address it with a hotter bed, a brim or raft, reduced part cooling for high-temperature materials, and an enclosure to hold a stable warm ambient temperature. A draft from a window is a frequent hidden cause.
Spaghetti: a tangle of stray plastic
Spaghetti, a tangle of stray plastic in mid-air, usually means the print came loose from the bed or a support failed, after which the nozzle kept extruding into nothing. The root cause is almost always adhesion or a knocked-loose part rather than the extruder itself. Fixing the underlying adhesion problem prevents the mess. A filament runout or clog can also leave the print unfinished but clean rather than tangled.
Layer shifts are mechanical
Layer shifts, where the upper part of a print is offset from the lower, are mechanical. A belt slipped, the print head hit something like a warped corner or a blob, or a stepper motor skipped from moving too fast. Check and tension the belts, make sure nothing obstructs the head's travel, and reduce speed and acceleration if the machine is being pushed too hard. Loose pulleys are another common culprit.
Under-extrusion and gaps
Under-extrusion and gaps signal that plastic is not flowing as it should. Causes include a partial nozzle clog, wet filament bubbling at the nozzle, too low a temperature, a stripped filament grip in the extruder, or heat creep softening filament before the melt zone. Work through them in order, check filament is dry, confirm the temperature suits the material, and inspect the extruder and nozzle. Changing one variable at a time and reprinting a small test is the surest way to isolate the real cause.
Change one variable at a time
The habit that improves troubleshooting most is changing one variable at a time and keeping a short log of what you tried. It is tempting to adjust several settings at once, but then a success or failure tells you nothing about which change mattered. Methodical, single-variable testing on a small model isolates the real cause quickly, and over time your notes become a personal manual for your specific machine and materials.
Frequently asked questions
Why won't my 3D print stick to the bed? Leveling, Z offset, a dirty plate, or wrong bed temperature. Clean the surface, recheck the nozzle height until the first layer is slightly squished and fused, and confirm the temperature suits the material.
What causes 3D print spaghetti? Almost always the print coming loose from the bed (usually from warping) or a support failing, after which the nozzle keeps extruding into empty air. Fix the underlying adhesion problem to prevent it.
Why is the top of my print shifted from the bottom? A mechanical layer shift: a slipped belt, the head hitting an obstruction like a warped corner, or a stepper motor skipping from being pushed too fast. Check belt tension and reduce speed.
How do I troubleshoot 3D printer problems systematically? Change one variable at a time and keep a short log of what you tried and the result, so a success or failure actually tells you which change mattered.
Quick answers
What are the most common 3D printing problems?
Poor bed adhesion, stringing, warping, under-extrusion and layer shifts. Most are fixed by levelling the bed, cleaning the plate, drying filament and adjusting temperature and retraction.
Popular right now
- 3D Printing Supports GuideArticle
- Best Resin 3D Printers for Sharp, Detailed Models (2026)Buying guide
- Best PTFE Tubing for Smooth Filament Feeding (2026)Buying guide
- Best Beginner 3D Printers for a Smooth First Print (2026)Buying guide
- 3D Printer Filament Temperature ChartArticle
- Best Budget 3D Printers for Value Under Pressure (2026)Buying guide
Based on the last 28 days of search and visitor data.