How to Fix Resin Prints That Stick to the Vat Film
Published How we research
Opening a resin printer to find an empty build plate and a cured layer stuck to the FEP or vat film is a common resin printing failure. It means the first layers did not bond strongly enough to the build plate, so peel forces pulled them off. Build plate levelling, bottom exposure times, temperature and the condition of the film are the usual culprits.
Clear the vat safely first
Before starting another print, remove cured resin from the vat film. Wearing nitrile gloves, gently lift cured pieces with a plastic scraper or run a vat cleaning exposure if your printer supports it, which cures a thin sheet you can peel away.
Never use metal tools on the FEP, as scratches and punctures can leak resin onto the LCD screen. Filter the resin through a paint strainer to remove small cured fragments.
Relevel the build plate
An uneven build plate creates weak adhesion on one side. Follow your printer's levelling procedure carefully, usually using paper between the plate and screen, and tighten screws without moving the plate.
Some printers have self-levelling plates, but they still benefit from occasional checks. Make sure the plate is clean and free of cured residue before levelling.
Increase bottom exposure
Bottom layers need longer exposure times to bond to the build plate. If first layers stick to the FEP, increase bottom exposure in small increments, and check the number of bottom layers.
Resin manufacturers often provide recommended settings. Printing an exposure test calibration model helps dial in normal layer exposure as well.
Warm the resin and room
Cold resin becomes thicker and cures less effectively, which is common in garages and cool rooms during autumn and winter. Many resins work best around 20-30°C (68-86°F).
Use a small heater in the printing area or a printer enclosure heater, and let resin warm before printing. Shake or stir resin thoroughly to mix pigments.
Check the film and build plate surface
FEP film that is cloudy, scratched or too loose increases suction and peel forces. Replace worn film and tension it according to the printer manufacturer's instructions.
Lightly sanding smooth build plates can improve adhesion. Clean the plate with isopropyl alcohol to remove oils and residue before printing.
Review supports and orientation
Large flat areas printed parallel to the screen create strong suction that can tear layers off the build plate. Tilting models by around 30-45 degrees and hollowing large parts with drain holes reduces the cross-section of each layer and the peel force.
Use a raft and enough supports so the print is anchored well to the plate. Thin, sparse supports on heavy parts may break mid-print, leaving cured sections behind on the film even when the bottom layers bonded correctly.
Products from this article
The highest-scoring picks from the buying guides mentioned above. Scores are our editorial assessment, not customer ratings.
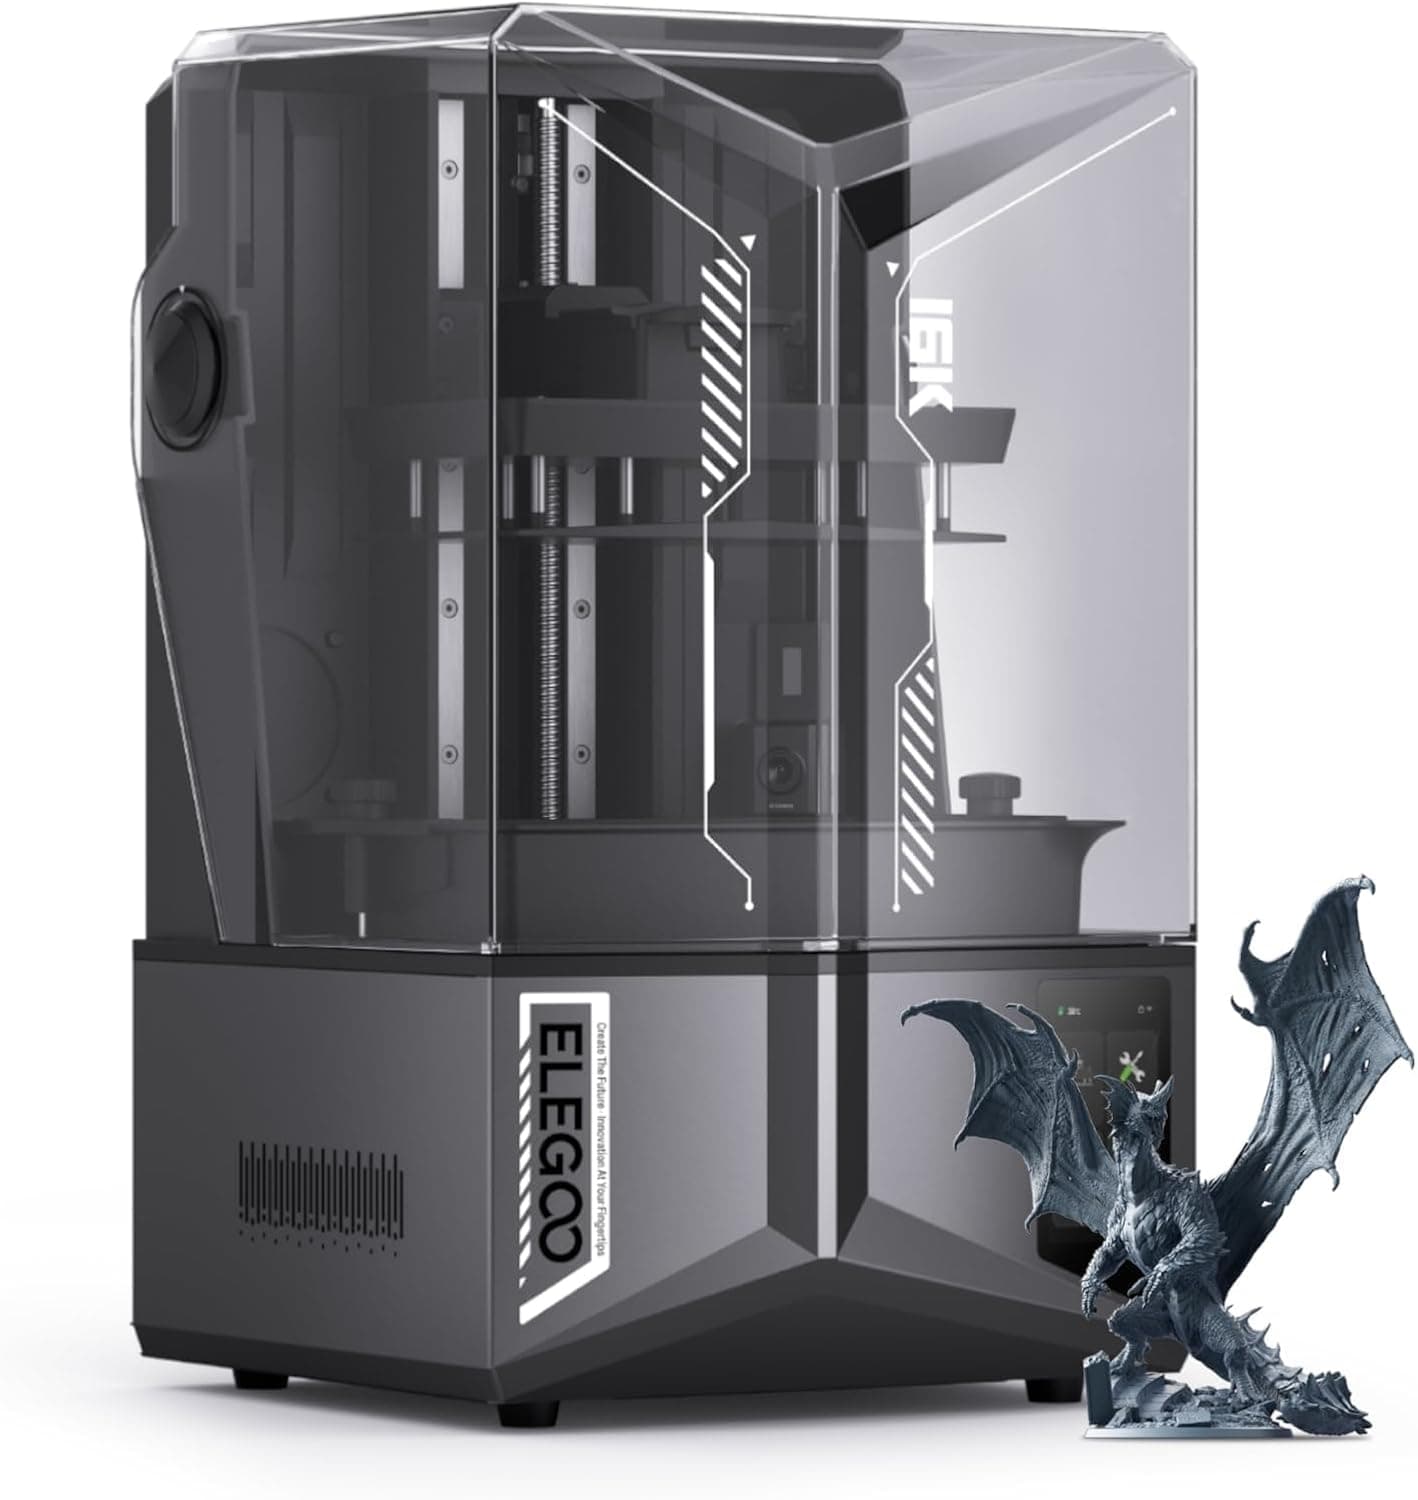
+ 16K mono screen resolves fine surface detail on miniatures and jewelry masters
From our guide: Best Resin 3D Printers for Sharp, Detailed Models (2026)
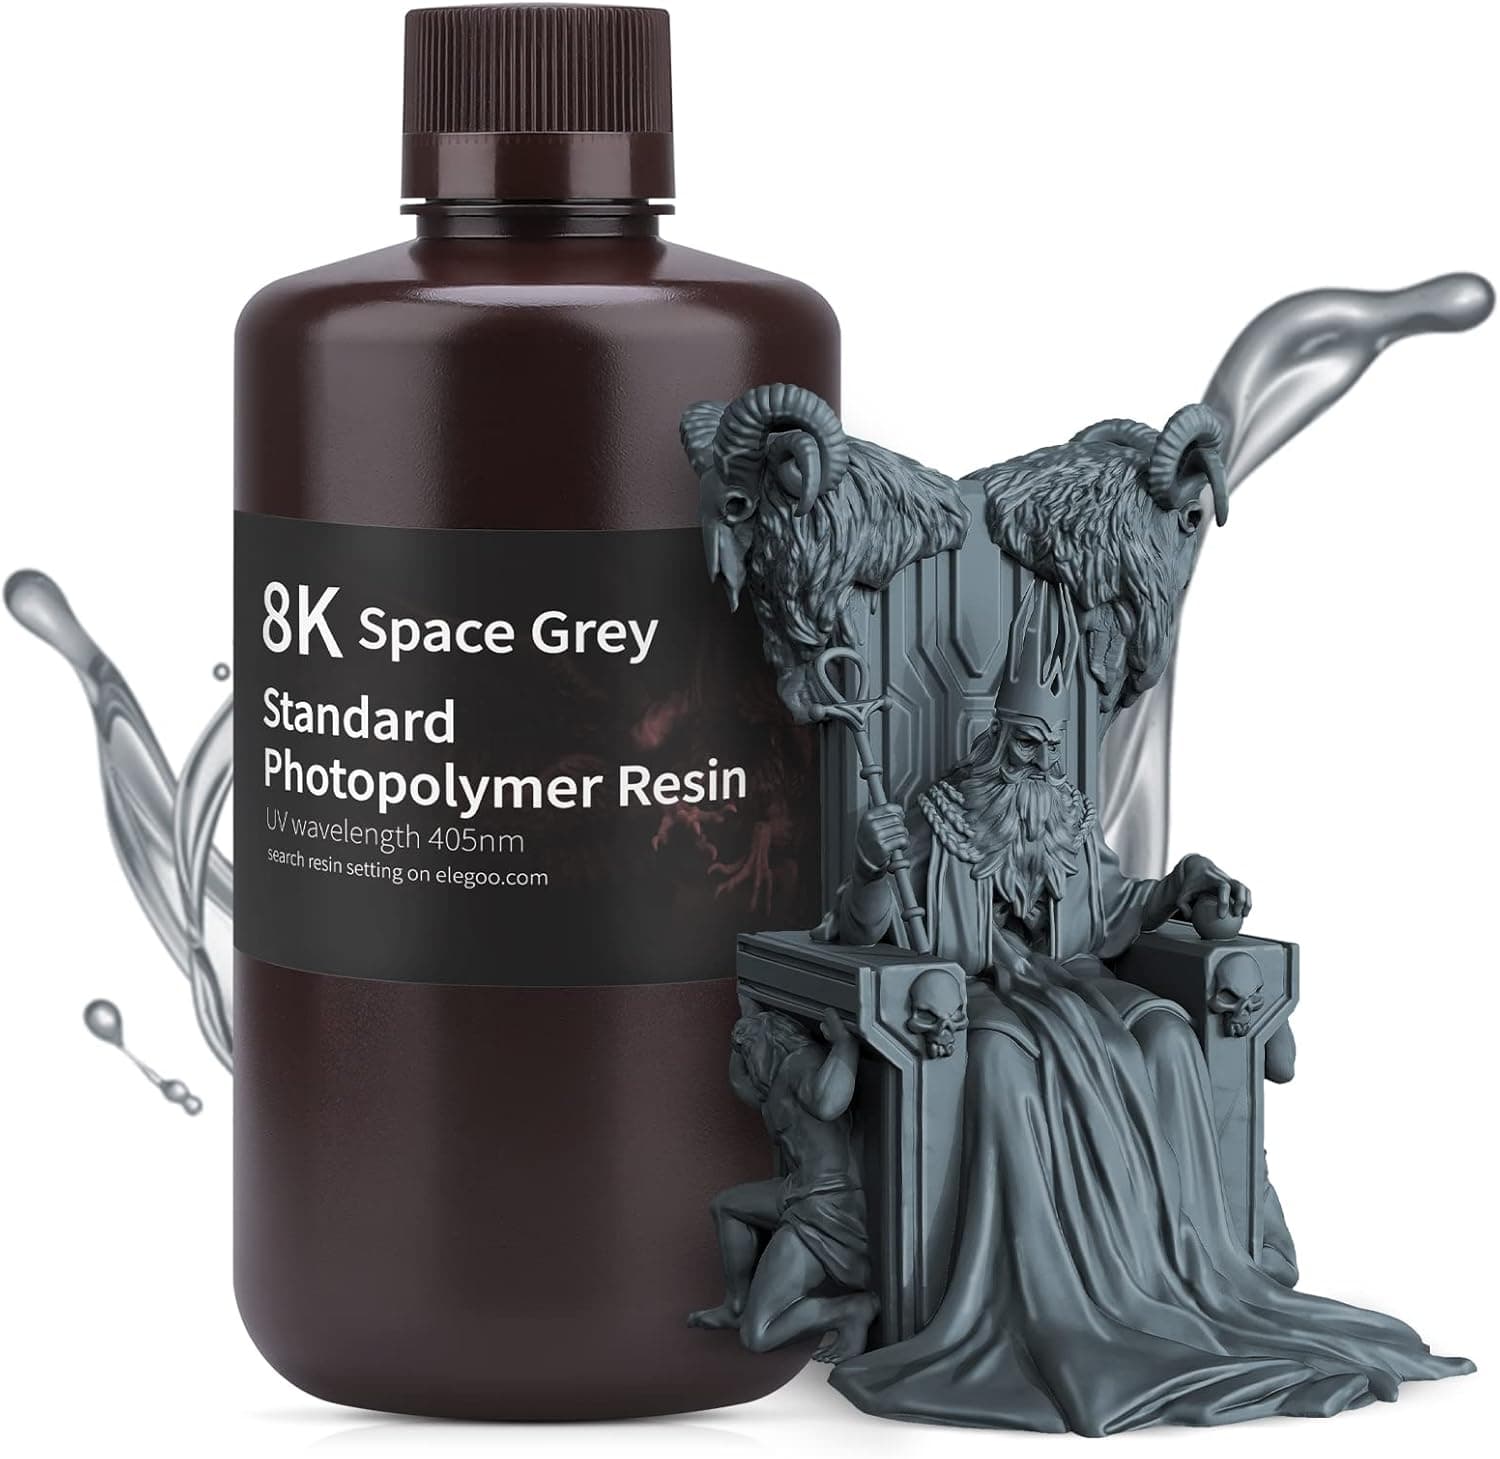
+ 8K formula is designed to hold fine detail on dense-pixel screens
From our guide: Best Standard Resin for Sharp, Affordable Prints (2026)
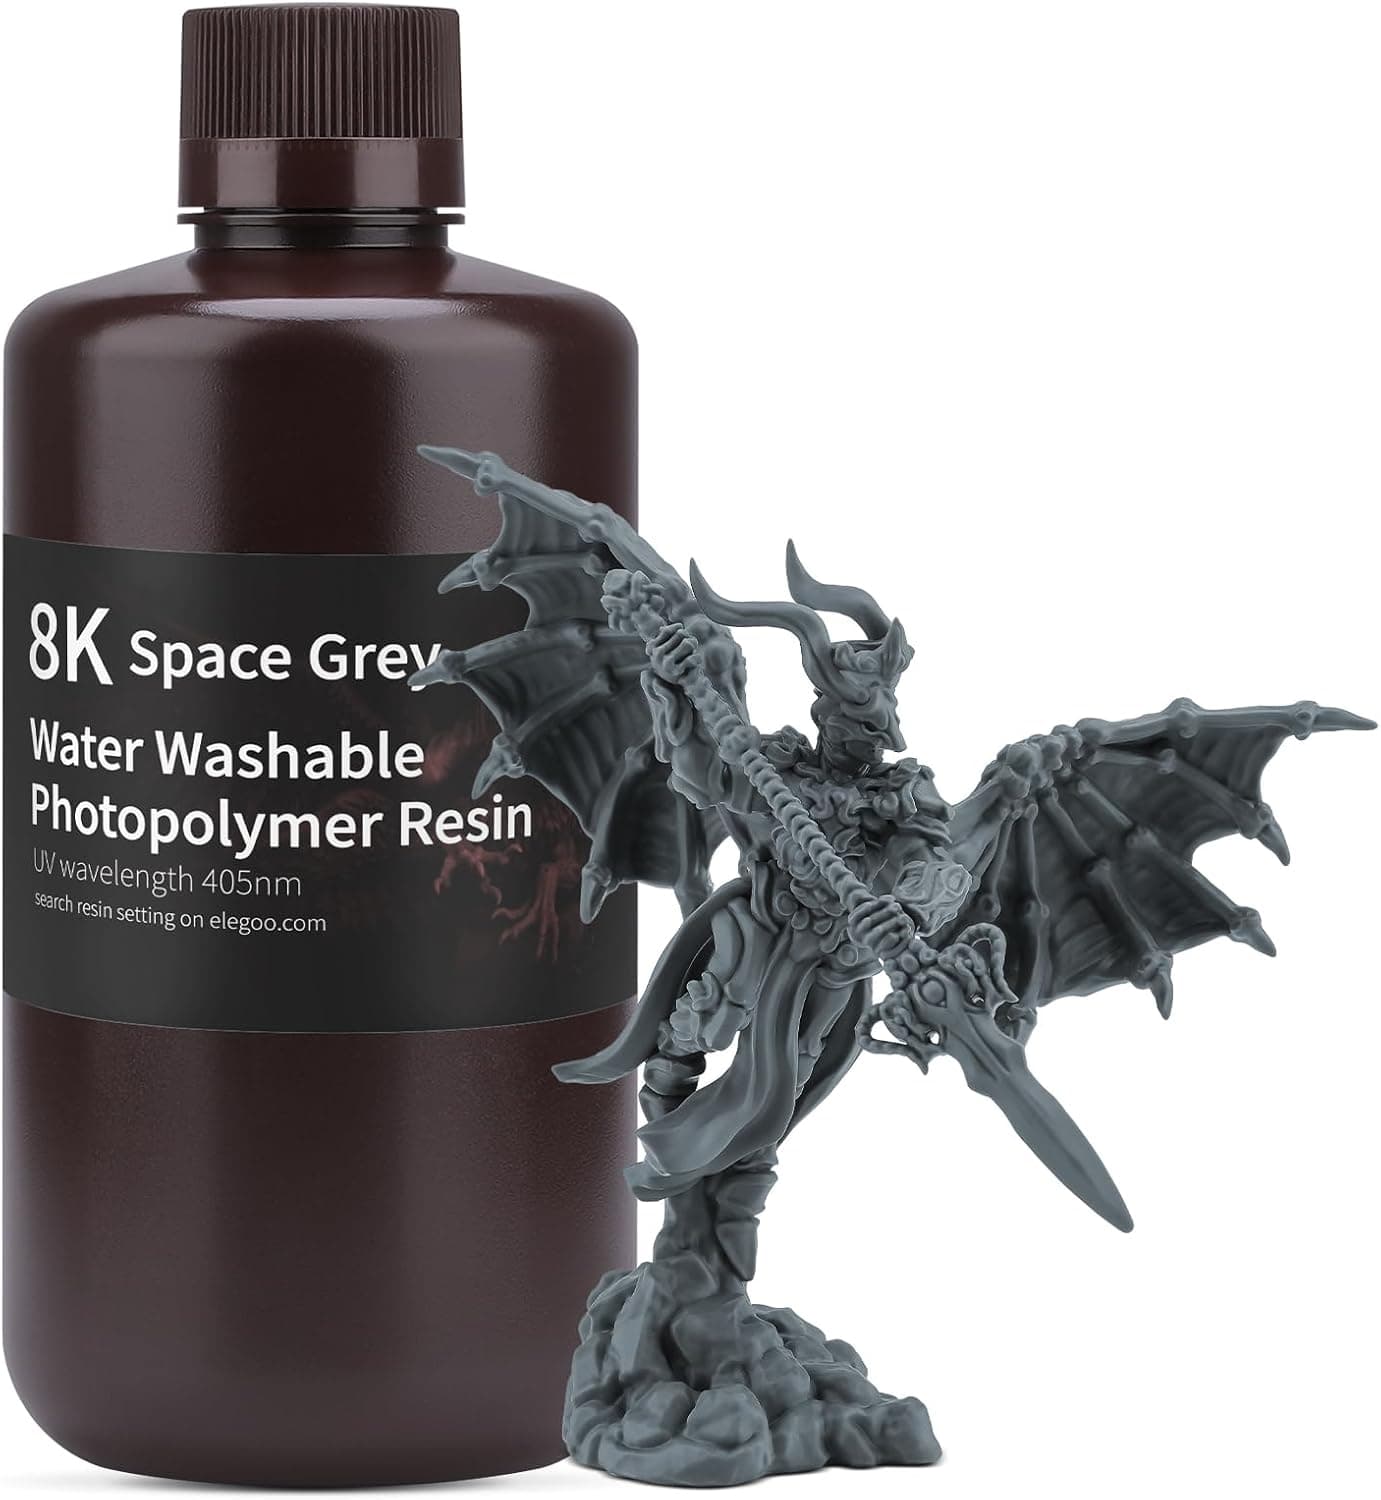
+ 8K formula pairs fine detail with the convenience of water washing
From our guide: Best Water-Washable Resin for Easy Cleanup (2026)
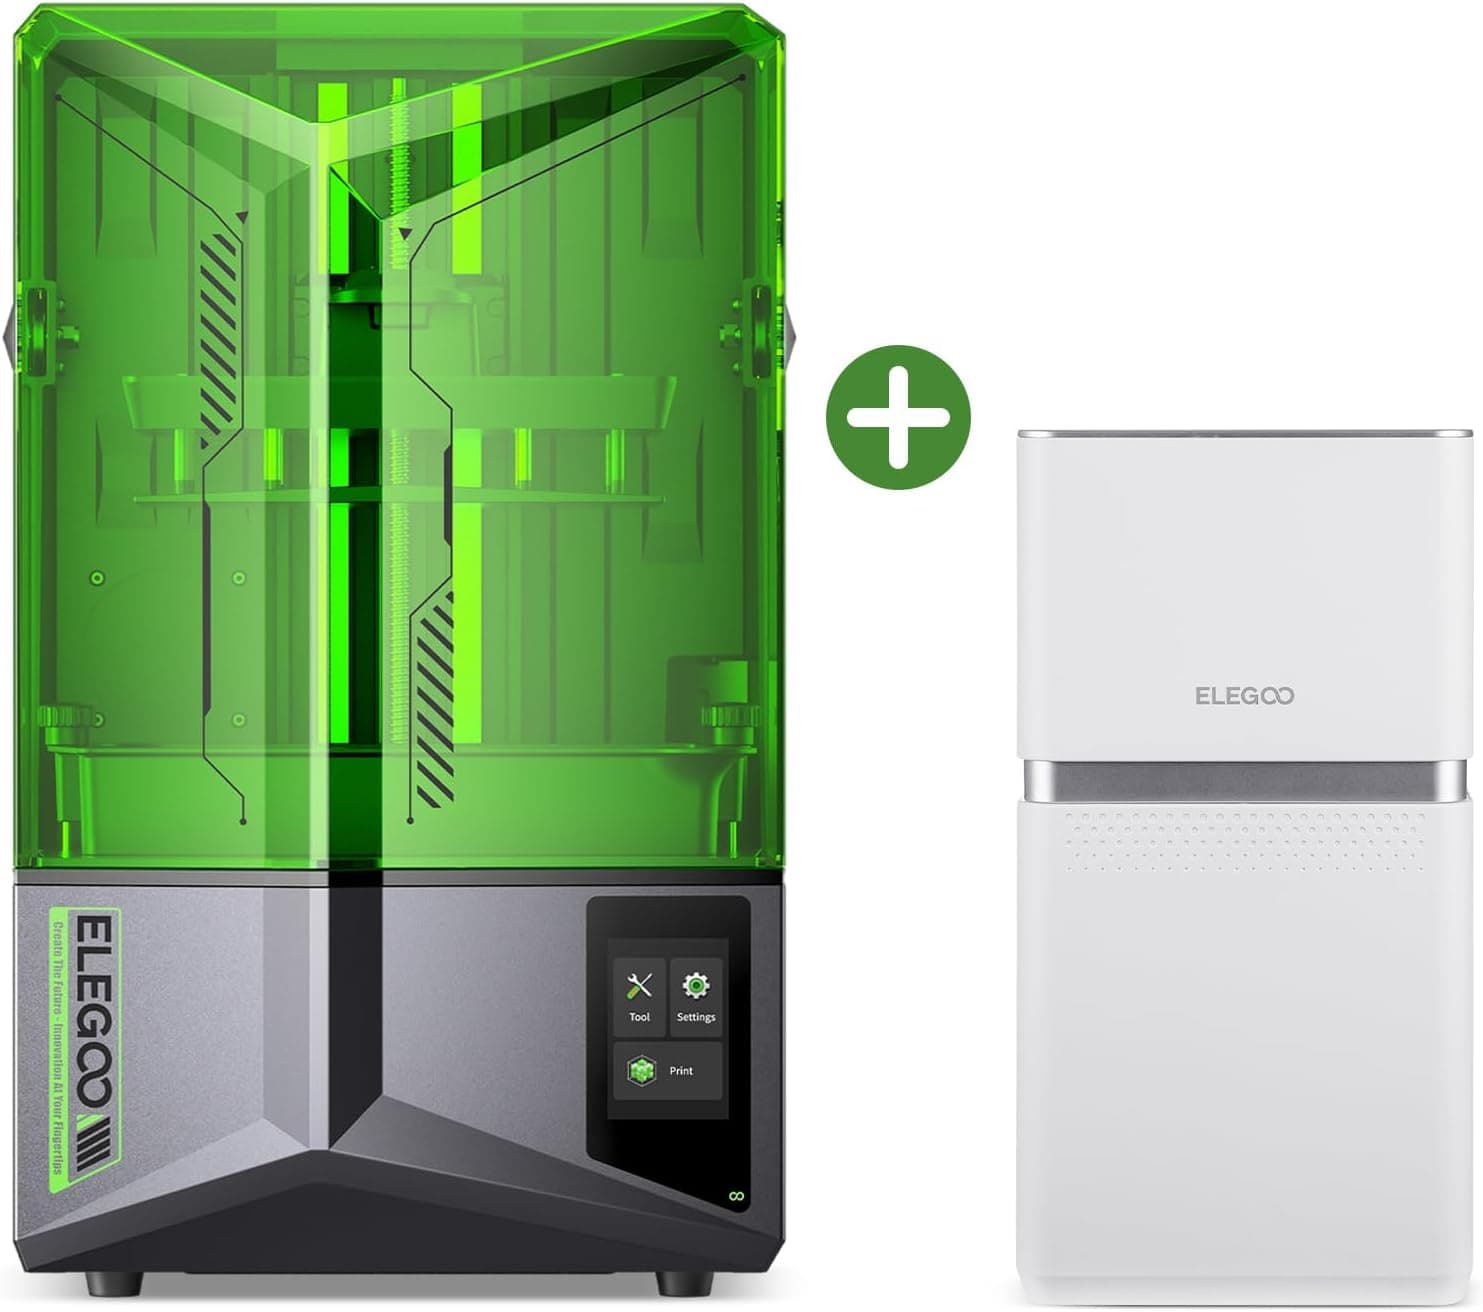
+ Mars Mate air purifier helps cut down resin odor around the vat
From our guide: Best Resin 3D Printers for Sharp, Detailed Models (2026)
Popular right now
- Best Budget 3D Printers for Value Under Pressure (2026)Buying guide
- Best FDM 3D Printers for Reliable Everyday Prints (2026)Buying guide
- Best Resin 3D Printers for Sharp, Detailed Models (2026)Buying guide
- Troubleshooting a Failed 3D PrintArticle
- Best Beginner 3D Printers for a Smooth First Print (2026)Buying guide
- Temperature Tower GuideArticle
Based on the last 28 days of search and visitor data.