How to Make Resin Casting Molds Using a 3D Printed Master
Published How we research

To make a mold for casting resin, 3D print a master of the part, smooth and seal it, suspend it in a mold box, pour liquid silicone around it, let it cure, then cut the mold open and remove the master. The finished silicone mold can be filled with casting resin again and again. This is the practical way to turn one printed model into many copies, and the details that matter most are surface finish, sealing and keeping the silicone cure from being inhibited.
Products from this article
The highest-scoring picks from the buying guides this article links to. Scores are our editorial assessment, not customer ratings.
+ 16K mono screen resolves fine surface detail on miniatures and jewelry masters
From our guide: Best Resin 3D Printers for Sharp, Detailed Models (2026)
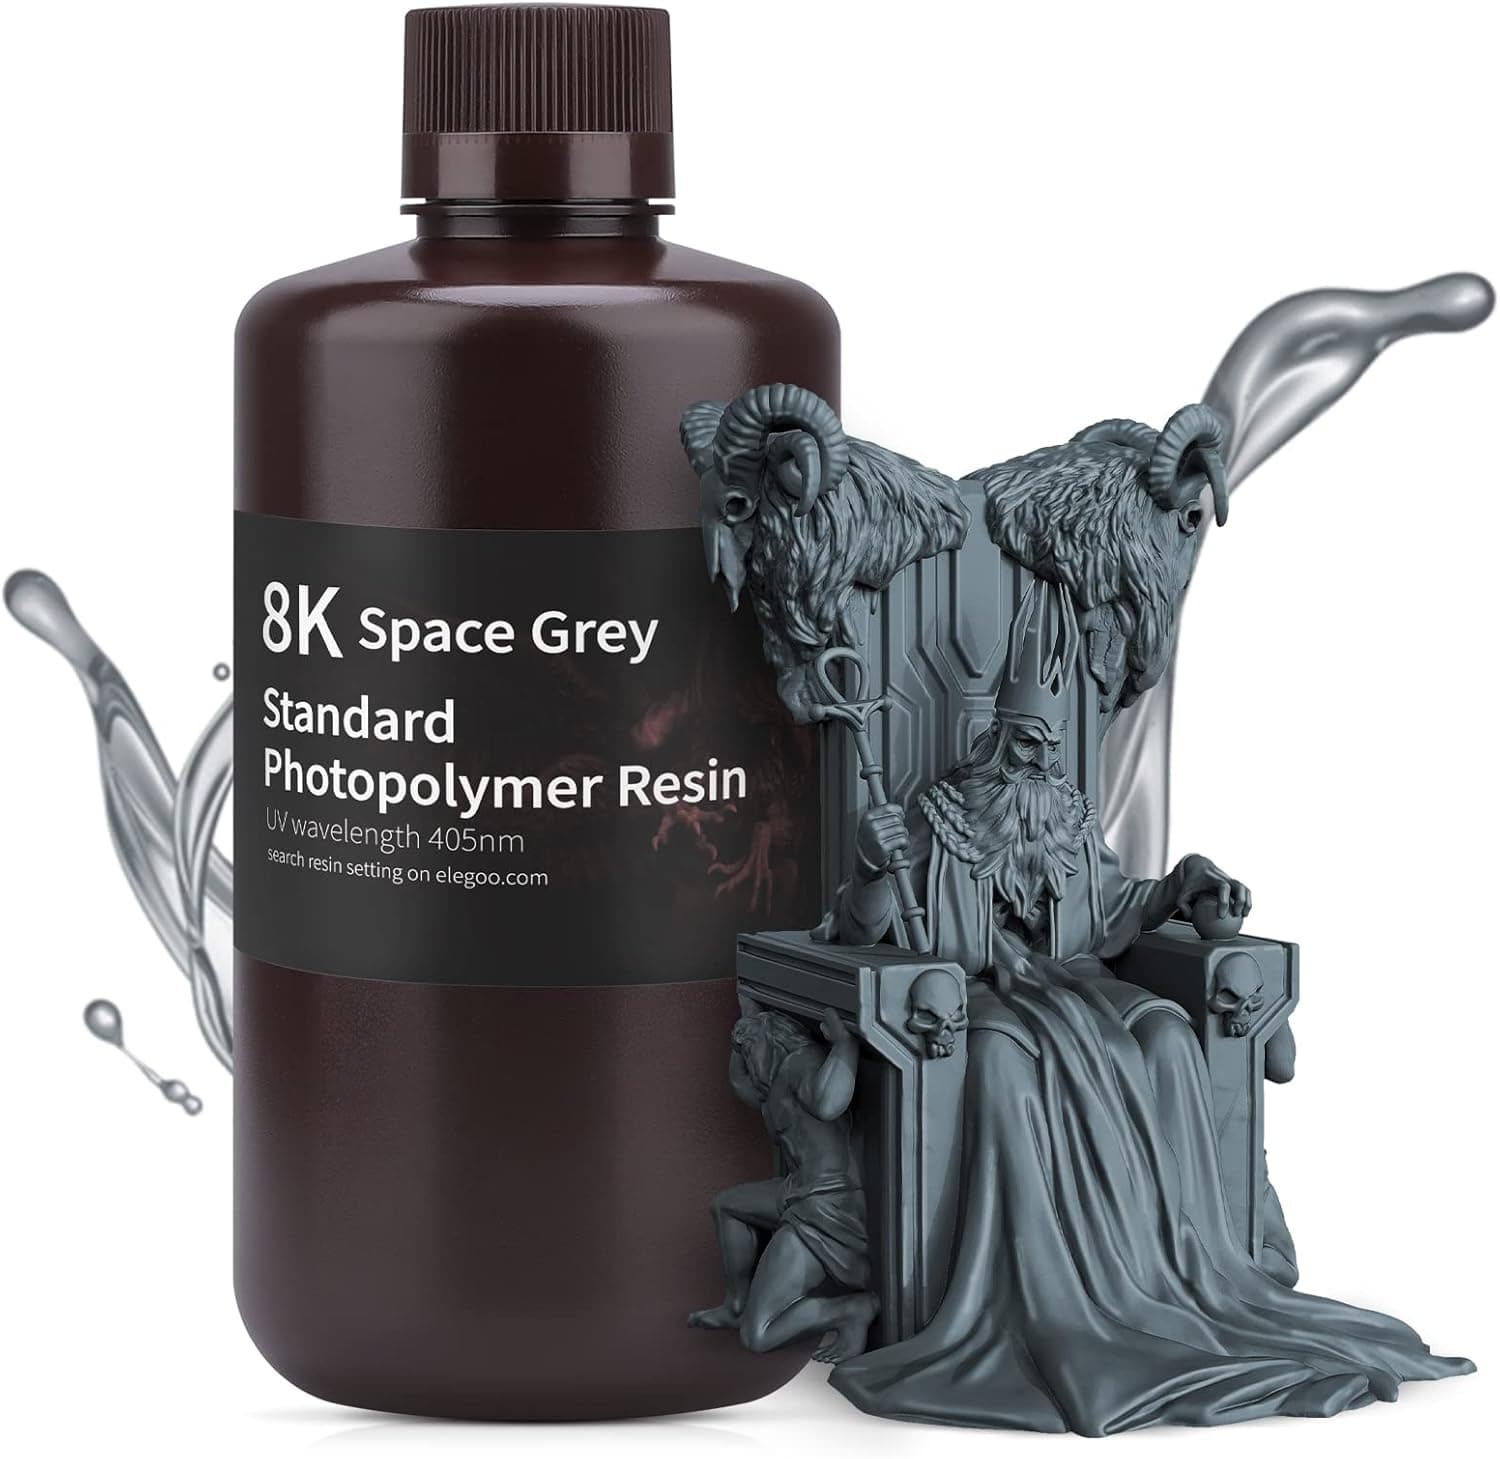
+ 8K formula is designed to hold fine detail on dense-pixel screens
From our guide: Best Standard Resin for Sharp, Affordable Prints (2026)
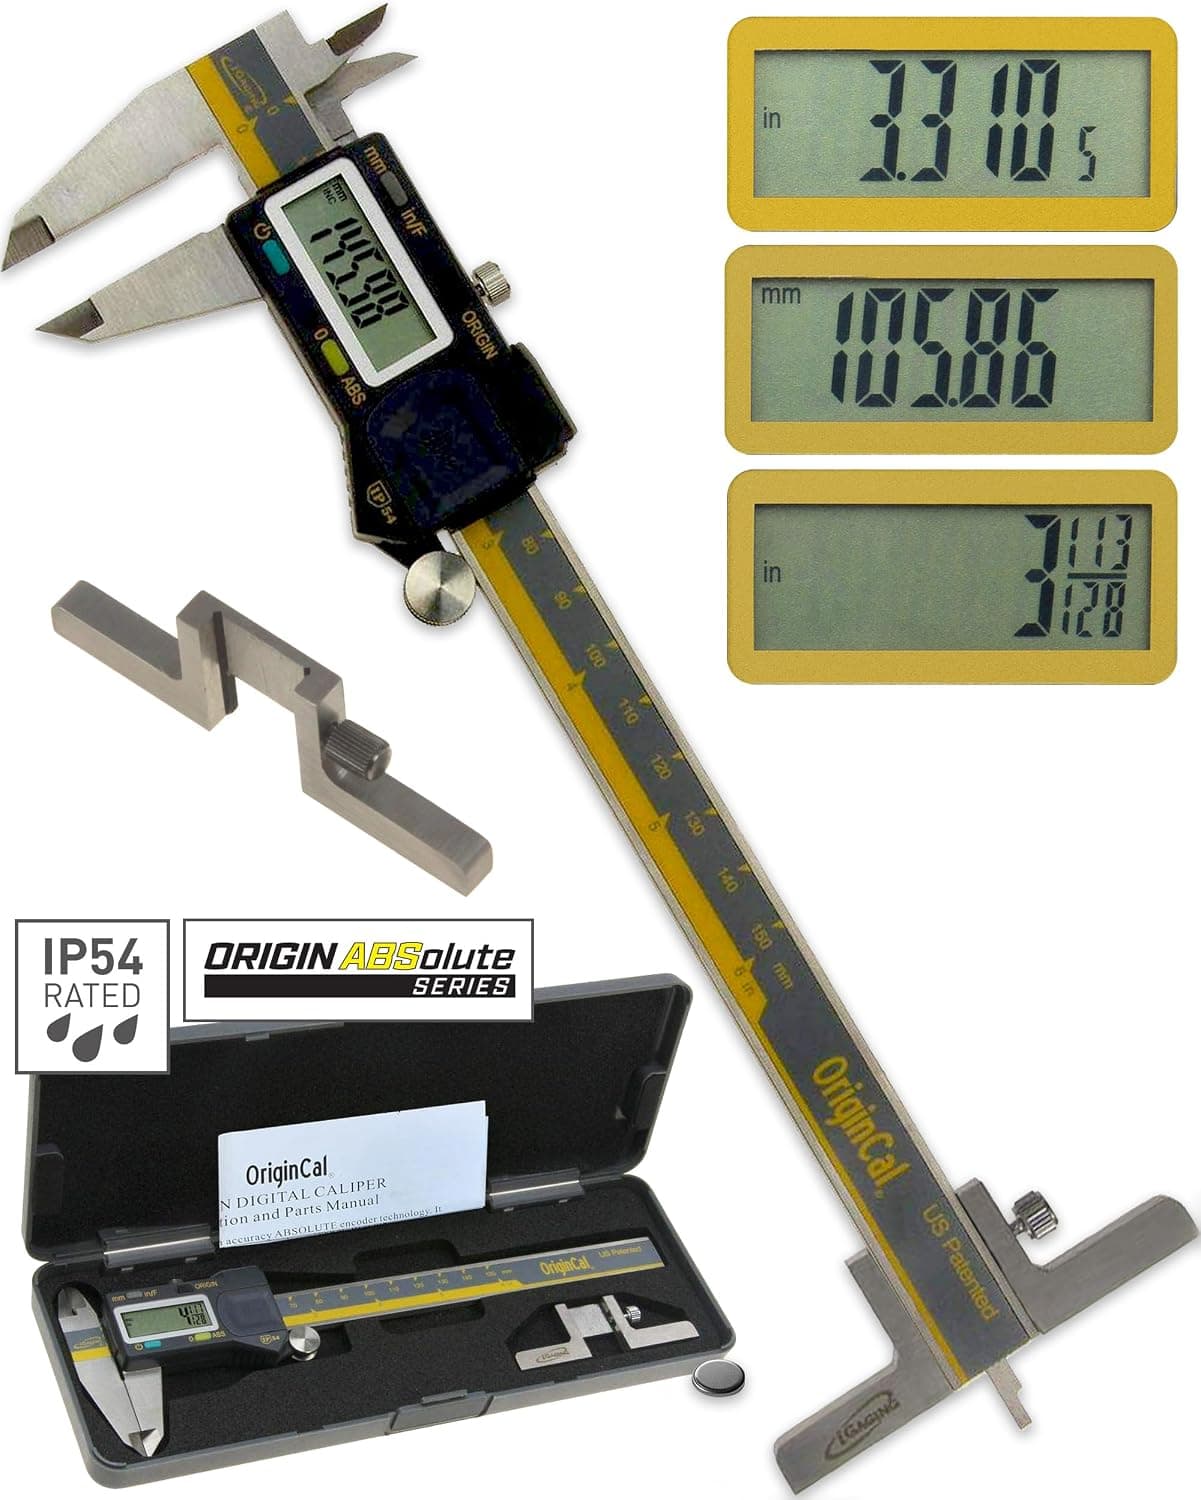
+ Absolute Origin keeps zero reference even after power off
From our guide: Best Digital Calipers for Precise Print Measuring (2026)
+ Saturn 4 Ultra 12K has a 10-inch 12K mono LCD, smart automatic leveling and a listed speed of up to 150mm/h
From our guide: Best Resin 3D Printers for Sharp, Detailed Models (2026)

Print and finish the master
Silicone copies every detail of the master, including layer lines, so the surface finish of the print decides the finish of every cast. Resin printers give the smoothest masters, and an FDM print can work if you sand and fill it first. Orient the model so the face you care most about has few support marks, and print at a fine layer height for detail pieces.
Check the part dimensions before you commit to silicone. Casting resin and silicone both can shrink or distort slightly, and a master that is a hair oversize in the critical areas gives a better mating fit later. Digital calipers make that check quick, and they are also useful when you plan the thickness of the mold walls.
Remove all supports and sand until the surface looks even. On FDM masters, a few coats of filler primer sanded back is a common way to hide layer lines. Aim for the finish you want on the cast part, because the mold will reproduce it exactly.
Cure, clean and seal the master
Resin masters must be washed and fully cured before they touch silicone. Leftover uncured resin and some photoinitiator residues are known to interfere with the cure of platinum-cure silicone, which then stays tacky near the surface of the part. Wash in alcohol or water as your resin requires, cure thoroughly under UV, and let the part sit and air out.
Sealing the master helps both with surface quality and with silicone cure problems. A coat or two of spray clear lacquer or a primer is a common seal, and it also fills small pores. Let it dry fully, then apply a thin layer of mold release if your silicone maker recommends it for plastics.
If you are unsure about compatibility, make a small test with a scrap piece of the same resin and the same silicone. Tin-cure (condensation) silicones are generally less sensitive to this inhibition than platinum-cure ones, though they may shrink slightly more over time.
Build the mold box and pour the silicone
Place the master in a box that leaves roughly half an inch of clearance on every side. A plastic cup, a bit of LEGO or foam board hot-glued together all work. Glue the master to the base so it does not float, and seal the corners of the box with hot glue or clay so silicone cannot leak.
Mix the silicone exactly in the ratio on the label, usually 1:1 by weight or volume for two-part kits, and stir slowly from the edges to avoid whipping in bubbles. Pour in a thin stream from one corner and from a height, which stretches the silicone and pops bubbles on the way down. Tapping the box gently helps trapped air rise.
Leave it undisturbed for the full demold time on the package, which ranges from a few hours to a day depending on the product. Do not cut early, because partly cured silicone tears.
Cut the mold and cast copies
Remove the box and decide where to cut. For a simple relief, you may not need to cut at all and can just peel the silicone off. For a 3D shape, cut a zigzag seam along one side with a fresh hobby blade, which acts as a registration key so the halves line up again. Work slowly and avoid cutting into the cavity itself.
Before pouring casting resin, dust the cavity lightly with talc or spray the mold with a release agent if the resin maker advises it, then close the mold and hold it with rubber bands. Mix the casting resin as directed. Epoxy resins usually have a long working time and cure slowly, while polyurethane casting resins set in minutes, so pick the type that suits your piece.
Pour slowly into the lowest point so air is pushed up and out. Let the cast cure fully, demold gently, and trim any flash with a blade. Mold life varies with the silicone and the resin used, so inspect the mold for tears after every few casts.
Printing the mold directly and other shortcuts
You can also print the mold itself, for example a rigid two-part mold in resin that is filled with silicone or casting material. This works best for simple shapes with clear parting lines, and the printed cavity needs the same cure and seal treatment as a master. For flexible casting, print the master, not the mold, and let silicone make the flexible part.
For parts that are mainly decorative, consider whether you need casting at all. If you only need a few copies, printing them in standard resin may be faster than making a mold. Molds earn their time back when you need ten or more copies, or a different material such as a tough or tinted casting resin.
Frequently asked questions
Can I use a 3D print as a mold master? Yes. Resin prints give the smoothest results, and FDM prints work after sanding and sealing. Whatever you use, the finish of the master is copied into every cast.
Why is my silicone sticky around the master? That is usually cure inhibition. Uncured resin, certain primers or sulfur-containing materials can stop platinum silicone from curing. Cure and seal the master well, or try tin-cure silicone.
Do I need a vacuum chamber to degas? Not for simple molds. Pouring in a thin stream and tapping the box removes most bubbles, and a pressure pot or vacuum chamber is mainly worthwhile for fine detail and clear casts.
What size should the mold walls be? Roughly half an inch of silicone around the master is a common rule, with thicker walls for large molds so they do not flex and distort the cast.
Popular right now
- 3D Printing Supports GuideArticle
- Best Resin 3D Printers for Sharp, Detailed Models (2026)Buying guide
- Best PTFE Tubing for Smooth Filament Feeding (2026)Buying guide
- Best Beginner 3D Printers for a Smooth First Print (2026)Buying guide
- 3D Printer Filament Temperature ChartArticle
- Best Budget 3D Printers for Value Under Pressure (2026)Buying guide
Based on the last 28 days of search and visitor data.