How to Change a 3D Printer Nozzle Safely and Correctly
Published How we research
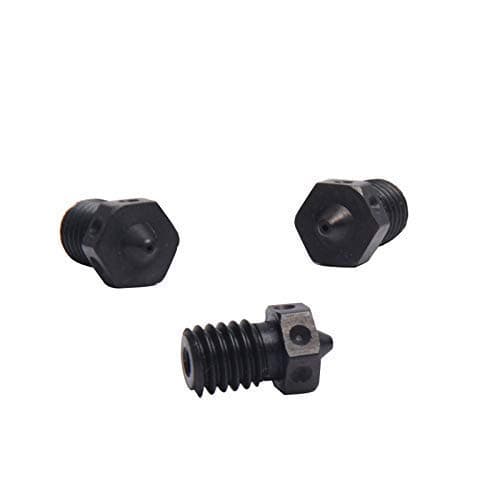
Change nozzles hot: heat the hotend to printing temperature so the solidified plastic inside releases, hold the heater block steady with insulated pliers, and use a proper wrench on the nozzle. Install the new nozzle and do the final tightening at temperature so it seats against the heatbreak, not the block, which prevents leaks. A 0.4mm brass nozzle suits most work; use hardened steel for abrasive filaments and re-check your Z offset afterward. Swapping a nozzle lets you change print detail, speed, or handle abrasive filaments, and it is a routine skill worth doing correctly. Nozzles wear out, especially brass ones fed with glow-in-the-dark or carbon-fiber filament, which erode the tip and enlarge the hole until quality drops. A worn nozzle prints inconsistent line widths and poor detail even after other tuning.
Products from this article
The highest-scoring picks from the buying guides this article links to. Scores are our editorial assessment, not customer ratings.
+ 0.50mm bore speeds up prints while keeping reasonable detail
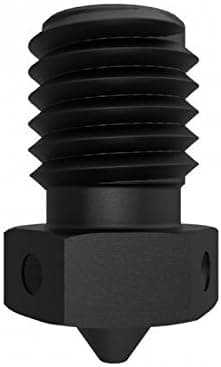
From our guide: Best Hardened Steel Nozzles for Abrasive Filaments (2026)
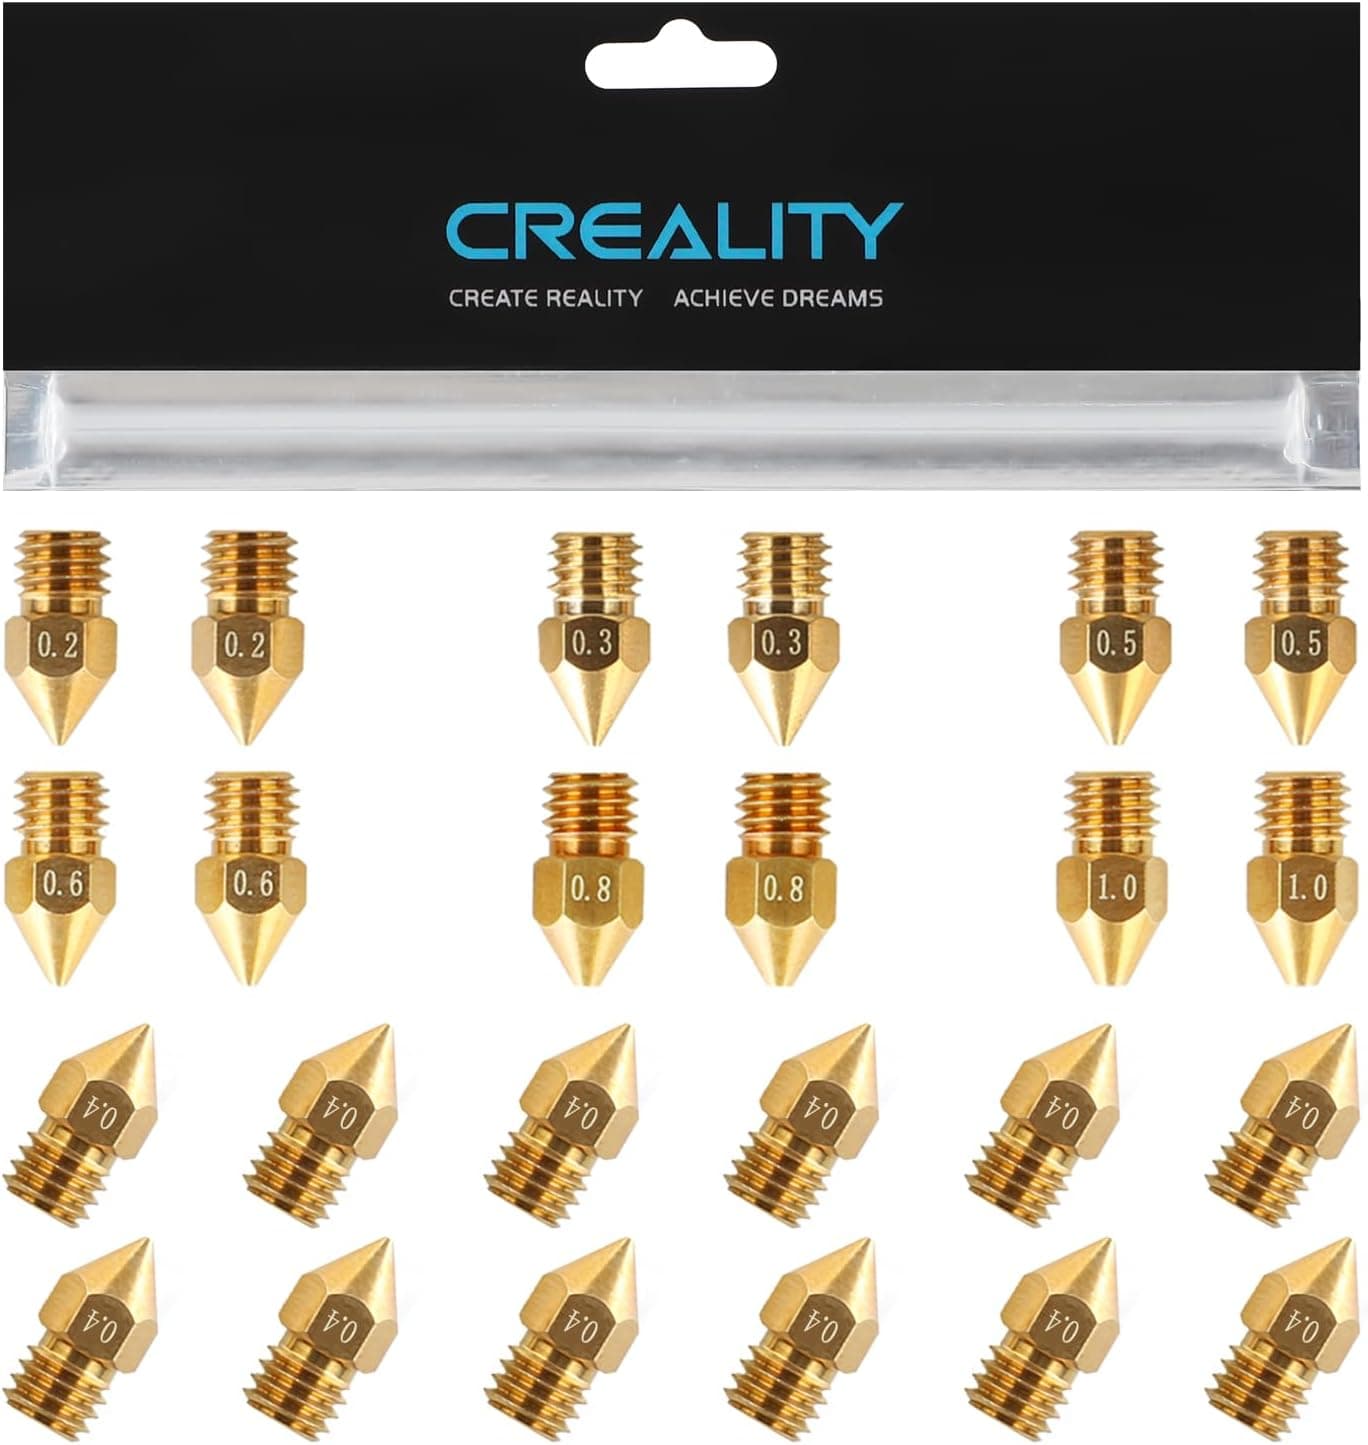
+ 0.2-1.0mm range covers fine detail work through fast draft printing
From our guide: Best Brass Nozzles for Smooth, Accurate Prints (2026)
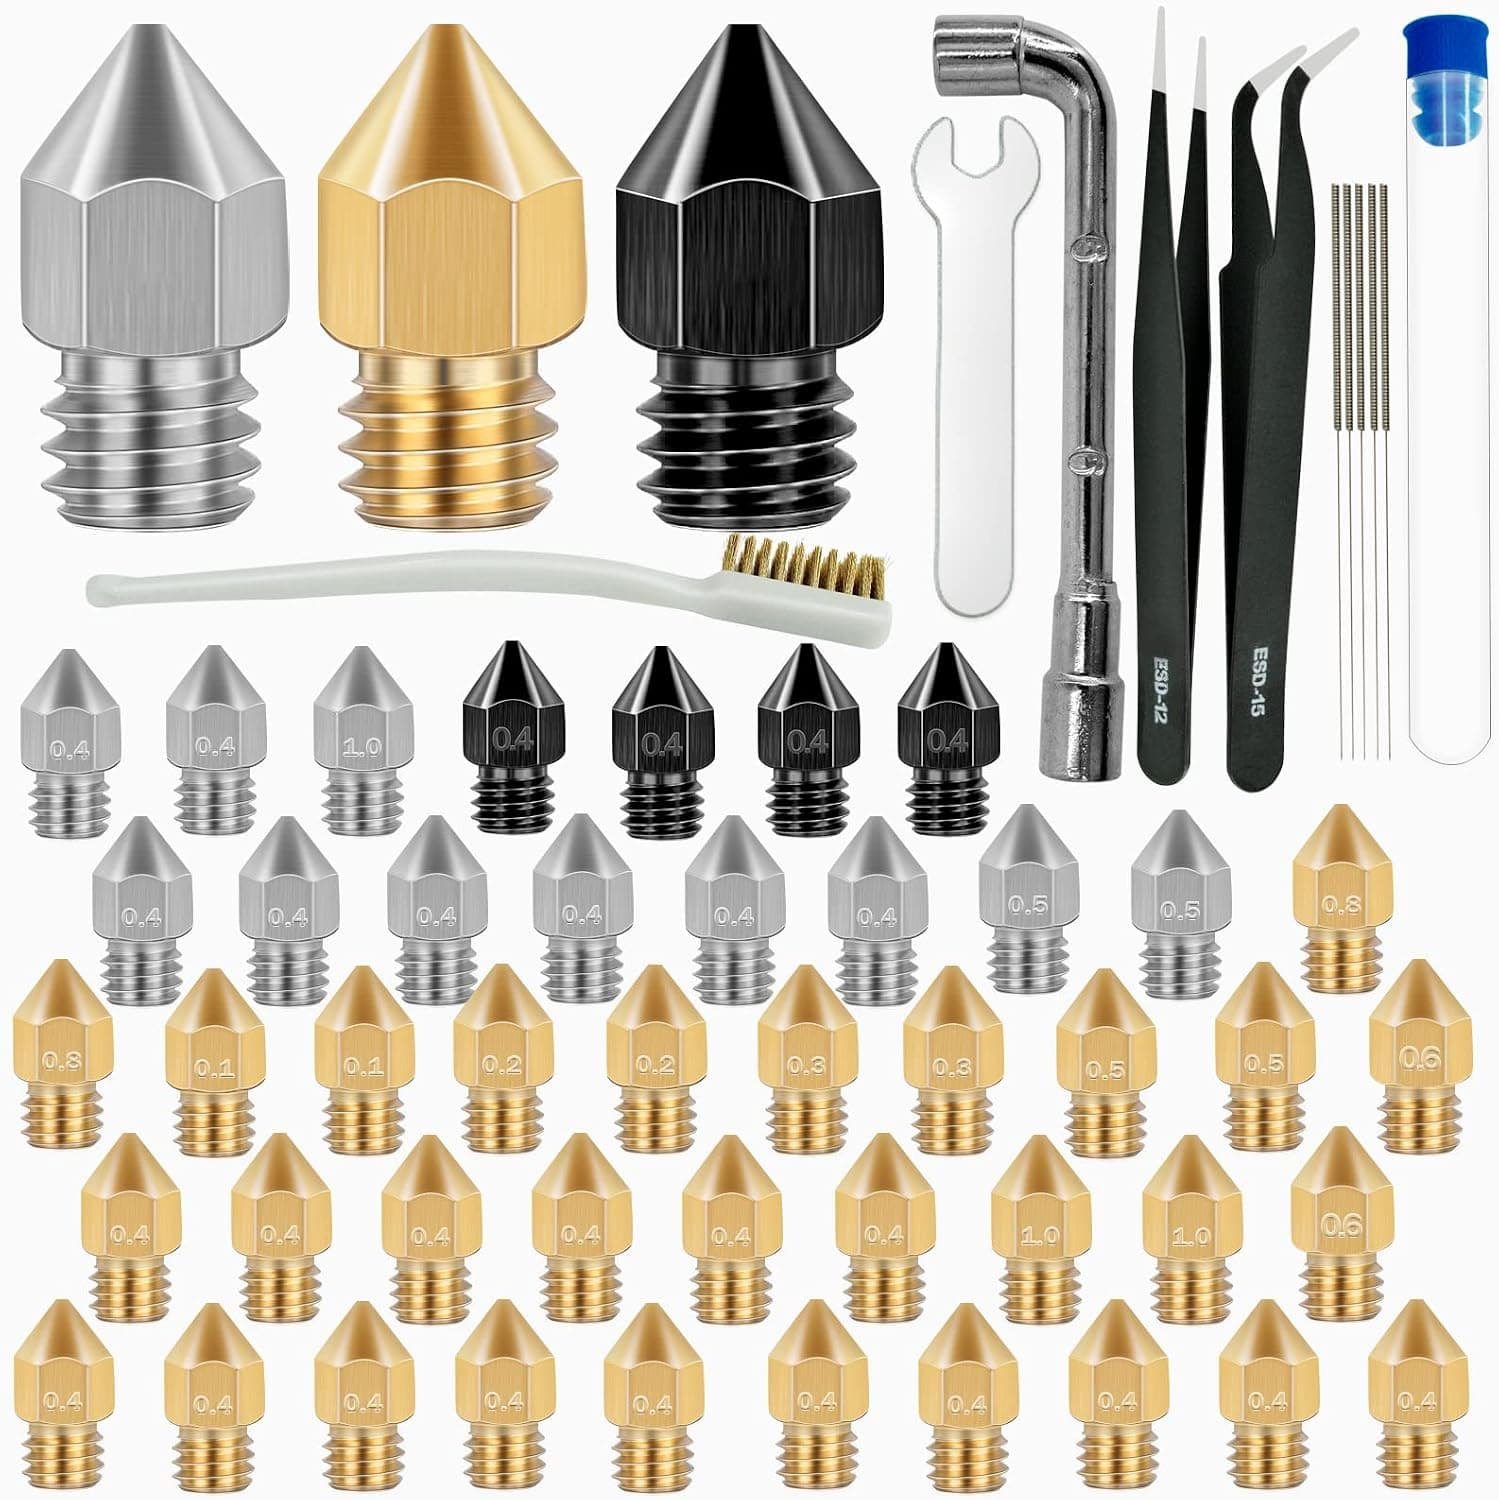
+ Hardened, stainless and brass in one set cover most filament types
From our guide: Best Nozzle Kits for Every Filament and Detail Level (2026)
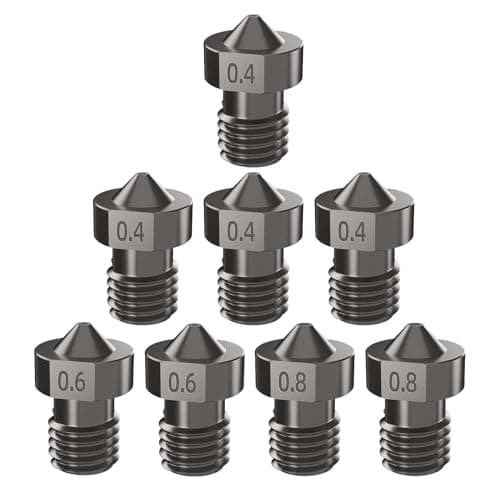
+ Three sizes in one kit, including two 0.8mm nozzles for fast, thick layers with filled filament
From our guide: Best Hardened Steel Nozzles for Abrasive Filaments (2026)
Choosing the nozzle size
Choose the nozzle size for the job. The common 0.4 mm nozzle balances speed and detail and suits most work. A 0.2 or 0.3 mm nozzle captures finer detail at the cost of much longer print times, while 0.6 or 0.8 mm nozzles print faster with stronger layers, ideal for large functional parts where fine detail does not matter. Larger nozzles also clog less often.
Nozzle material: brass vs hardened steel
Material matters as much as size. Brass nozzles conduct heat well and print cleanly but wear quickly with abrasive filaments. Hardened steel resists abrasion and is the right choice for carbon-fiber, glow, or metal-filled filaments, though it conducts heat slightly less efficiently. Assorted plated options exist that aim to combine wear resistance with good heat transfer.
The critical rule: change nozzles hot
The critical safety rule is that nozzles must be changed hot. Plastic solidifies inside the hotend, and a cold nozzle is effectively glued in place, so heat the hotend to printing temperature before loosening anything. Use insulated pliers to hold the heater block steady and a properly sized wrench or socket on the nozzle so you do not twist the block and strain the heater and thermistor wires.
Hot-tightening for a leak-free seal
Remove the old nozzle, then install the new one while still hot. This is the key to a leak-free seal. Thread the new nozzle in and snug it, then, with the block held firm, do the final tightening at temperature so the nozzle seats against the heatbreak inside rather than the block. A nozzle tightened cold leaves a gap where molten plastic oozes out and forms a growing blob around the block.
After the swap: Z offset and a test print
After the swap, wipe away any ooze, re-check your Z offset because a new nozzle may sit at a slightly different height, and run a first-layer test. Print a small calibration model to confirm flow and detail look right. If plastic leaks from the top of the block during printing, the nozzle was not hot-tightened firmly enough, and you should reheat and retighten before continuing.
Keep spare nozzles labelled
Keep spare nozzles organized and labeled by size and material, because it is easy to lose track of which one is installed once you have several. Note the fitted nozzle in your slicer profile too, since printing a 0.4 mm profile through a 0.6 mm nozzle, or the reverse, produces poor results that look like a tuning problem. A quick habit of recording swaps prevents a confusing round of troubleshooting later.
Frequently asked questions
Why must a 3D printer nozzle be changed hot? Plastic solidifies inside the hotend and effectively glues a cold nozzle in place. Heating to printing temperature lets it loosen, and hot-tightening seats the new nozzle against the heatbreak so it does not leak.
What nozzle size should I use? 0.4mm balances speed and detail for most work. 0.2 to 0.3mm for fine detail at the cost of time, 0.6 to 0.8mm for fast, strong large functional parts.
When do I need a hardened steel nozzle? For abrasive filaments, carbon-fibre, glow-in-the-dark, or metal-filled, which quickly erode a brass tip and enlarge the hole until quality drops.
Why is plastic leaking from the top of my heater block? The nozzle was not hot-tightened firmly enough, so it did not seal against the heatbreak. Reheat, retighten with the block held firm, and wipe away the ooze.
Popular right now
- 3D Printing Supports GuideArticle
- Best Resin 3D Printers for Sharp, Detailed Models (2026)Buying guide
- Best PTFE Tubing for Smooth Filament Feeding (2026)Buying guide
- Best Beginner 3D Printers for a Smooth First Print (2026)Buying guide
- 3D Printer Filament Temperature ChartArticle
- Best Budget 3D Printers for Value Under Pressure (2026)Buying guide
Based on the last 28 days of search and visitor data.