Calibrate Flow Rate and E-Steps for Accurate Prints
Published How we research
Flow calibration ensures the printer extrudes exactly as much plastic as the slicer expects, which affects dimensional accuracy, wall thickness, and surface quality. It has two parts: extruder steps (often called E-steps), which set how far the motor pushes filament, and flow rate, which fine-tunes the volume of plastic per line. Getting both right removes over- and under-extrusion at the source.
Products from this article
The highest-scoring picks from the buying guides this article links to. Scores are our editorial assessment, not customer ratings.
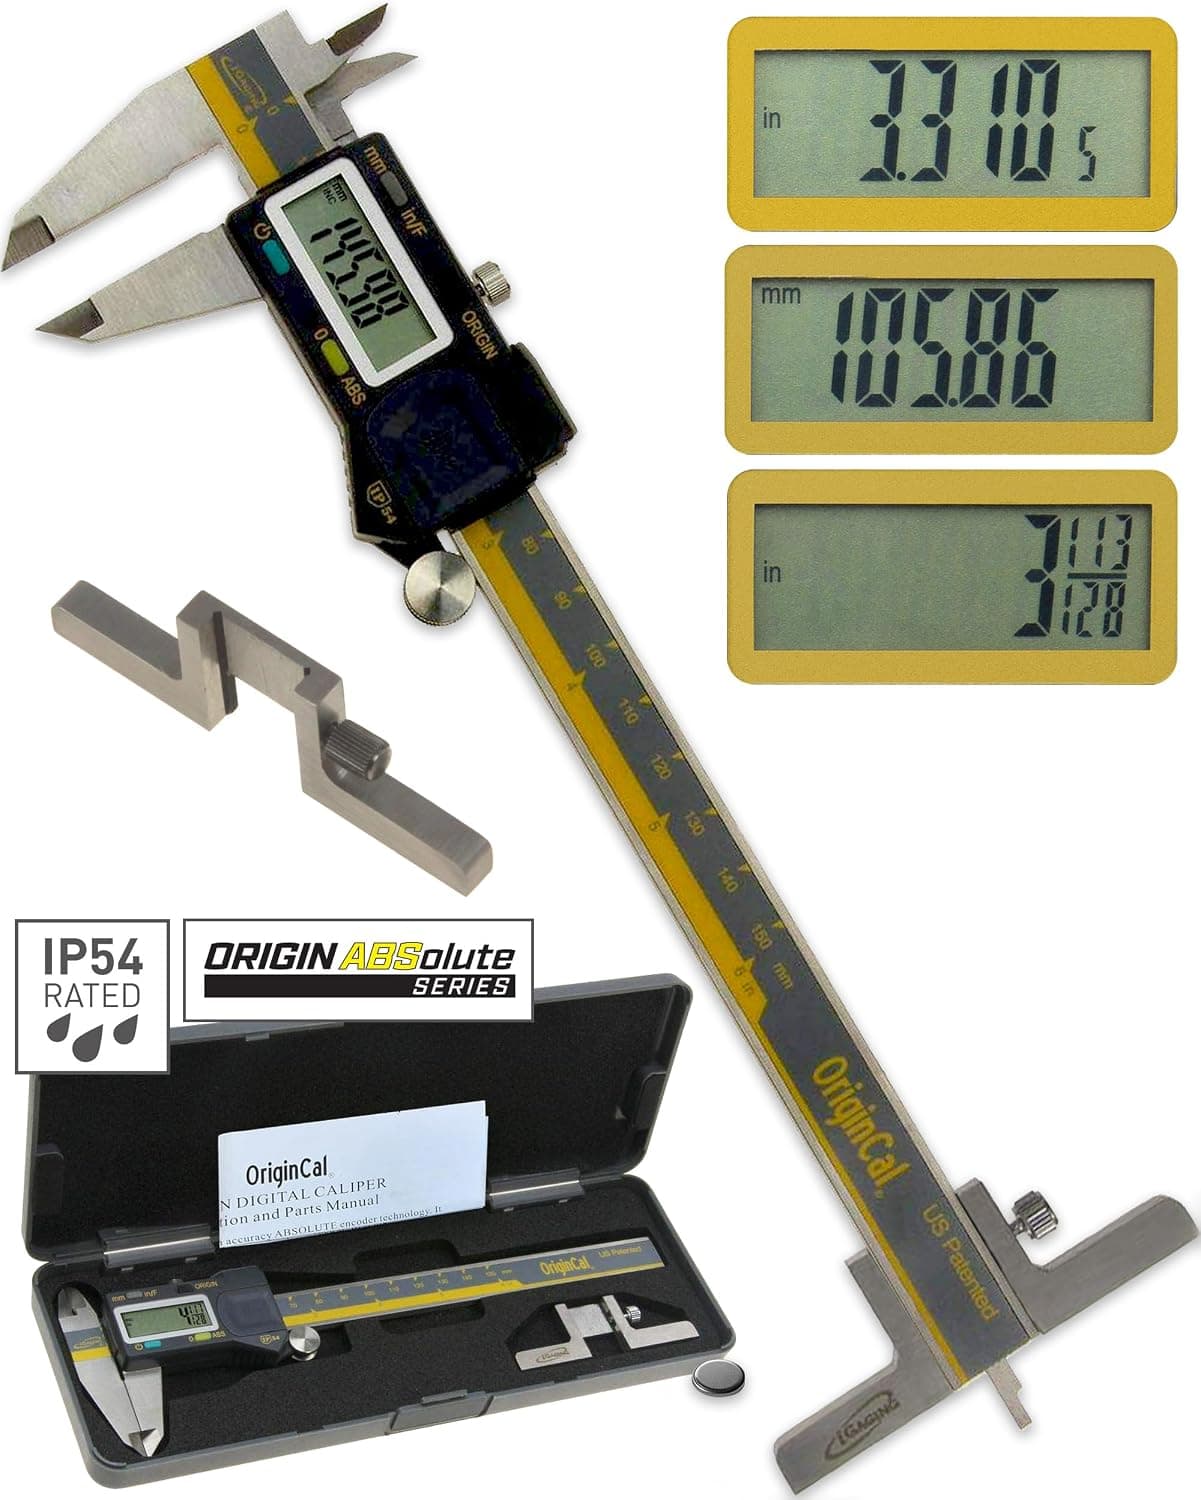
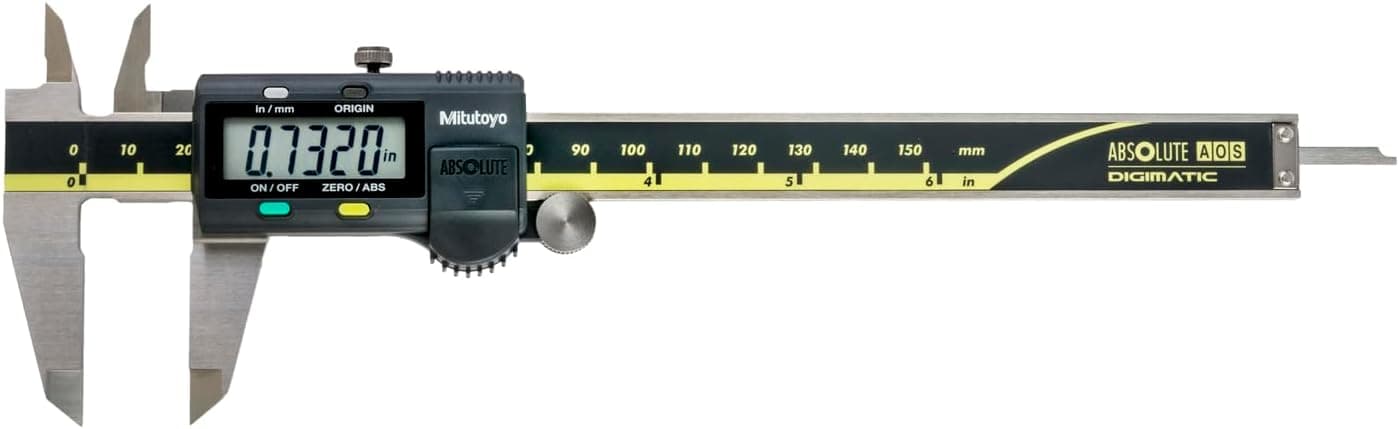
+ Absolute Origin keeps zero reference even after power off
From our guide: Best Digital Calipers for Precise Print Measuring (2026)
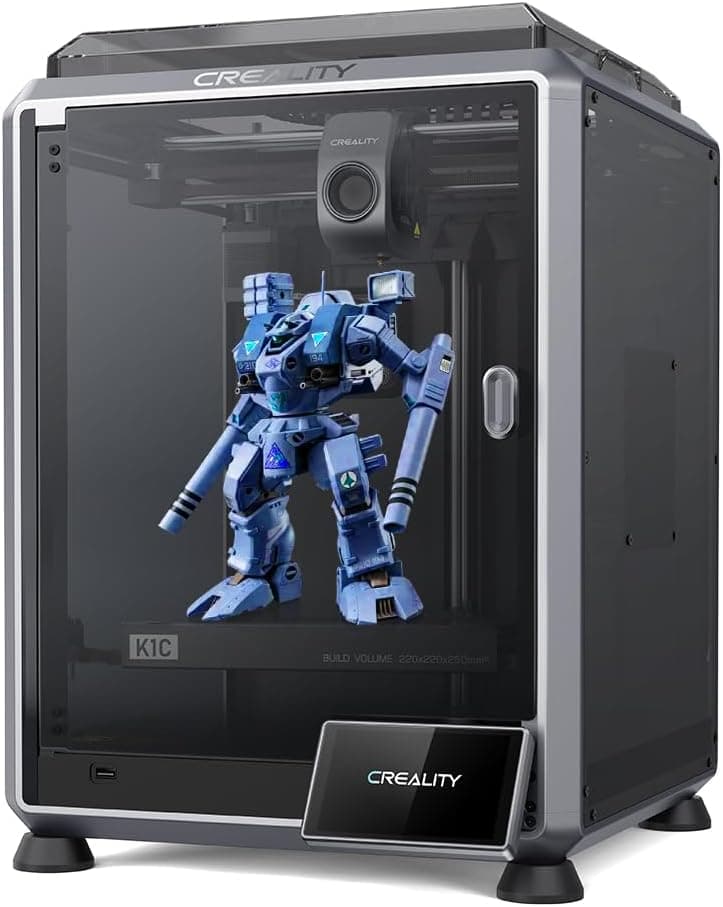
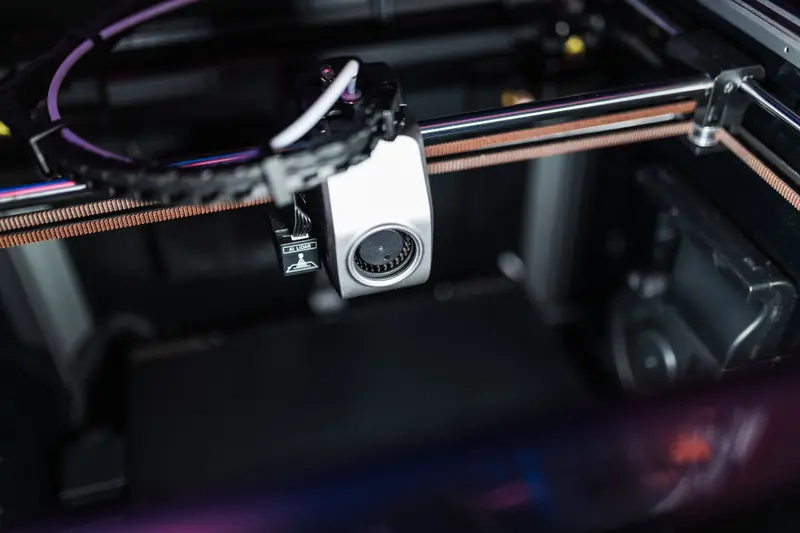
+ Carbon fiber capability suits stiff brackets, drone parts and jigs
From our guide: Best Fast 3D Printers for High-Speed Printing (2026)
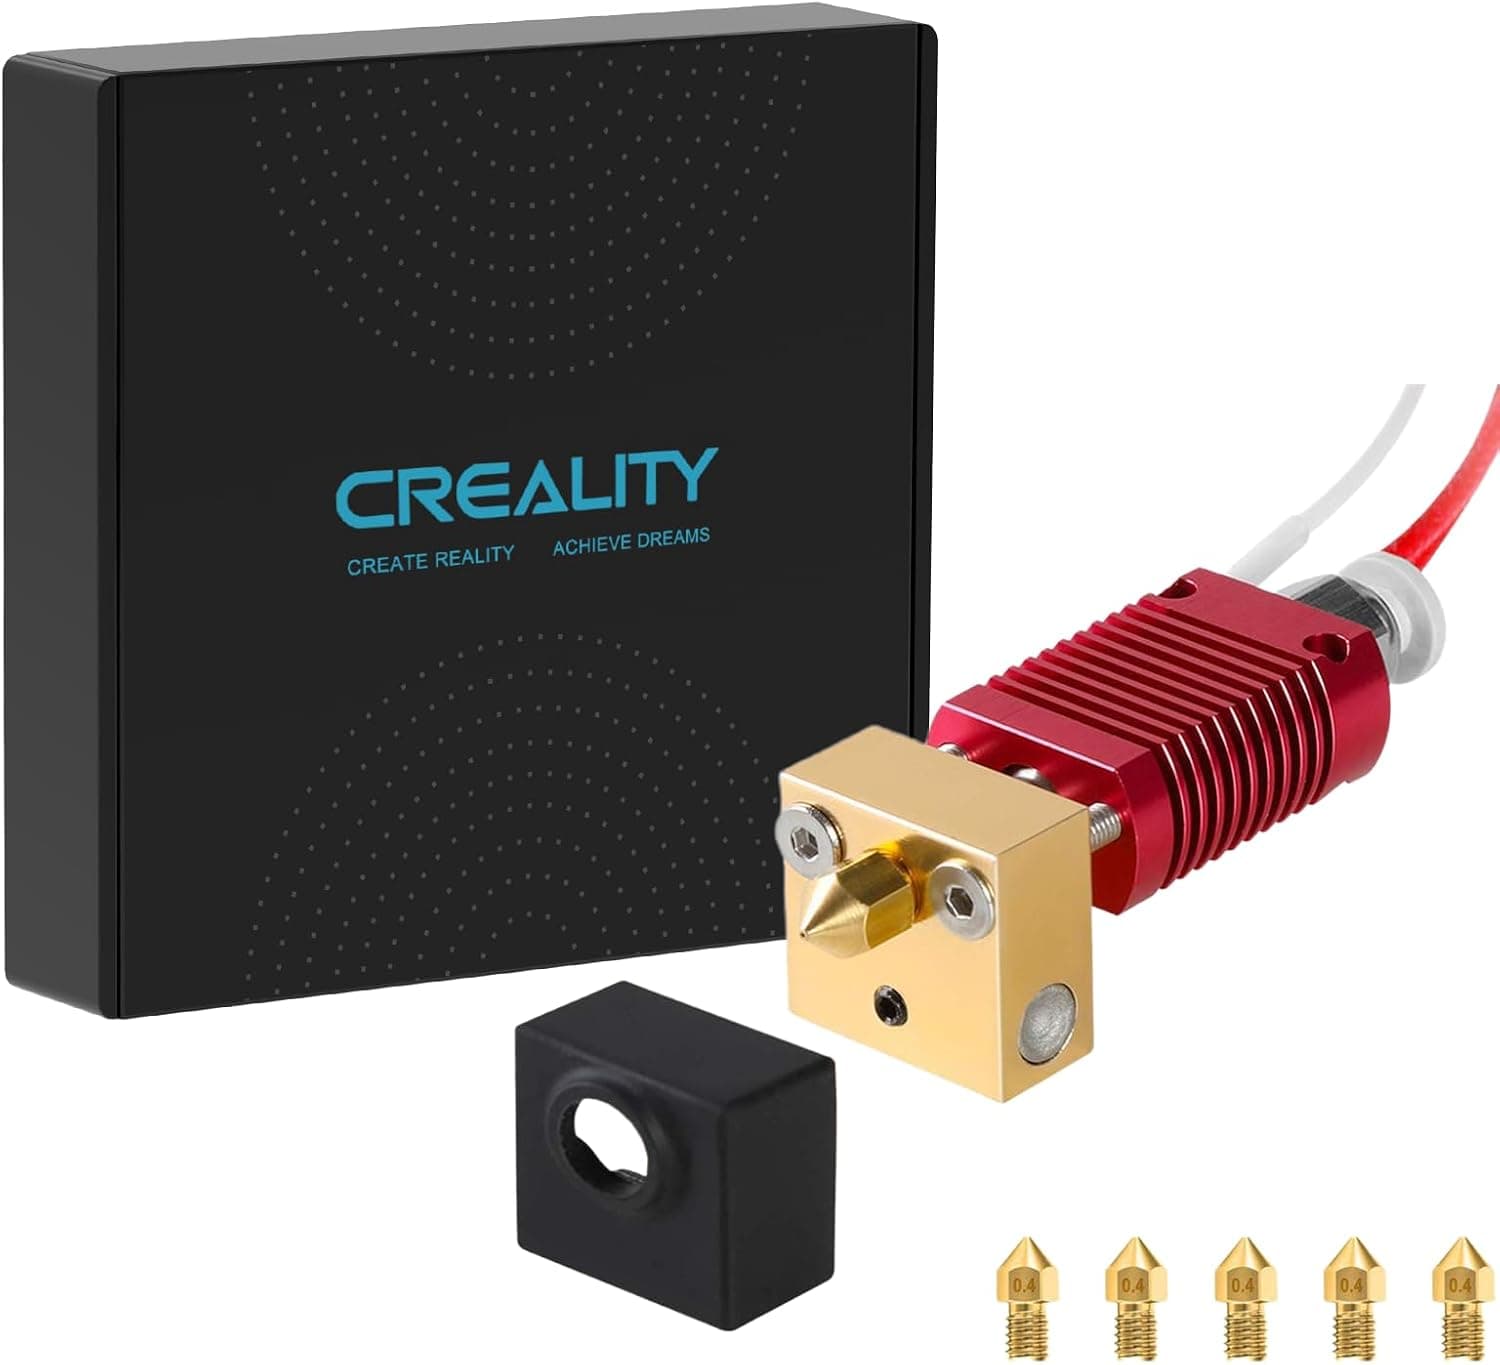
+ 5X spare nozzles included, so the kit covers future clogs too
From our guide: Best Hotends for Reliable, High-Flow 3D Printing (2026)
+ Mitutoyo is a benchmark brand for precision measuring tools
From our guide: Best Digital Calipers for Precise Print Measuring (2026)
Start with E-steps because they are the foundation. Heat the hotend, mark the filament 120 mm above the extruder entry with a pen, then command the printer to extrude 100 mm. Measure the remaining distance to your mark. If the printer pushed exactly 100 mm, 20 mm should remain. If it pushed too little or too much, calculate the corrected steps per millimeter using the ratio of commanded to actual movement, and save the new value to firmware.
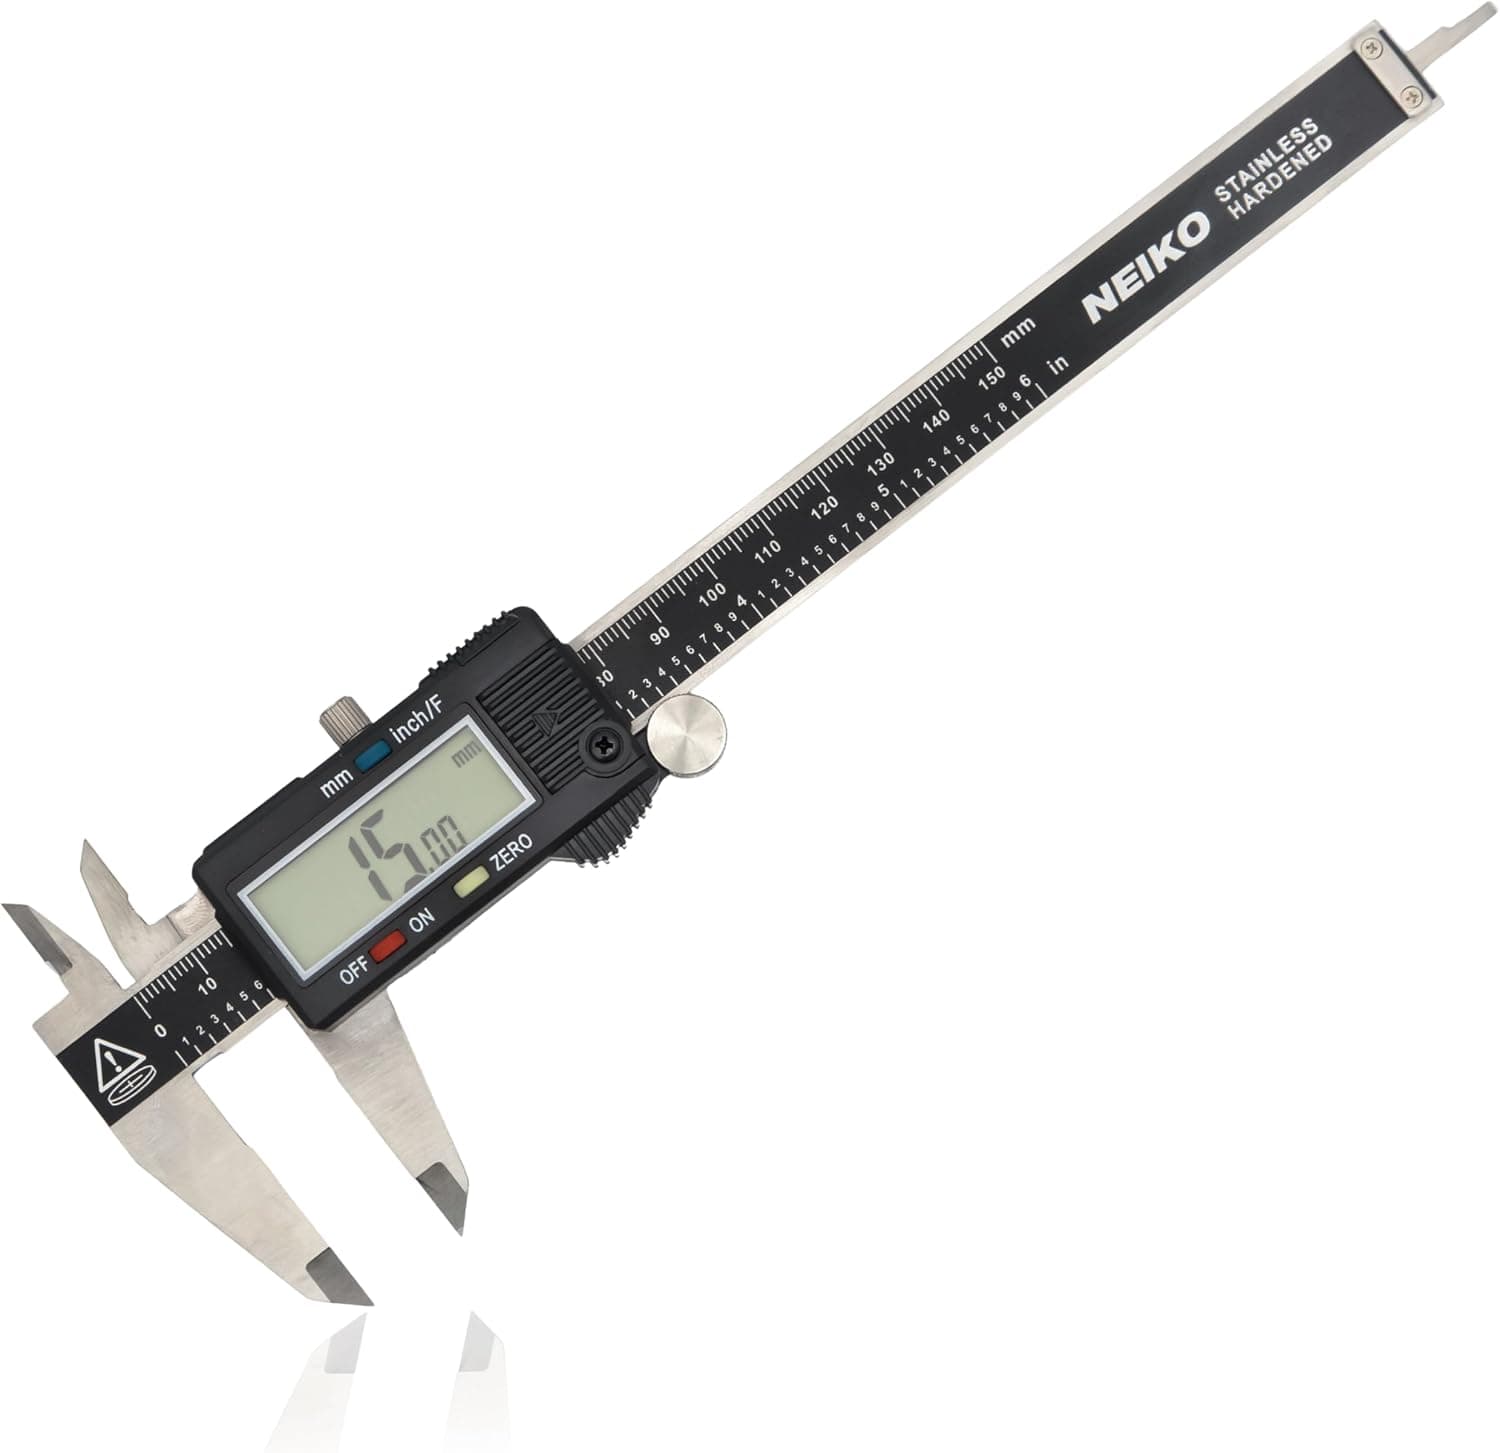
With E-steps correct, calibrate flow using a single-wall test cube printed with no top or bottom layers and a wall count of one. Measure the wall thickness at several points with calipers. Compare the average to your slicer's line width, then multiply your current flow percentage by the ratio of expected to measured thickness. A wall that measures 0.44 mm when you asked for 0.40 mm means you are over-extruding and should lower flow.
Signs of over-extrusion include walls that bulge, blobs at corners, rough tops, and parts that come out slightly oversized. Under-extrusion shows as gaps between lines, thin weak walls, visible holes in top surfaces, and parts that measure undersized. Flow calibration pushes these toward the middle so dimensions match the model.
Do the steps in order and change one thing at a time. E-steps first, then flow, then only fine adjustments after. If you calibrate flow before E-steps, a later E-step correction will invalidate your flow number and you will chase your tail. Keep filament dry during the test, since wet plastic extrudes inconsistently and corrupts your measurements.
Remember that flow can differ slightly between materials and even colors because of pigment and additives. Once you have a reliable baseline, small per-material tweaks of a few percent are normal. Record the values in each slicer profile. Good flow calibration is often the difference between a part that just fits and one that measures within a few hundredths of a millimeter of the design.
Some modern printers and slicers offer a pressure advance or linear advance setting that works alongside flow calibration to fight corner bulging and gaps at the start and end of lines. It manages the pressure in the nozzle during acceleration rather than the total volume, so it complements flow tuning rather than replacing it. Calibrate flow first, then tune pressure advance, and edges and seams both improve.
Popular right now
- 3D Printing Supports GuideArticle
- Best Resin 3D Printers for Sharp, Detailed Models (2026)Buying guide
- Best PTFE Tubing for Smooth Filament Feeding (2026)Buying guide
- Best Beginner 3D Printers for a Smooth First Print (2026)Buying guide
- 3D Printer Filament Temperature ChartArticle
- Best Budget 3D Printers for Value Under Pressure (2026)Buying guide
Based on the last 28 days of search and visitor data.