Temperature Tower Guide
Published How we research
A temperature tower prints the same geometry at stepped nozzle temperatures on one model so you can compare. Print one whenever you open a new spool, because the ideal temperature varies by brand and even by colour. Read it for sagging overhangs (too hot), dull rough surfaces (too cold), and stringing, but favour the hottest setting that still looks acceptable, because layer adhesion and part strength improve with heat. A temperature tower is a calibration print that changes nozzle temperature at set intervals up its height, letting you compare the same geometry printed at a range of temperatures on a single model. It is one of the most useful tests you can run when opening a new spool, because the ideal temperature varies between brands and even between colors of the same brand.
Products from this article
The highest-scoring picks from the buying guides this article links to. Scores are our editorial assessment, not customer ratings.
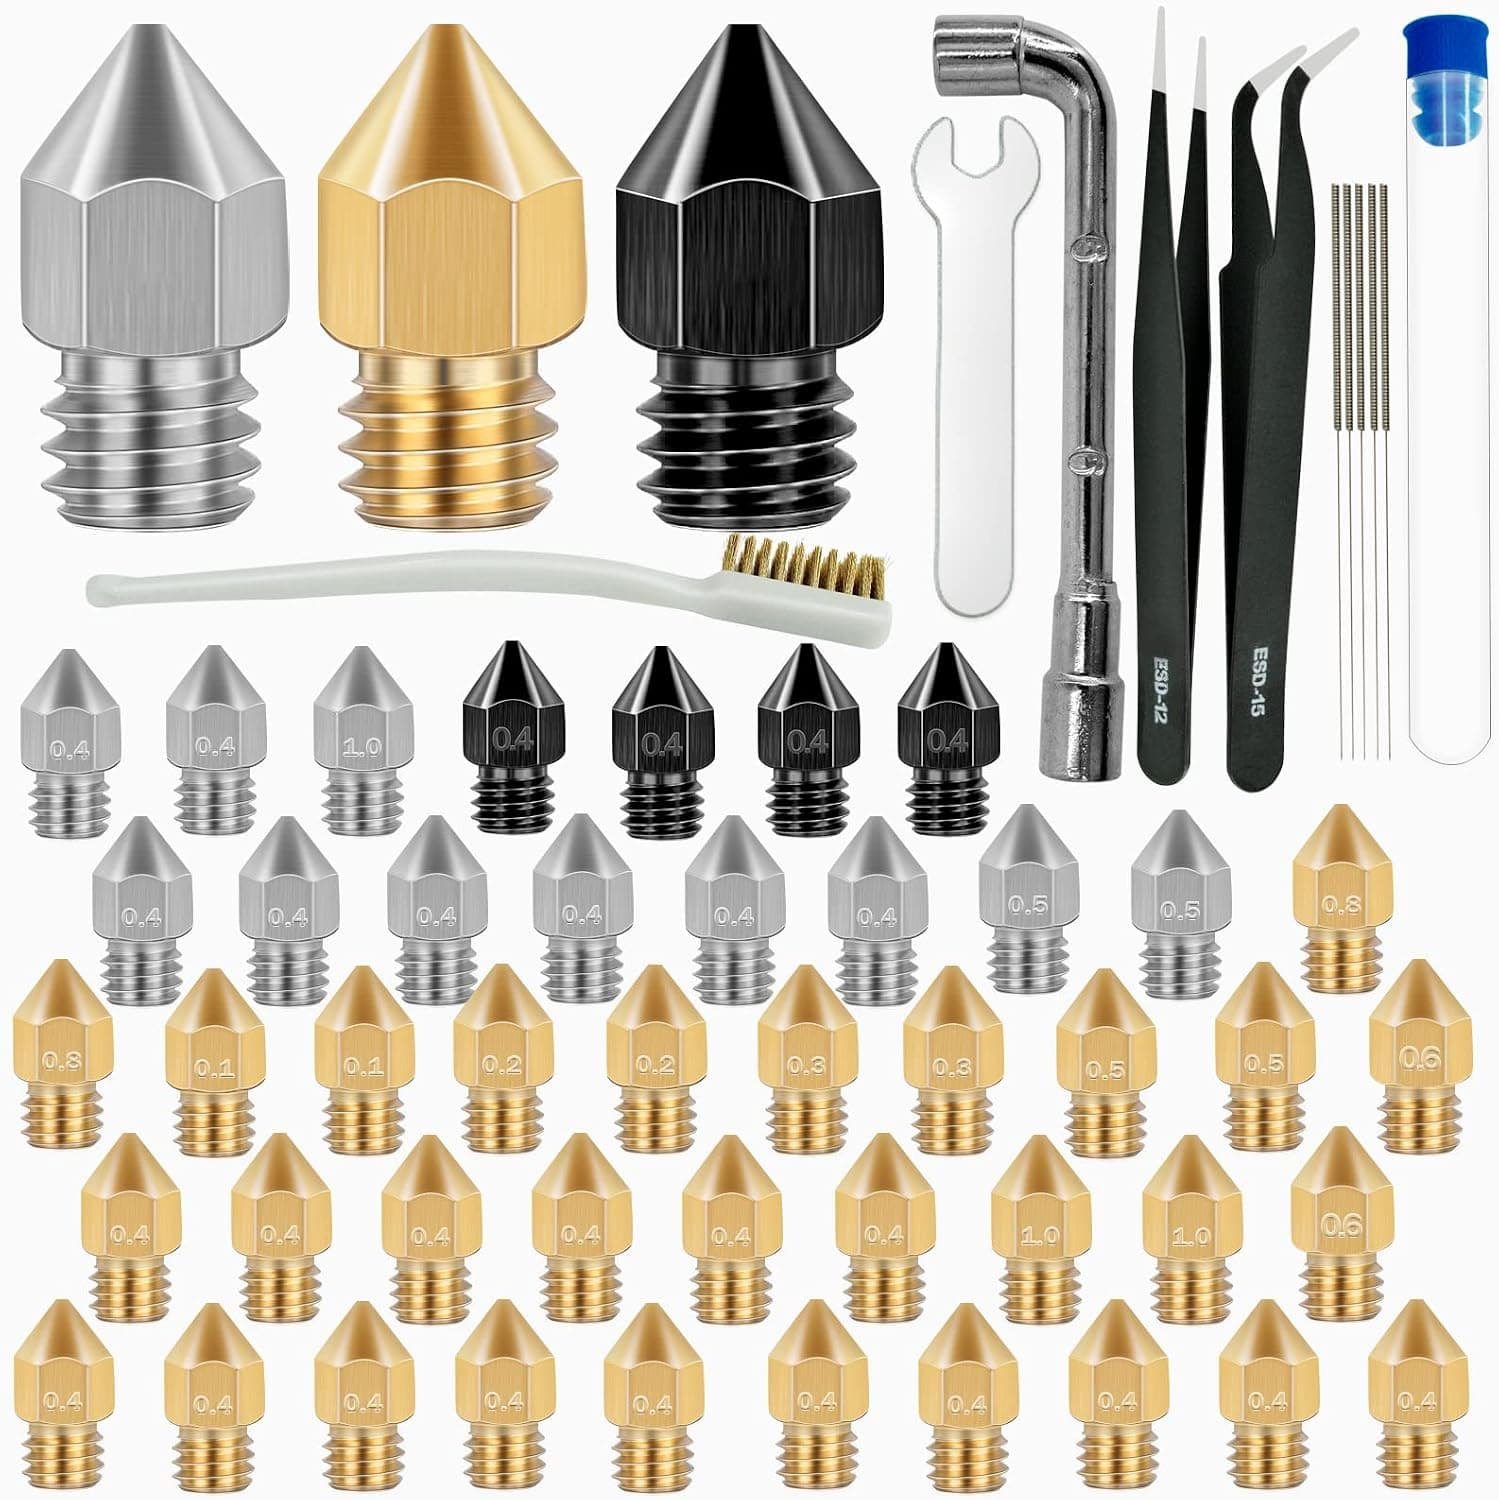
+ Hardened, stainless and brass in one set cover most filament types
From our guide: Best Nozzle Kits for Every Filament and Detail Level (2026)
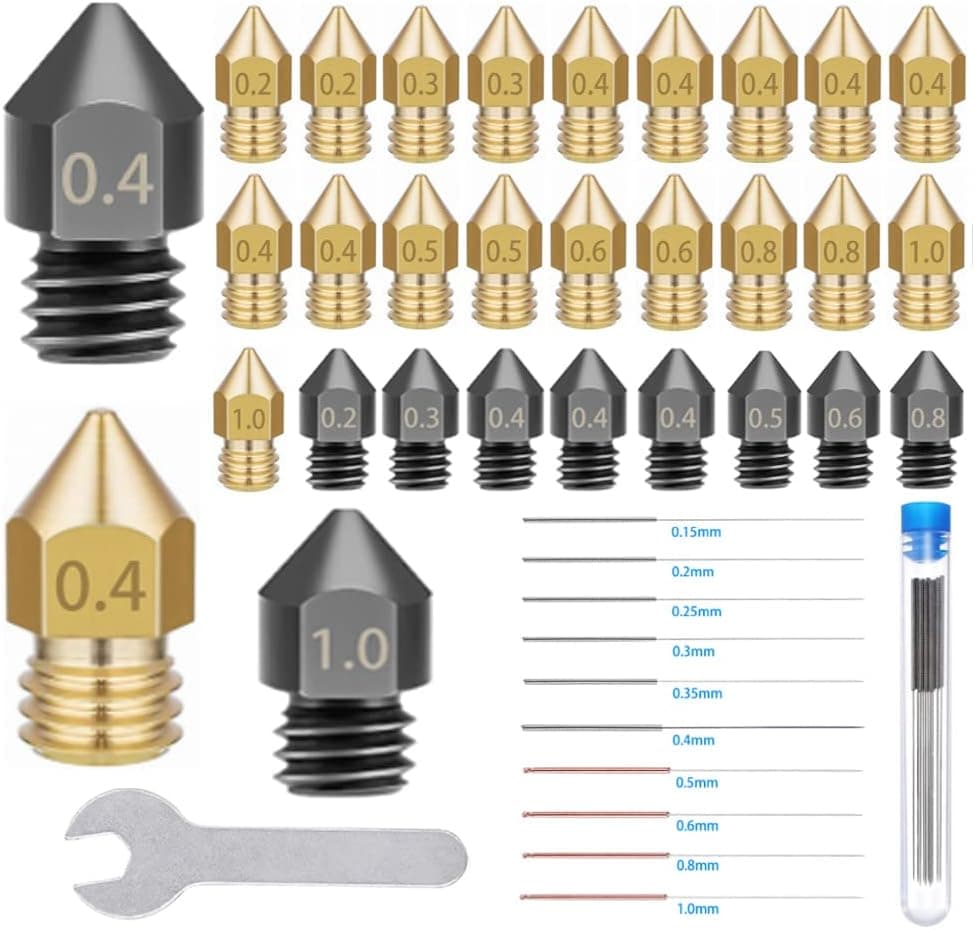
+ Mix of hardened steel and brass handles both PLA and abrasive fills
From our guide: Best Nozzle Kits for Every Filament and Detail Level (2026)
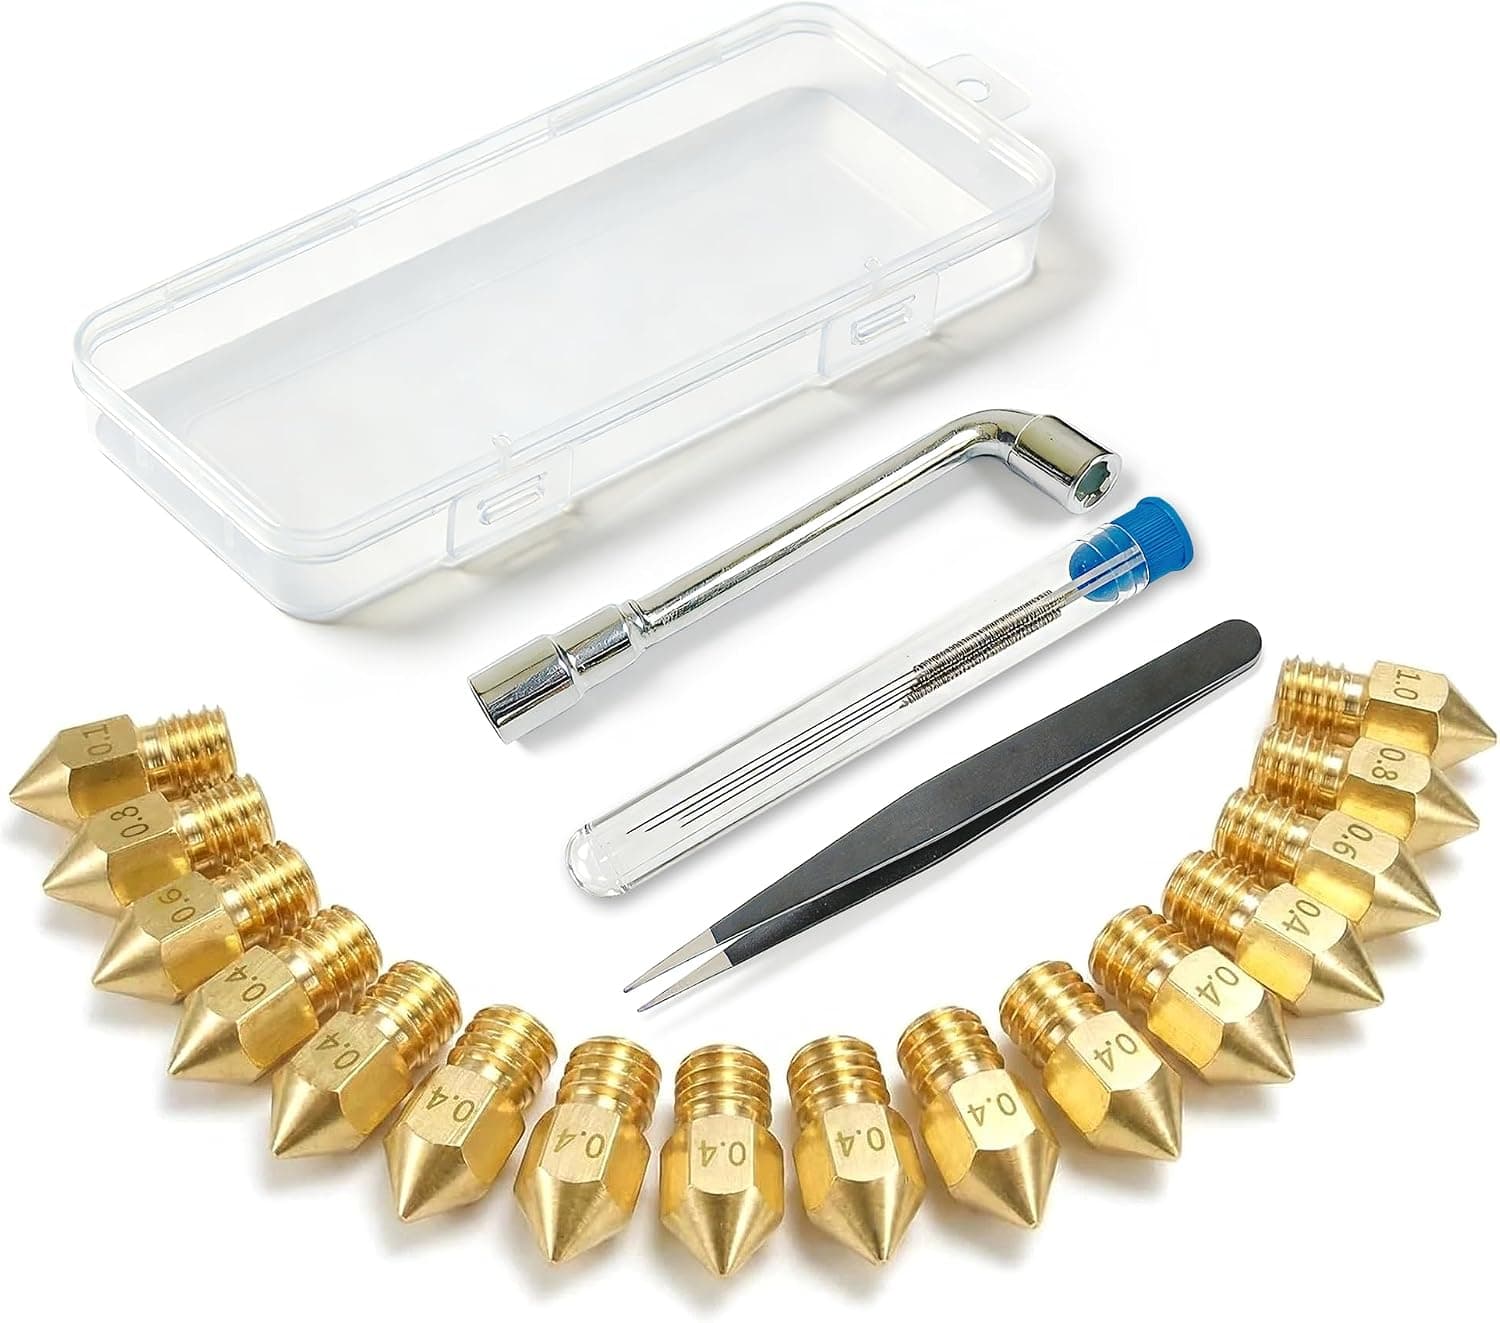
+ Wrench and tweezers make swaps easier on a hot nozzle
From our guide: Best Nozzle Kits for Every Filament and Detail Level (2026)
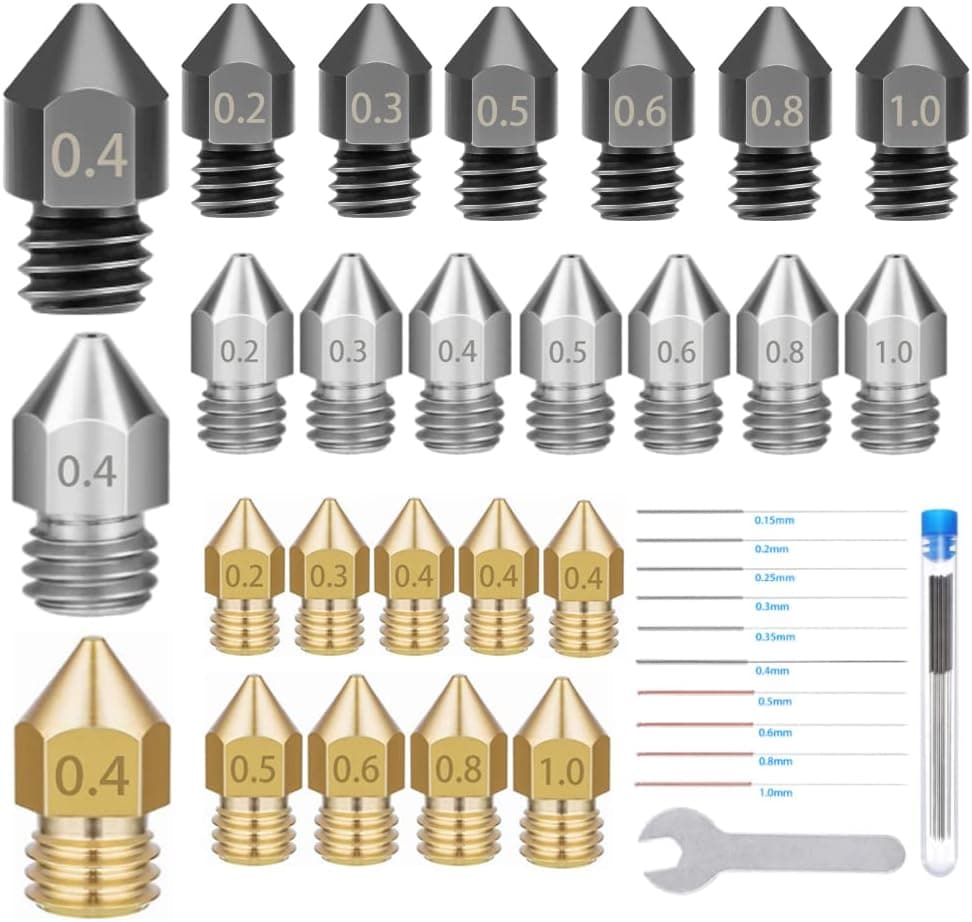
+ Stainless nozzles offer a middle ground for food-adjacent or light abrasive use
From our guide: Best Nozzle Kits for Every Filament and Detail Level (2026)
How a temperature tower works
The tower works by pausing the print at each block and issuing a temperature change command. Many slicers can insert these changes automatically, or you can download a model that includes them in its script. A typical PLA tower might step from 220 C at the base down to 190 C at the top in 5 C increments, covering the full plausible range in one print.
Reading the tower: what each level tells you
Reading the tower means judging several qualities at each level. Look at overhangs and small bridges, which sag and droop when the plastic is too hot. Check surface finish, since too-hot layers look glossy and blobby while too-cold ones look dull and rough. Inspect any fine detail or text, and note stringing between the tower's separate features, which increases with temperature.
Strength: cooler is not always better
Strength matters as much as looks, and here cooler is not always better. Layer adhesion improves with heat because hotter plastic fuses more thoroughly to the layer below. A tower that looks cleanest at the coolest setting may actually be weakest there, so if the part must bear load, favor the highest temperature that still gives acceptable overhangs and minimal stringing.
The best temperature is a compromise
The best temperature is a compromise rather than a single perfect number. You are looking for the level that balances clean overhangs, low stringing, good surface finish, and solid layer bonding. Often two or three adjacent blocks all look acceptable, in which case pick the middle. Write the result on the spool or in your slicer profile so you do not repeat the test.
Reprint the tower when conditions change
Reprint the tower whenever conditions change meaningfully. A new brand, a different material, a swapped nozzle, or a big change in ambient temperature can all shift the ideal setting. The test takes under an hour and a small amount of filament, and it removes the guesswork that causes so many surface and strength problems.
Pair it with retraction and flow tests
Pair the temperature tower with a retraction test and a flow check for a complete picture of a new filament, since these settings interact. A temperature that fixes stringing may slightly change how much plastic flows, and dialing them together gives a more reliable profile than tuning any one in isolation. Spending an hour on these tests when opening a spool saves many failed prints across the rest of the roll.
Frequently asked questions
What is a temperature tower in 3D printing? A calibration print that changes nozzle temperature at set intervals up its height, letting you compare the same geometry printed across a range of temperatures on a single model.
How do I read a temperature tower? Check overhangs and bridges for sag (too hot), surface finish for gloss and blobbing (too hot) or dull roughness (too cold), and stringing between features, which increases with temperature.
Should I pick the coolest setting that looks clean? Not for functional parts. Layer adhesion improves with heat, so a tower that looks cleanest at the coolest setting can be weakest there. Favour the hottest temperature with acceptable overhangs.
How often should I print a temperature tower? Whenever you change brand, material, nozzle, or ambient temperature meaningfully. It takes under an hour and removes a lot of surface and strength guesswork.
Popular right now
- 3D Printing Supports GuideArticle
- Best Resin 3D Printers for Sharp, Detailed Models (2026)Buying guide
- Best PTFE Tubing for Smooth Filament Feeding (2026)Buying guide
- Best Beginner 3D Printers for a Smooth First Print (2026)Buying guide
- 3D Printer Filament Temperature ChartArticle
- Best Budget 3D Printers for Value Under Pressure (2026)Buying guide
Based on the last 28 days of search and visitor data.